Modern hand bouquet
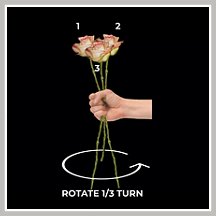
The modern hand bouquet is created by holding the flowers in your hand and rotating the bouquet each time you add a flower.
You can begin by stripping off any lower laterals on the flower stems that are too far down the branch to show in the outer bouquet. Save these types of laterals by placing them immediately in a short vase or juice glass full of water. You can use these shorter stems in corsages, boutonnieres or boutonnieres for the rest of the wedding party.
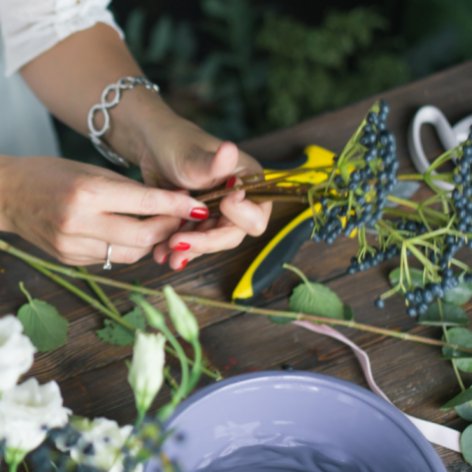
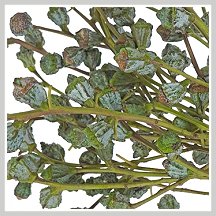
If the laterals (like these viburnum berries) are too tough to break off by hand, you can use your pruners for the heavy woody stems.
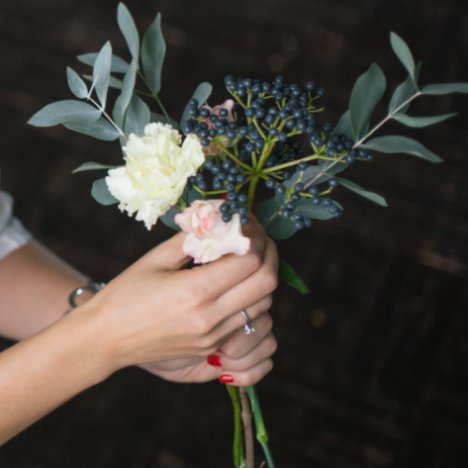
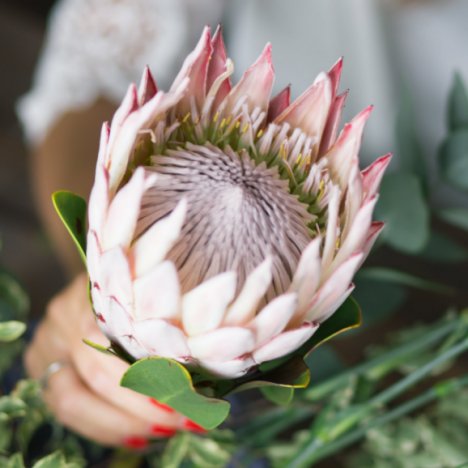
Place a central flower in your hand, then add a few stems of flowers and greens around the middle flower. The is the center of your bouquet.
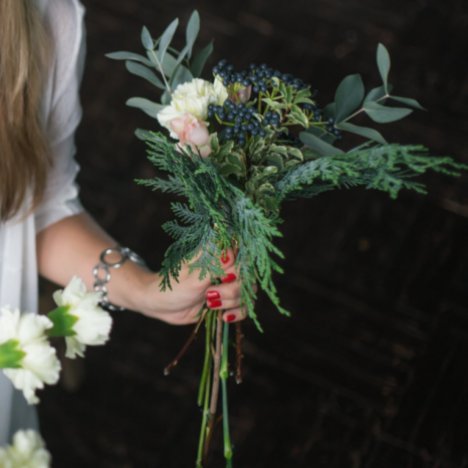
Now you can begin a pattern around your bouquet center. Don't forget to add in stems of greenery throughout the design.
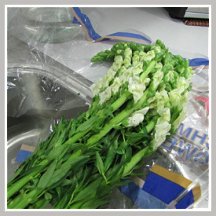
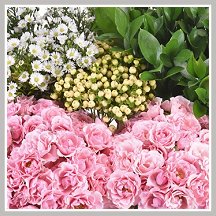
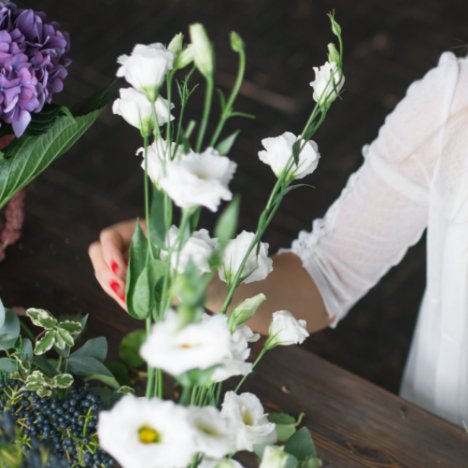
With flowers like these white lisianthus, you can cut off the longer laterals to use separately in the bouquet. Again - it's important to do this BEFORE beginning your modern hand bouquet - since one hand will be busy holding the actual bouquet and it will be awkward to try and cut stems apart while designing.
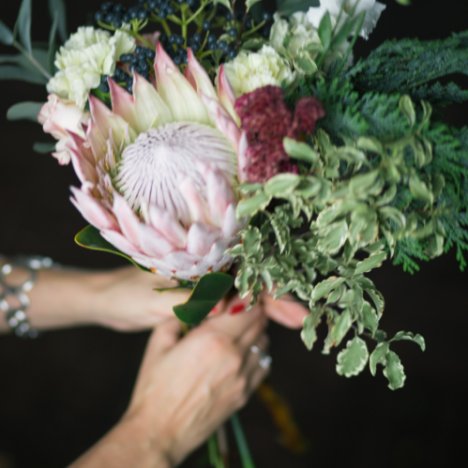
After the center of the bouquet is ready, add other flowers by crossing them over the center stems. After crossing the stems, you will rotate the bouquet in your hand to add another flower or greenery stem.
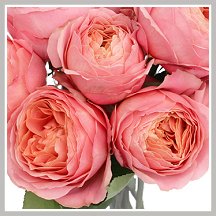
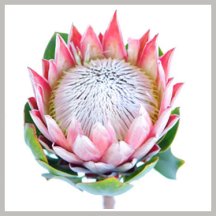
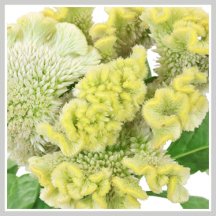
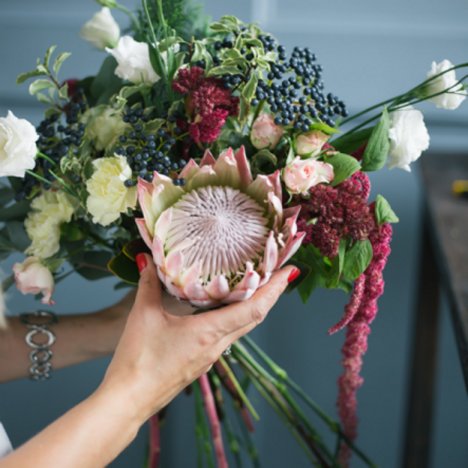
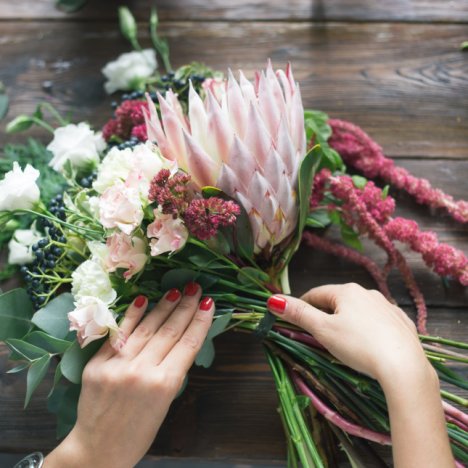
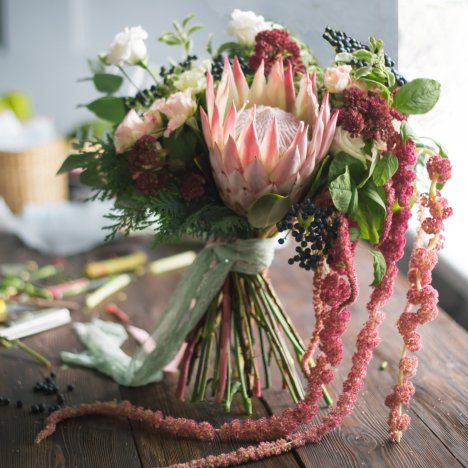
Typically the largest flower would be the "center point" or focal point of the bouquet. Today's modern bouquets are delightfully whimsical, adding in flowers at random. This large King Protea is a wonderful addition to any modern hand bouquet.
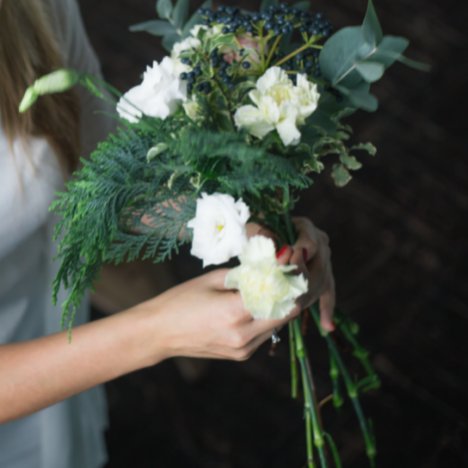
Slightly staggering the height of the flower heads in the bouquet give more depth to the bouquet design. Continue to turn the modern hand bouquet one quarter before adding another flower.
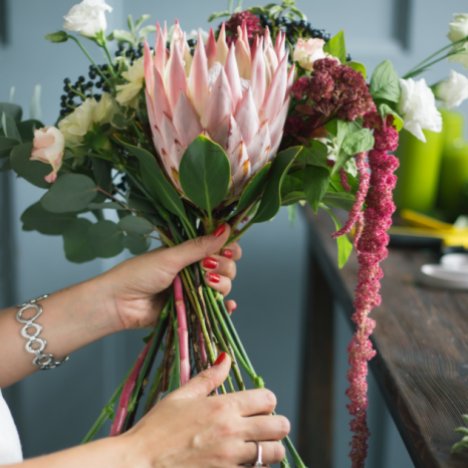
You can now really see the pattern of crossed stems in the image below. You can that rotating the bouquet each time you add flowers causes the stems to flare out - and thus causes the flower heads to flare out in a circular pattern.
If you were to simply place the stems parallel to each other, the stems would be forced to bend outward, possibly putting so much stress that the flower stems snap off.
If you want the sides to be more of an oval shape, simply make the flowers longer on two opposite sides of the bouquet when placing the flowers.
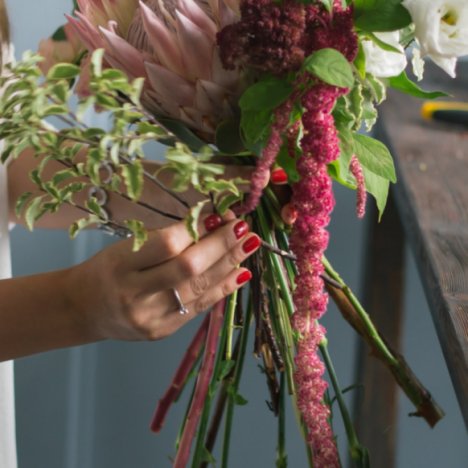
Draping flowers such as this red amaranthus gives a delightfully casual look to this bouquet. Amaranthus also comes in a light green if you don't want the burgundy tones.
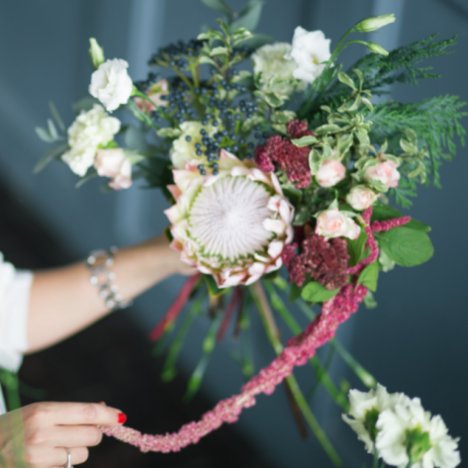
Be careful that you don't pin your draped flowers to the inner portion of the bouquet. You can see that the variegated pittosporum nigra's stem is carefully crossed UNDERNEATH the hanging amaranthus, rather that over the top of it.
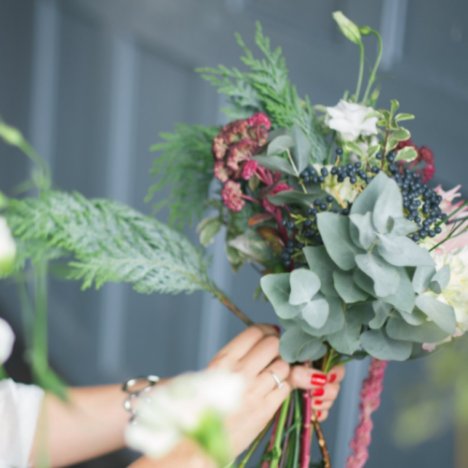
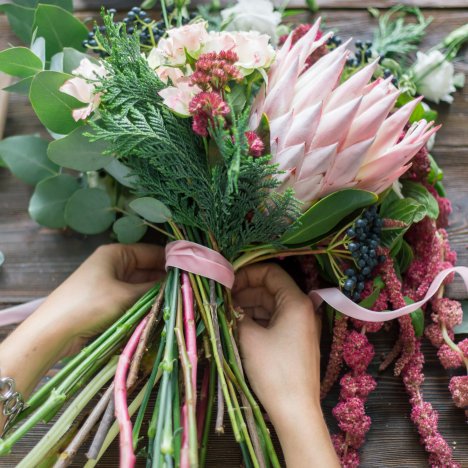
Finish off the bouquet by adding more greenery around the outer circumference of the bouquet, dropping them down slightly to frame the bouquet.
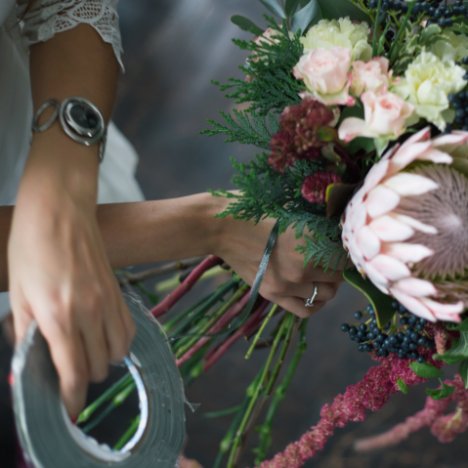
Taking care not to lose your grip on the bouquet stems, secure them together with either waterproof floral tape or waxed string. Waxed string can be tightly wound around flower stems without crushing or damaging the cell structure of the the flowers.
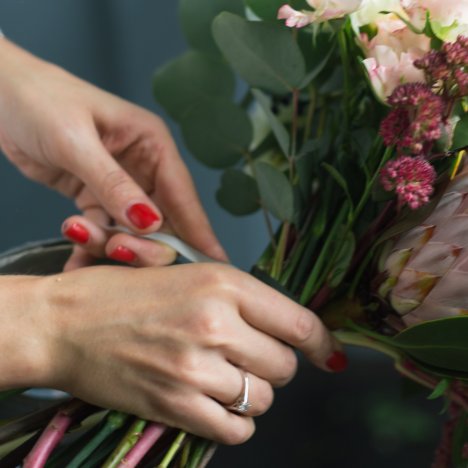
Wrap the securing tape several times around the bouquet, making sure that the stems are bound tight enough not to lose the crossed pattern. This can be a little tricky, so if this is difficult for you, enlist the help of another person to tie or tape the stems while you hold the flowers.
Cut the tape or string off the roll with a regular pair of scissors. (Caution - do not use ribbon shears for this, as the glue on the tape can leave a residue on your shear's blades.)

Secure the loose ends of the waterproof tape or cut off the strings of the waxed string after knotting several times.
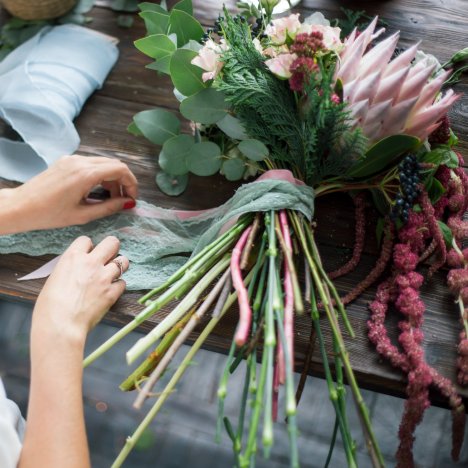
You can cover up the mechanics of the tape or string by winding several pieces of pretty ribbon around the stems.
If you wish, use contrasting colors and different kinds of ribbon to give a soft, casual flare to the finished bouquet.
Once the stems are securely tied, snip off the flared flower stems to a shorter, more appropriate even length.

See how lovely the final design is. Fit the finished design in a water vase filled with a few inches of water. You want enough water to cover all the cut stems, but not so high that it touches your decorative ribbon.
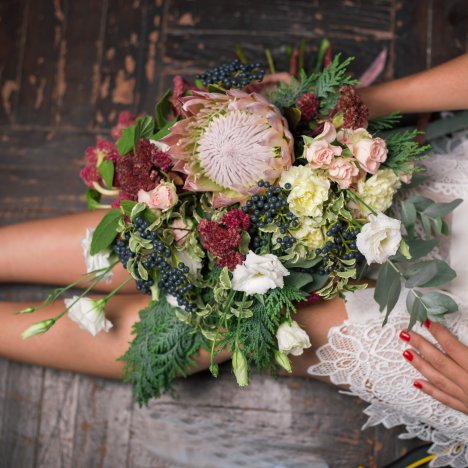
I generally design wedding bouquets with a full length mirror nearby, so I can continually turn and check how large the bouquet is becoming. It is easy to overwhelm a smaller bride with too large of a bouquet. The bouquet is always to be an lovely accompaniment to the bride, but not so big that it distracts attention away from her face or dress.
Are your hands too small to create these styles of bouquets? Check out my alternative method of using a flared vase to create your wedding bouquets.
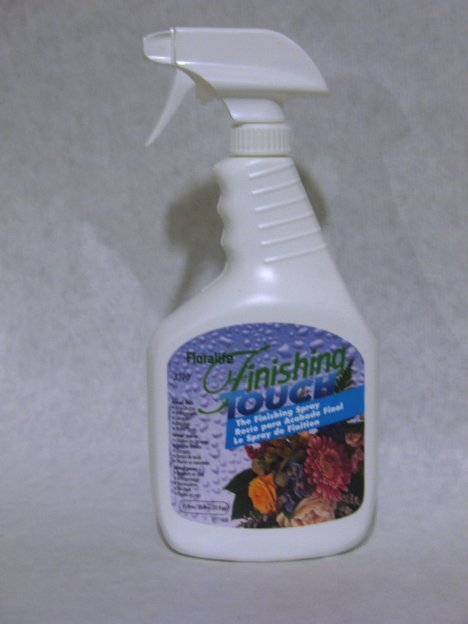
Always finish any modern hand bouquet by misting it with a flower sealant such as Finishing Touch. This seals the petals and keeps them hydrated longer. Remember that air conditioning and normal kitchen refrigerators are designed to pull moisture OUT of the air.
Professional florist coolers add 80% or more humidity INTO their cooler. You can mimic the same process by spraying your flowers with a sealant.
SPIRAL HAND TIED BASICS