Wedding centerpiece vases
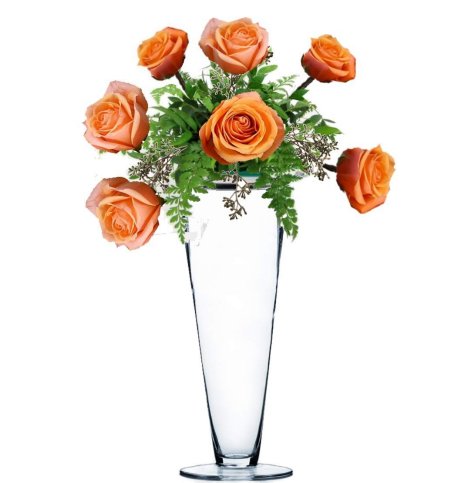
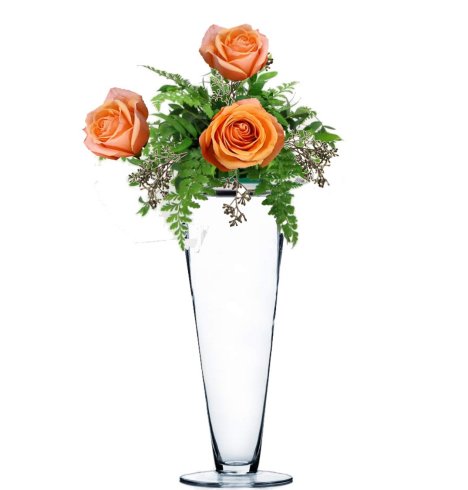
Your wedding centerpiece vases do not have to have the same colors as shown in the demonstration photos. This can be easily adapted to your own wedding color palette. This design starts with the focal flowers. Those are usually the largest (or brightest) of the flowers that draw your eye to the centerpiece.
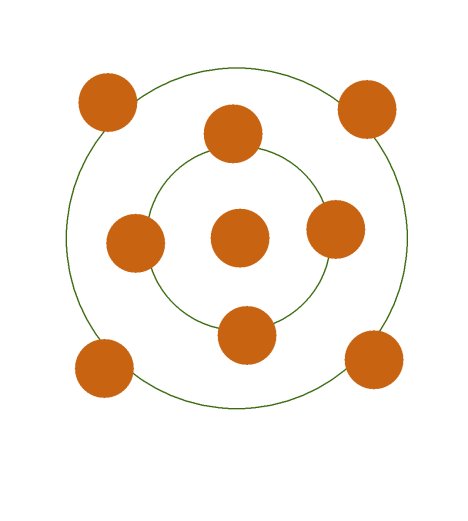
Imagine this as a visual from the top. The center flower faces straight up, you the circle the middle flower with 4 more roses pointing straight out (like a 90 degree angle) from the top center flower.
The bottom flowers will insert up from the bottom, with the heads of the flowers having a downward slant towards the table top. After this pattern, the other flowers will be inserted into the "open" spaces between the focal flowers.
If you are creating a large flower arrangement, you simply add one more ring around the outer ring, with the same type of spacing.
If a bride brings me a picture of a centerpiece she likes, I will usually sketch out a pattern like this to keep the arrangement in mind, plus it creates an easy count of the different flower varieties
In the center, the first flower comes straight out.
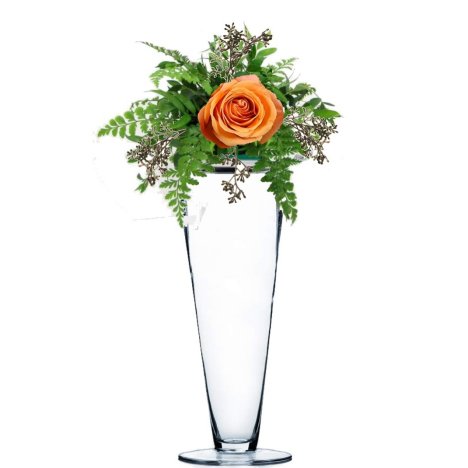
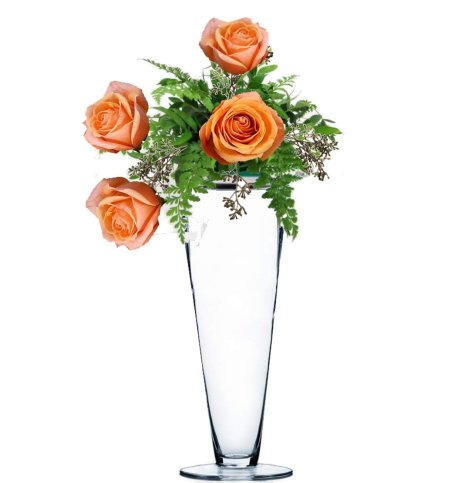
If you want a larger centerpiece, simply extend the flower stems longer. That's why it's important to green in first so you don't see the mechanics of the piece if you want a larger arrangement. The second rose is straight up from the center.
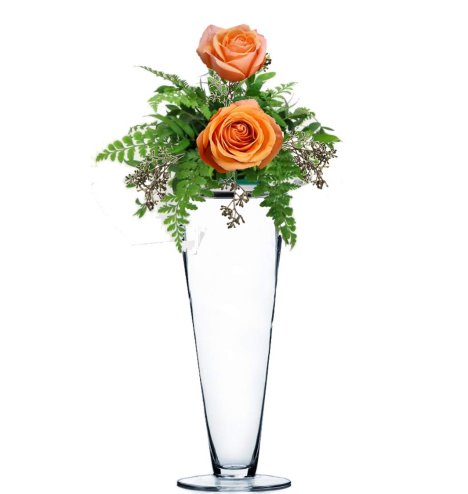
The third rose is straight out towards the left. Always cut roses with a sharp knife, making a diagonal cut. Scissors can pinch and crush flower stem cells, making it hard to take up water.
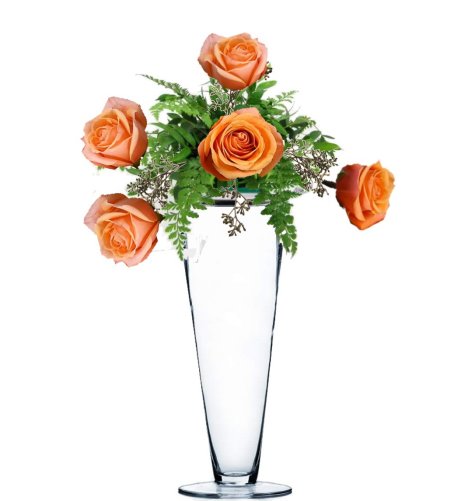
You'll have to rotate the vase while designing to be sure to view from all sides. Now I place the fourth rose, with a downward slant, in between the space of the two middle roses.
As you rotate your centerpiece around, keep the pattern with rose insertions. You'll notice I added a rose dethorner in the list. You want the thorns off so your insertion is clean and smooth, otherwise the thorns will tear into the florist foam, causing degradation of the foam.
As you rotate, the pattern of the roses (with the empty spaces between) becomes noticeable. If you wish to make an asymmetrical design, that's fine. But keep your pattern in mind if you want all your pieces to look the same on many tables.
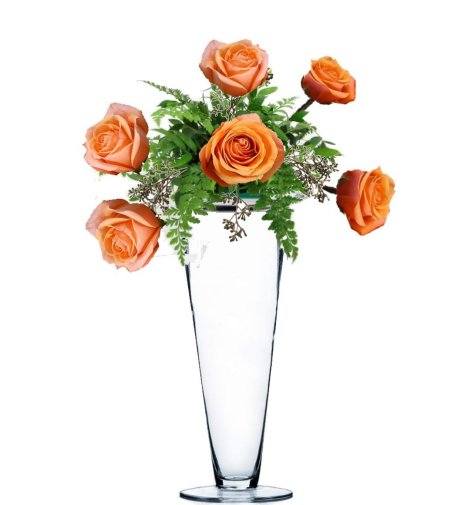
Again, if you want a larger piece, lengthen the stems. If you do this, you'll have a more open design look. If you want it full, you'll have to add more flowers.