wedding boutonnieres
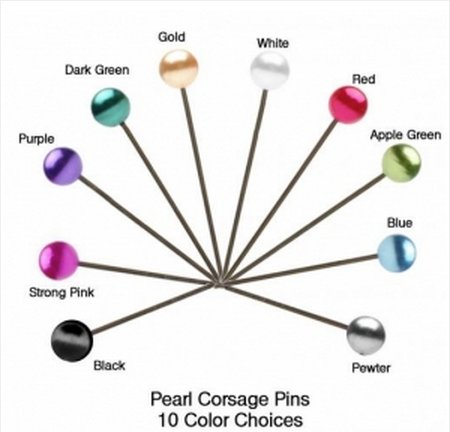
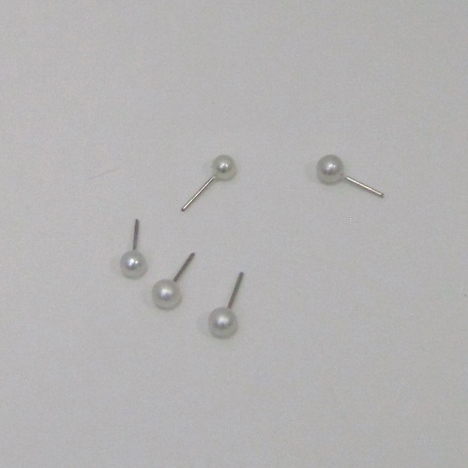
Wedding boutonnieres look delightful with elegant accents of pearls and diamonds. After all, the guys need to look as polished an finished as the girls! Pearl headed corsage pins coming in a variety of colors - so you don't feel limited to using just white.
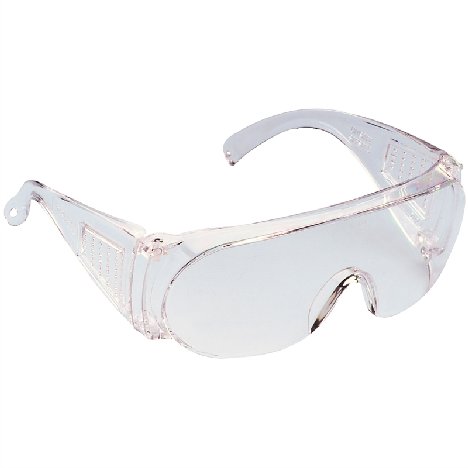
You will need to cut the pearl headed corsage pins shorter for use on boutonnieres. Always protect your eyes with safety glasses before cutting to avoid flying shards.
To cut the shank of a standard corsage pin down to size, I bury the steel 2" pin in dry foam before cutting - it safely keeps the sharp cut end of the pin buried in the foam rather than flying outward into space.
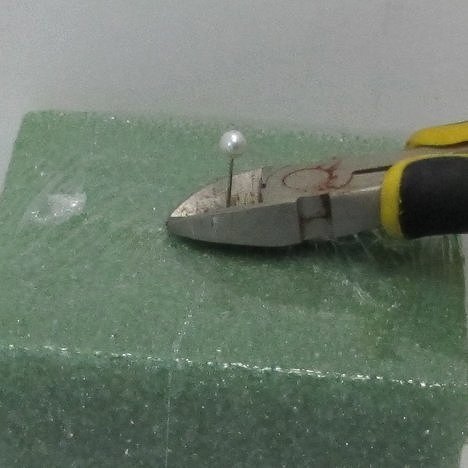
I cut these very short. I don't want the ends sticking out beyond the boutonniere stem.
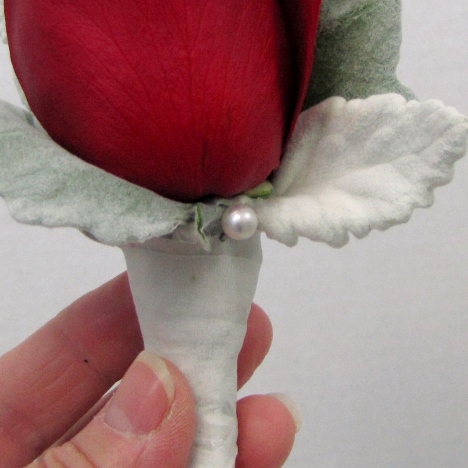
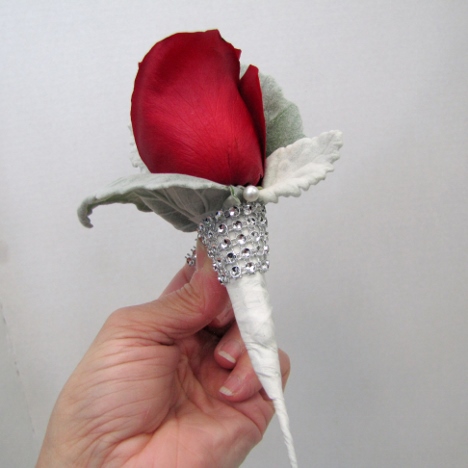
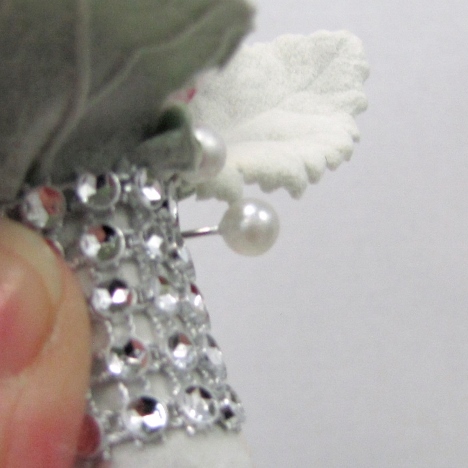
Place the first shortened pin where the two leaves meet at the base of the rose.
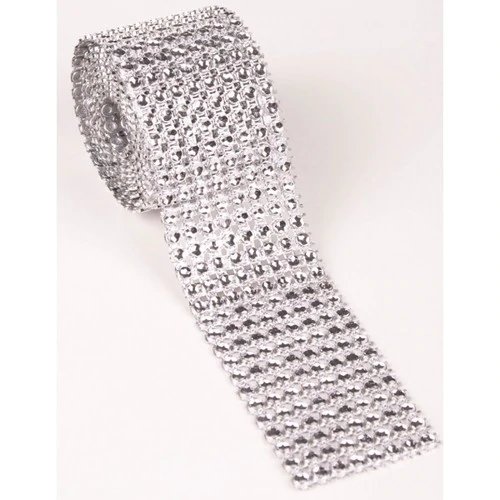
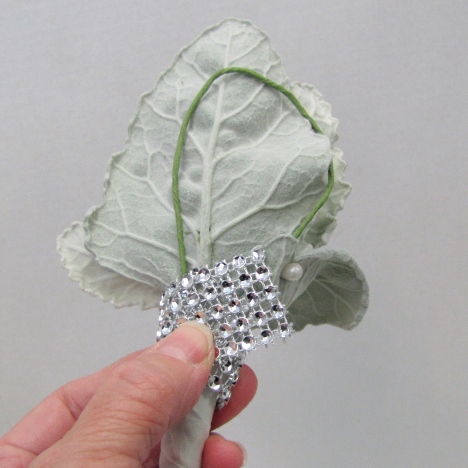
Dazzle wraps by Fitz Design look like a wrap of rhinestone ribbon. Actually it's stamped from plastic and has a bright silver or gold finish. The cost is much cheaper than actual rhinestones and can be used as bouquet wraps, accenting wedding cakes and much more. Just protect your edibles, as the wrap is not indicated to be food safe.
This wrap is truly sparkling and can be easily cut into smaller strips with regular scissors.
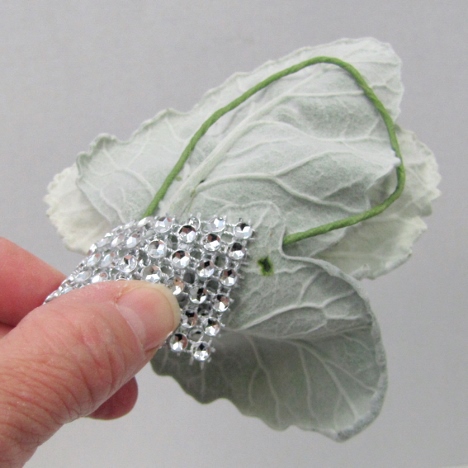
I'm adding a jeweled look without the expense of real rhinestones. I taped the boutonniere stem with white floral tape so no green would show through.
You can ribbon wrap an alternate color around the stem first if you'd like a specific color to peek through the diamond wrap.
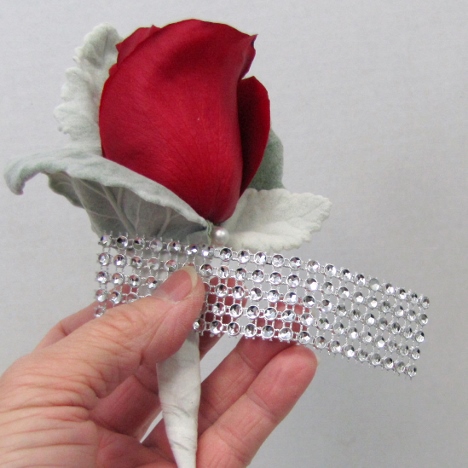
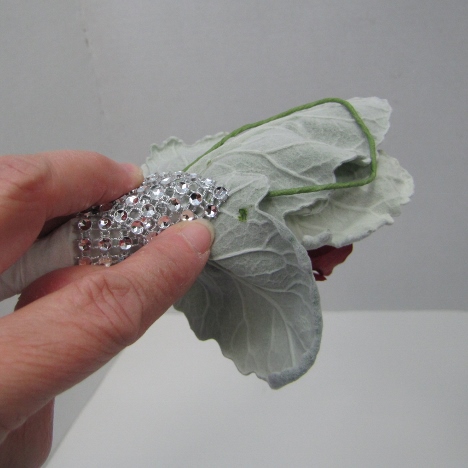
Cut a small strip from the bolt and wrap it around the top of the boutonniere stem.
The excess diamond wrap can easily be cut to shape, using a pair of scissors to cut off the excess.
I'm going to use a cut pearl pin to hold the wrap into place in the back of the boutonniere. I could glue it with floral adhesive, but a pearl headed pin works as well and isn't as messy on the fingers.
With my shortened pearl pins, I will place them down the front of the boutonniere, using the shortened pins to secure the diamond wrap in place.
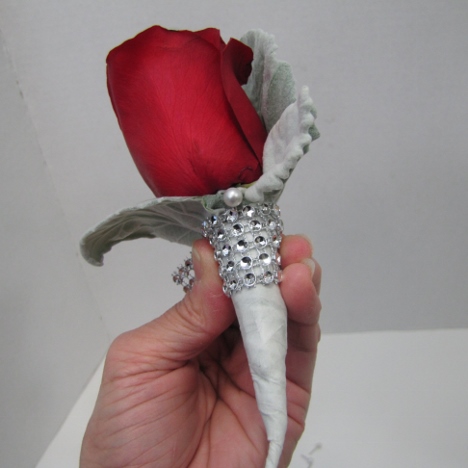
Push the pins into the taped stem, making sure they do not extend out the back of the boutonniere.
Continue down the stem, piercing the band in between the open spaces of the wrap.
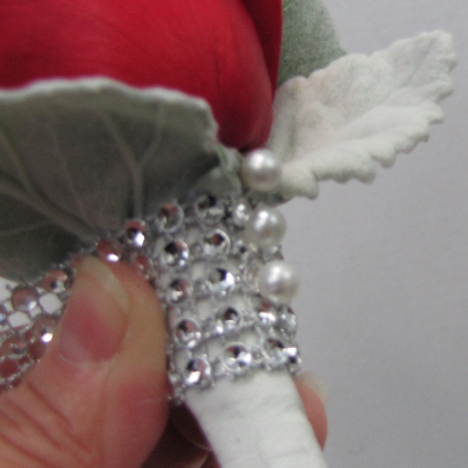
Here's a side view. The band is now secured to the front of the boutonniere and will not come off it.
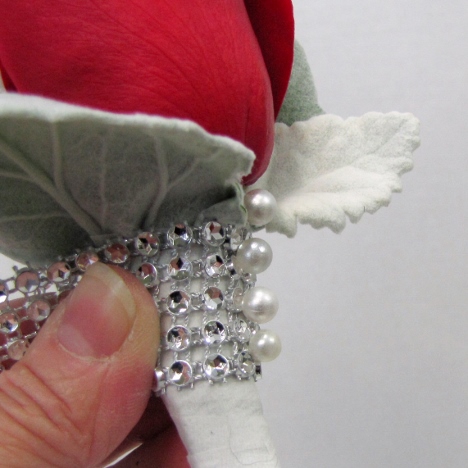
Now that the shortened pearl pins are holding the diamond wrap band in place, you can pin the back in place with a little bit longer pearl pin.