wedding boutonnieres
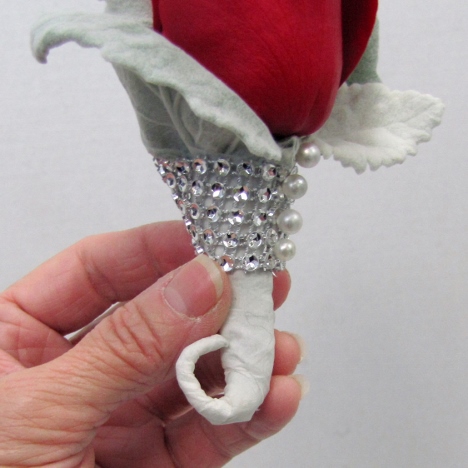
Wedding boutonnieres can be finished in so many ways. Now that the front (the part that shows on the lapel) looks great, I finish up the backside that rests against the lapel.
I cut a pin longer than the front pins, inserted it into the back and bent the pin slightly forward. This part will be hidden against the back of the lapel.
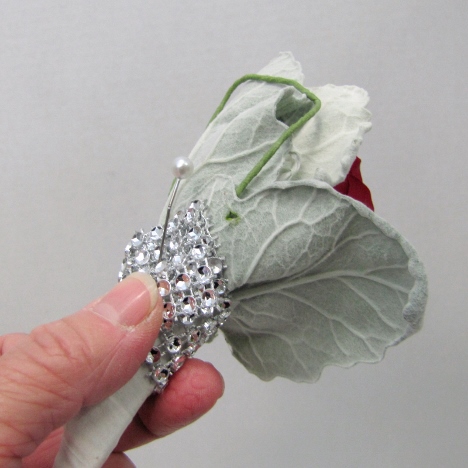
You can see a better front on view of this bent pin.
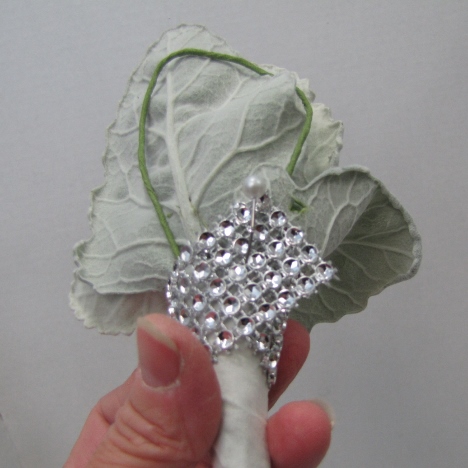
I used scissors to clip the excess diamond wrap off the back.

I then inserted a second (shorter) pin in the back to securely hold the wrap in place.
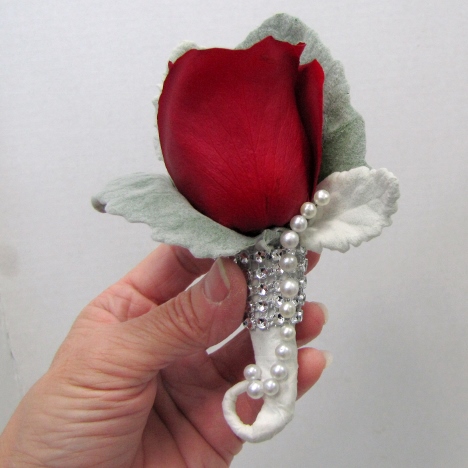
Now I'm going to add more shortened pins to the front of this DIY rose boutonniere.
I've already inserted four right under the base of the rose. I curl the tape stem upward until it touches the main part of the stem.
I curl up the bottom stem with my fingers, taking care to bend slowly so not to marr the taped finish. I curl the tape stem upward until it touches the main part of the stem.
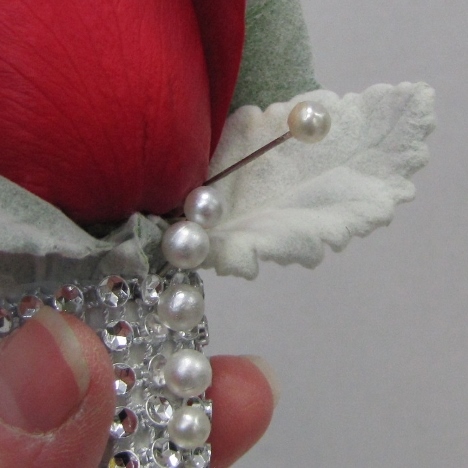
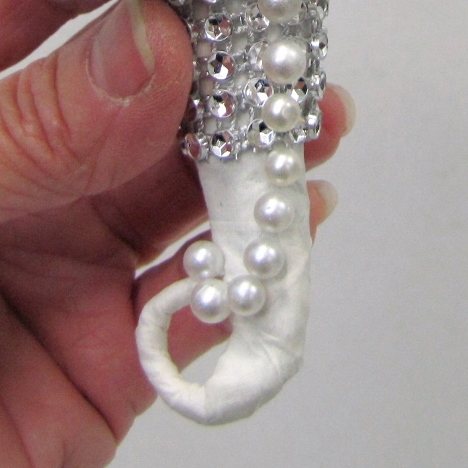
I now begin inserting the pearl pins at an upward angle down the stem, keeping the pin heads close together.
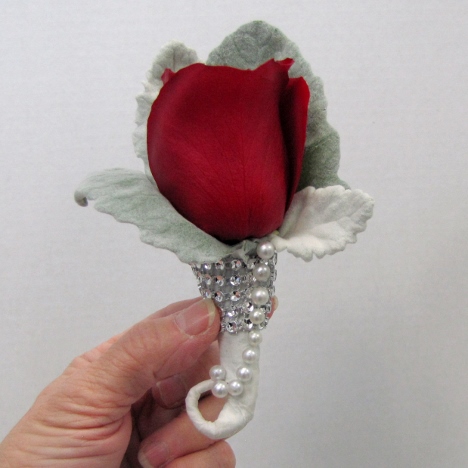
I curl up at the bottom as shown, finishing up near the tip of the stem touching the center.
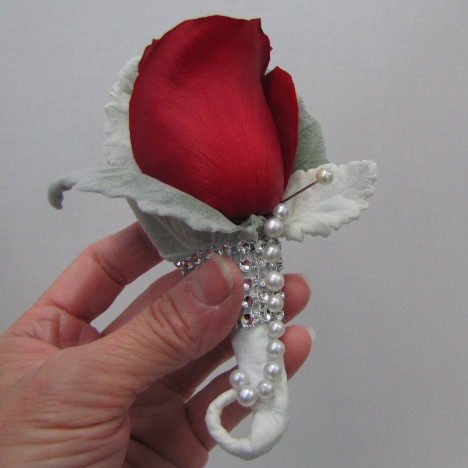
I had to cut the pins at the top longer than the pearl pins down the stem of this DIY boutonniere. When placing the pins, be sure the sharp ends are buried deep into the rose head and don't extend out the back of the boutonniere.
Have fun creating your own unique look. I liked the curved lines of this design and followed through by creating a similar sweep in the line of pearl heads down the stem.

Lomey also makes a Diamond look pin if you would prefer it to pearls. They come in several colors, including red, apple green, clear, pink and blue.
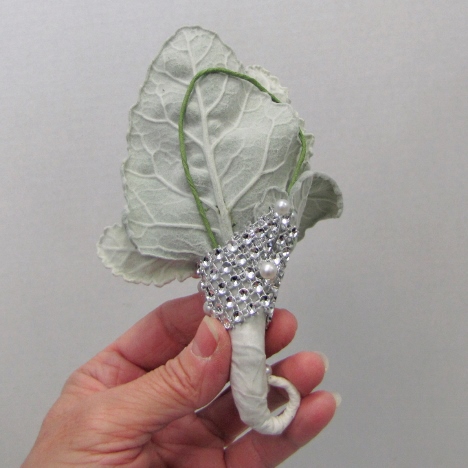
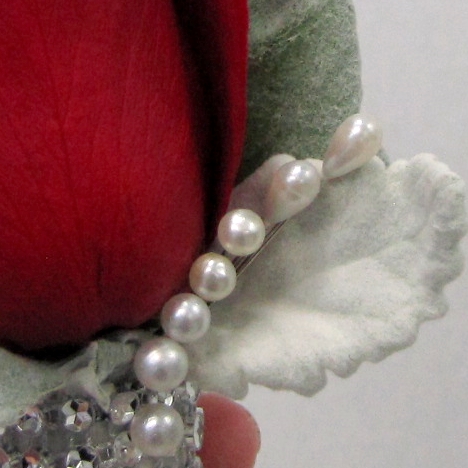
I followed the pearl line up above the leaves, extending them out farther for a more dimensional look.
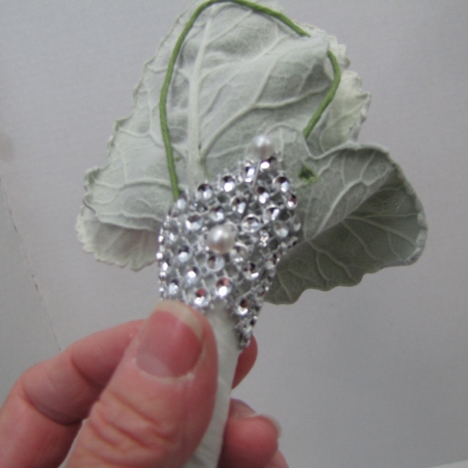
The final details on this DIY boutonniere tutorial are done. The boutonniere should have a nice polished look, both front and back.
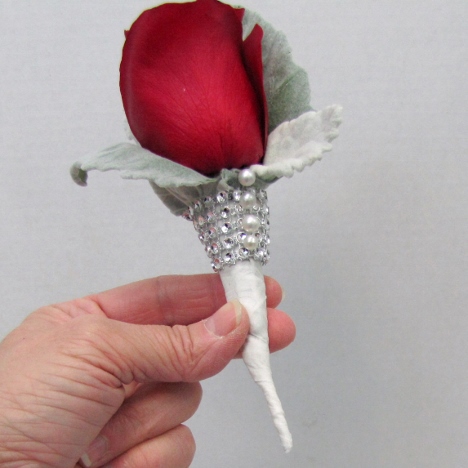
This lovely lapel flower looks great on the groomsmen, but it would also be suitable for the ladies as well. Sleek lines of jewels are a perfect substitute if you don't care for the traditional bows!
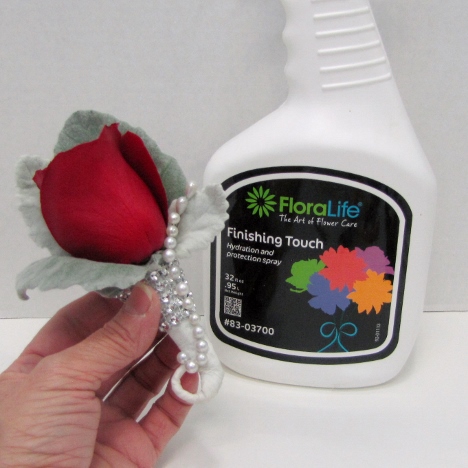
I used Finishing Touch instead on both the Dusty Miller and the rose because of the velvety texture of the leaves.
So simple and elegant - classy enough for any groom, attendants and even to use as a lovely substitute for a bowed corsage!


