wedding boutonnieres
Here's another DIY boutonniere tutorial - so easy to do, yet the ultimate elegance with the dusty miller leaves accenting this deep red standard rose. The extra attention to details (such as unique greenery or a swirl of accent pearls) is what makes high end flower shops charge high prices for their work.
For this lovely boutonniere, you will need the following products:
- 1 standard rose
- 1 roll white floral tape
- 26 gauge florist wire
- Floral Knife
- Dusty Miller leaves (approx 4)
- Pearl Headed Corsage Pins
- 2 inches of River of Diamonds Dazzle Wrap
- Oasis Wire Cutters

For your wedding boutonnieres, wait to remove the outer petals from the rose until you are designing the flowers. Those outer petals are referred to as "guard petals" and are left on at the farm to protect the inner petals from bruising and thorn tearing during the packing process.
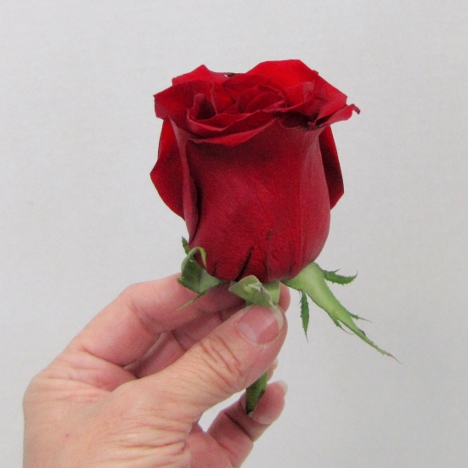
Florists leave these petals on when they process their own flowers upon arrival. This continues to give the rose protection while drinking water and beginning to open.
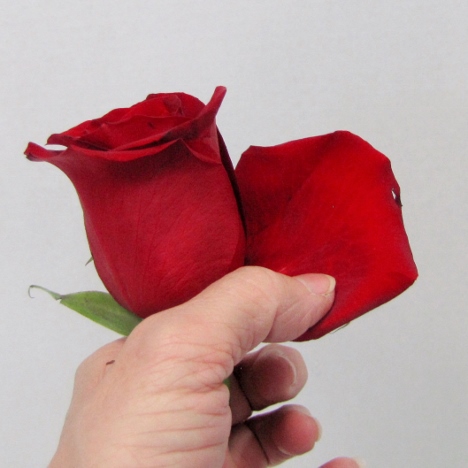
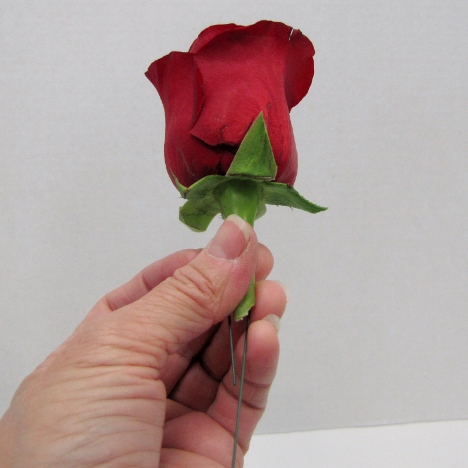
As you begin your own DIY boutonnieres, remove the petals after cutting the stem to about a 1" length.
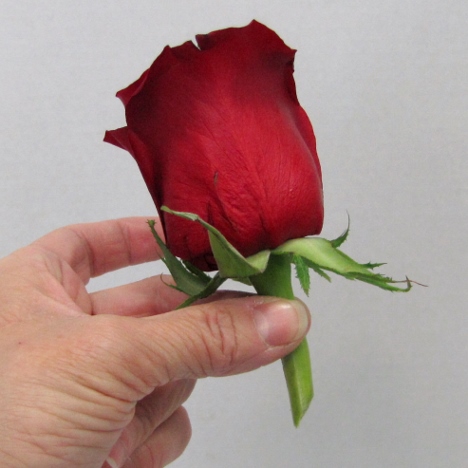
I pierce the bulb of the flower (right below the petals) with a 26 gauge wire and bend it down parallel to create a new wire stem.
This thinner stem prevents the finished boutonniere stem from getting big and bulky as you add leaves and other elements to the design.
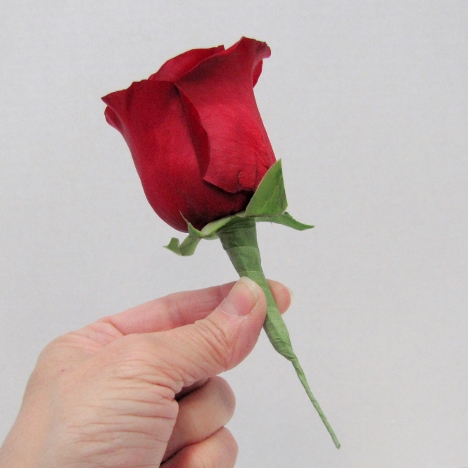
Start floral tape up high and wrap down the stem to the bottom of the wire.
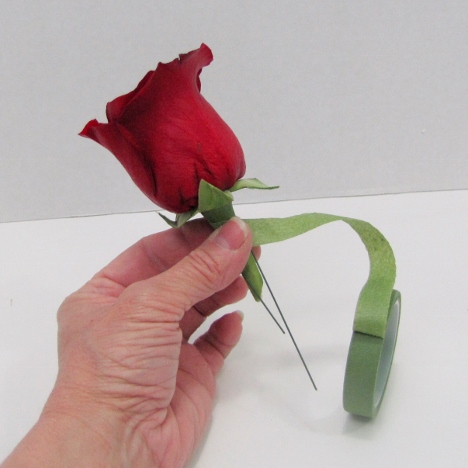
The thinner wire stem is able to be twisted into a decorative curl for a polished finish to your boutonniere later.
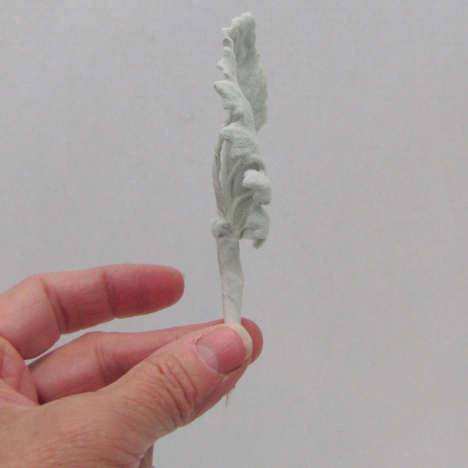
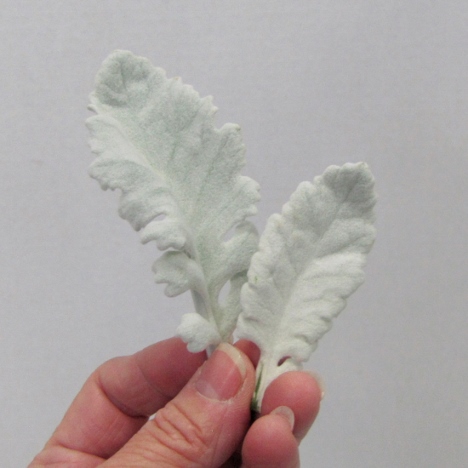
Dusty Miller leaves are a delightful addition to corsage and boutonniere work. The velvety feel to this leaf adds to the charm, along with the unique shape.
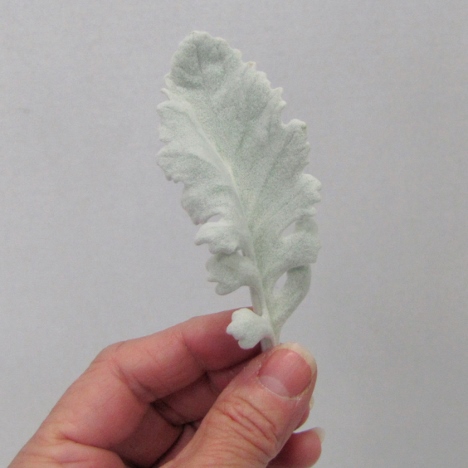
I sort through my Dusty Miller foliage for the smaller leaves to accent my corsages and boutonnieres and leave the larger leafs for the bouquet work.
Please note that not all Dusty Miller foliage has perfect leaves. I usually order one or two bunches extra in anticipation of this. Sorry - this foliage is a living, field grown product. Professional florists know this and allow for a little wastage when ordering. Perfection, I'm afraid, only comes with artificial flowers.
I wire my leaves individually so that I have better control on leaf placement.
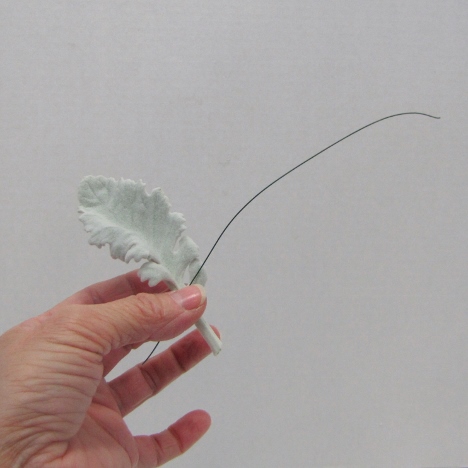
I am also going to switch to white floral tape since it blends with the white look of the leaves better.

As I prepare my mechanics for this DIY boutonniere, I tape a few florist wires with white floral tape to use as hairpin braces. (These are used to hold the leaves against the rose).
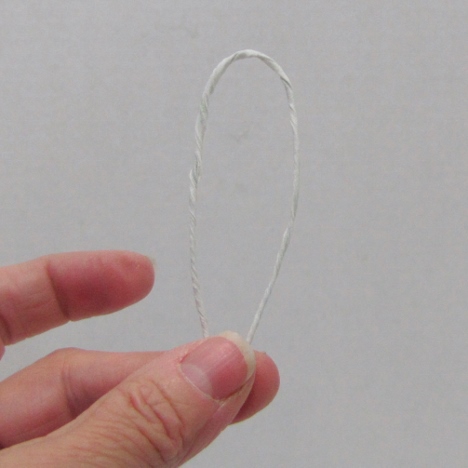
Bend the wire in a hairpin shape and place against the back of the taller leaves.
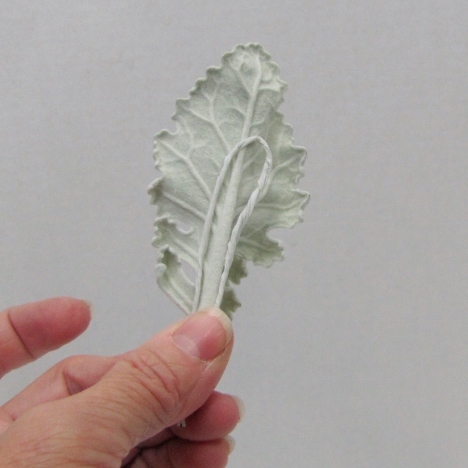
Keep in place by taping the stem of the wire against the Dusty Miller leaf stem.
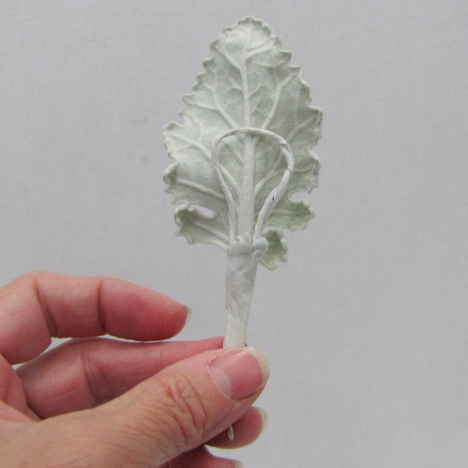
When finished, the wired back helps hold the leaf erect and will better compliment the finished boutonniere.