wedding boutonnieres
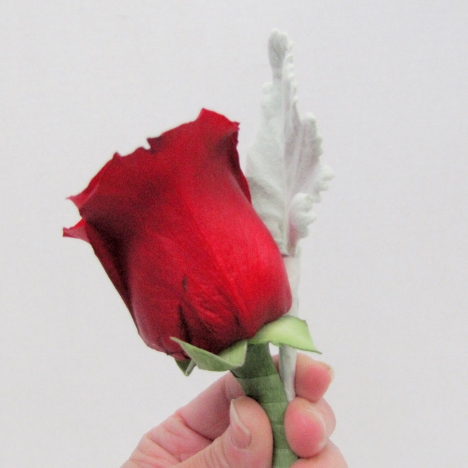
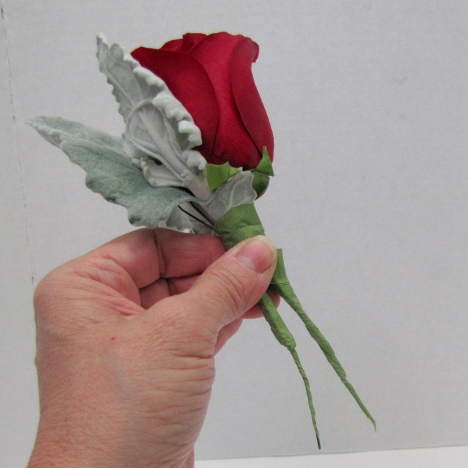
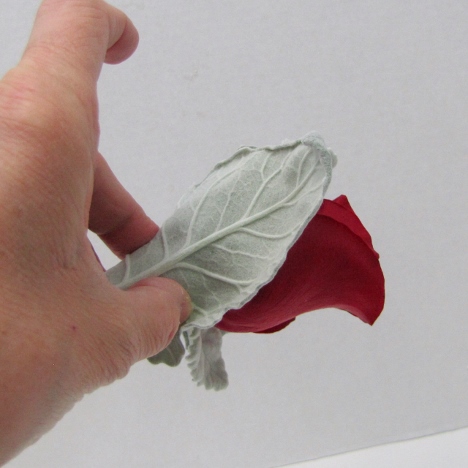
Place the wired leaf behind the rose head, edging it above the top of the wired rose.
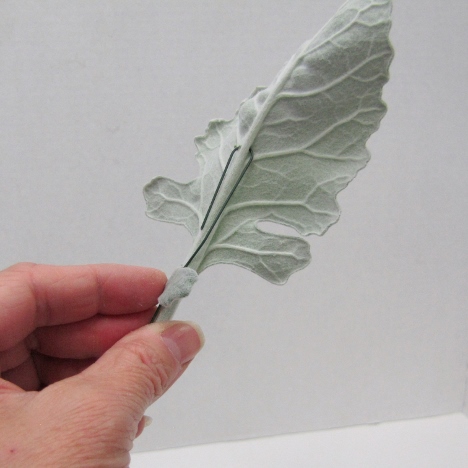
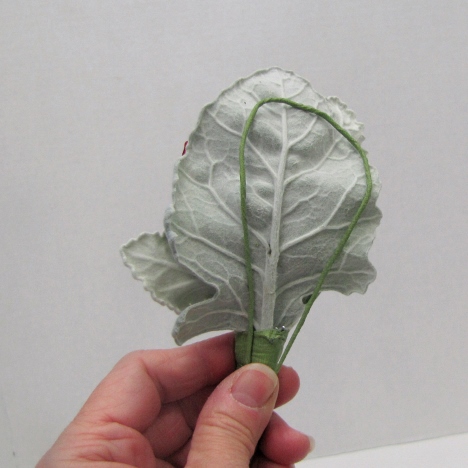
Some of my Dusty Miller leaves for this DIY boutonniere needs a longer wire because of the size of the leaf. Before taping the wire, pierce the central stem of the leaf in the back with the wire.
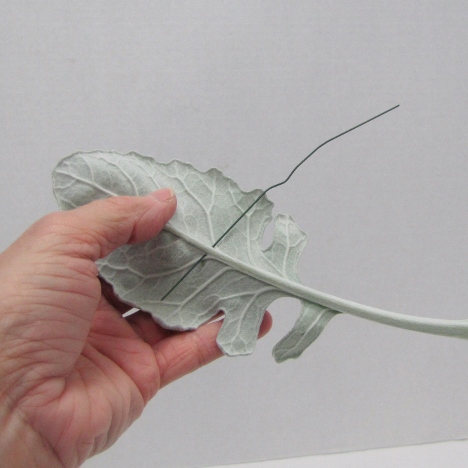
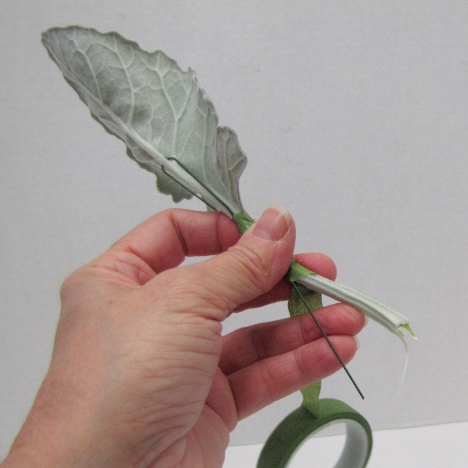
Bend it down parallel with the leaf central stem.
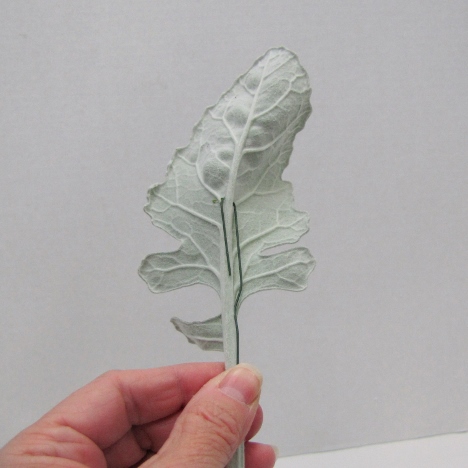
I wrapped the small part of the leaf at the bottom around the wire.
This isn't necessary if your leaf looks fine without doing this.

I then tape the wire into place with floral tape.
Place the wired leaf against the back of the rose and check placement before taping into place.
Dusty Miller leaves are softer than other leaf varieties. I need to tape and add extra support of wires so that I can brace the leaves to stand up properly.
Feel free to use white corsage tape throughout the making of your boutonnieres. I grabbed green because it was handy!
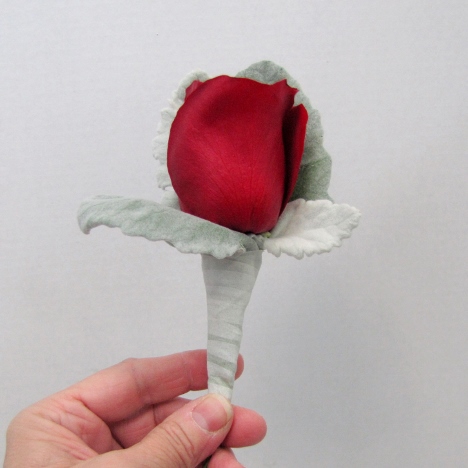
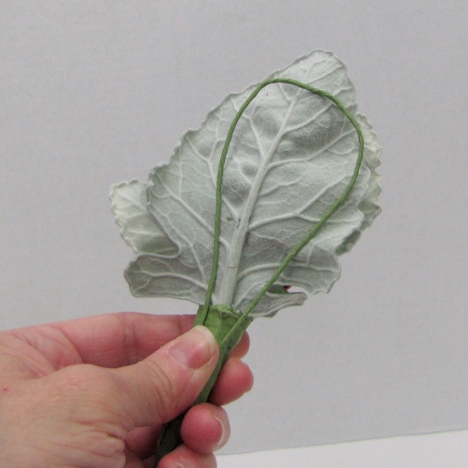
See how the larger leaf wants to bend outward. I want this leaf to gently cup around the red rose.

I'm going to actually fold the leaf into place and then tape it to the boutonniere stem. The additional wire support will then be taped into place.
Tape this leaf into place right below the rose head.
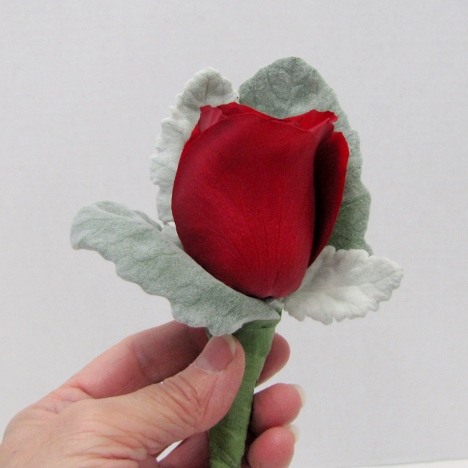
If you need additional support, tape the wire under the leaf where it is hidden. You can see that because of my "oops" of using green tape, I've now covered it with the white floral tape. I do this on purpose because it looks better later with the pearls resting against a white finished rather than green.