tulle pew ends
To make tulle bows three dimensional so they have the "full look" means the tails have to be layered and tied going in different directions.
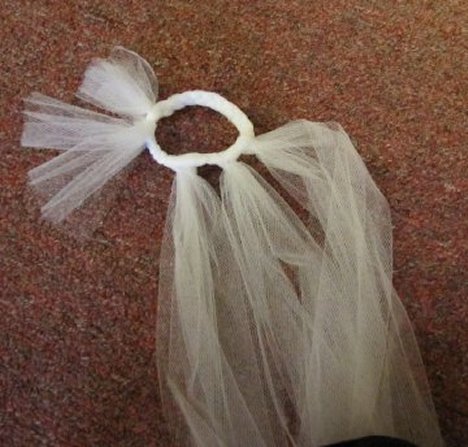
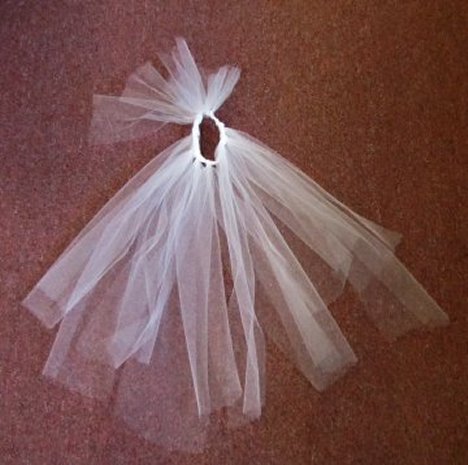
This is what your bow looks like so far. You have two (or more) tails that go from the top of the pew down. You have begun adding more and more shorter cuts of tulle around the knotted braid.
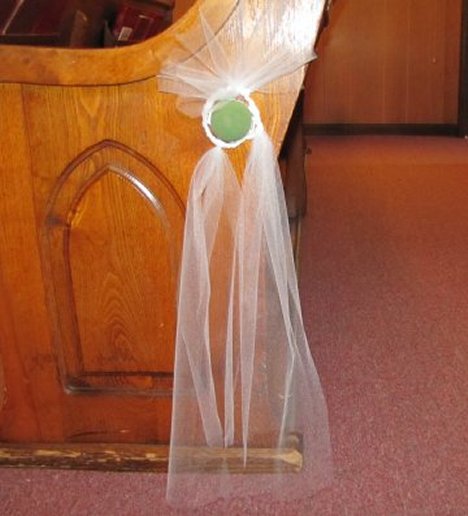
At this point, you have not yet attached the Oasis Mini Deco to the bow.
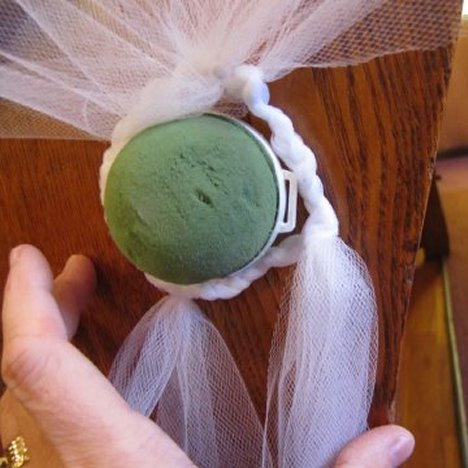
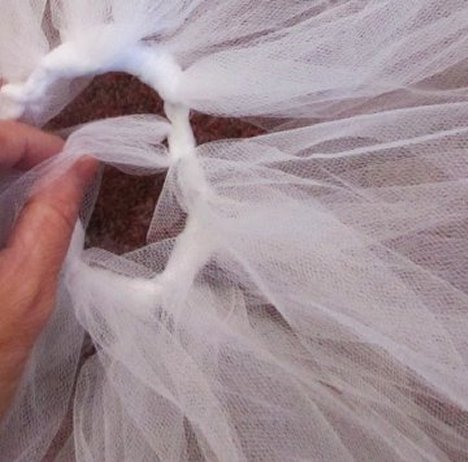
You can see in the closeup that your tulle circle is approximately the same diameter around the Deco so that once fastened into the center of the bow, no space will be showing.

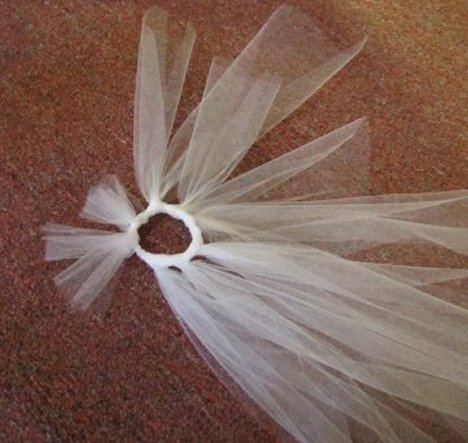
A little later you will tie the Deco to the braided circle. Using shorter lengths of tulle slipped inside the two tabs on the sides of the deco, you will secure them to the braided tulle.
For now, lay the bow on the floor and continue to add more cut lengths of tulle to the growing bow.
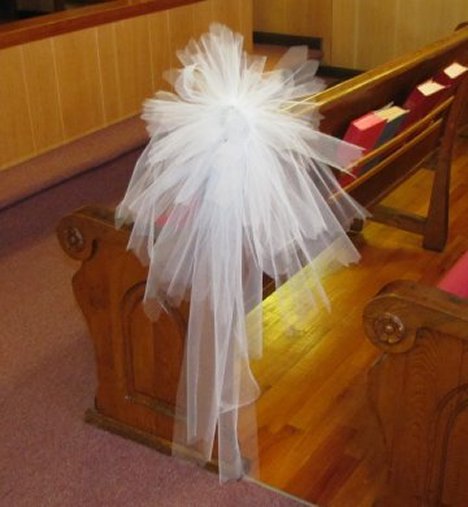
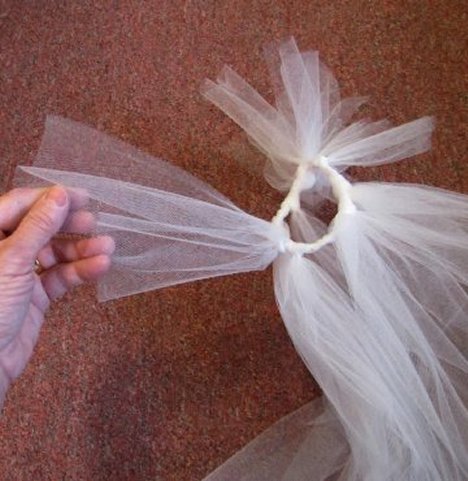
As you can see, I keep the bottom part of my tulle bow longer. You can begin mixing in alternate colors of tulle if you want a variegated look to the bow.
See how my center tufts come straight upward? Simply knot the lengths and pull straight up instead of to the side. Continue to add more and more cut lengths of tulle.
Don't worry if all your lengths begin to look a little shaggy. You'll be trimming the excess tulle length off the bow when you trim at the end.
Right now, concentrate on adding dimensional fullness to the bow, will some of the lengths going outwards and some at a 45 degree angle, and others straight up.
Now you can see the bow is beginning to shape up nicely, looking fuller and fluffy as more and more tulle is added to the loop.
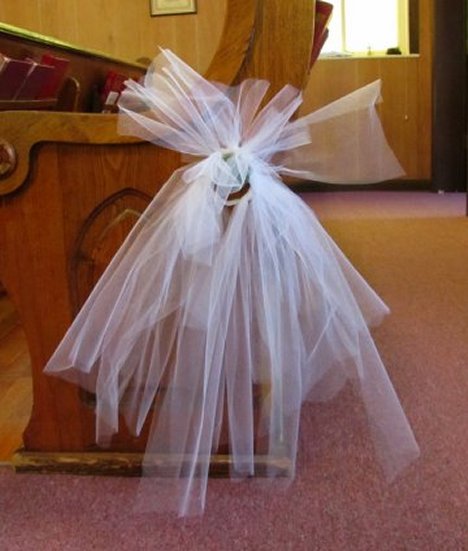
It's amazing how cheap tulle can turn into quickly into stunning decor for your wedding ceremony! Continuing on from our on this bow tutorial, I have a closeup here of the loops being knotted onto the circle of tulle.
Note how the knotted tulle goes off in various directions as indicated by the red arrows.

You want to be sure that some of the knotted tulle is pulled towards the center of the bow. This eventually will create a fullness in the center of the tulle, covering the mechanics of the Mini Deco.
The first rule of wedding florist is to always cover your mechanics! You want the guests to see only the white (or colored) tulle and the flowers. You do NOT want them to see the Oasis foam.
See how some of my tulle is beginning to fall forward, helping to hide the green Oasis foam? This is exactly the effect you want as you make your own tulle pew bows.
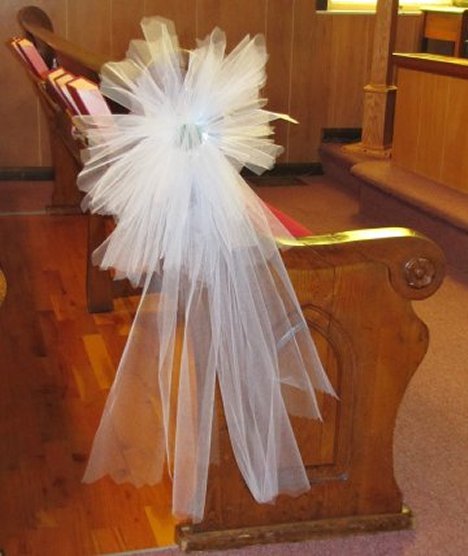
After adding enough wedding tulle to make the pew ends large and puffy, you need to add in your foam for the flowers.