table skirting designs
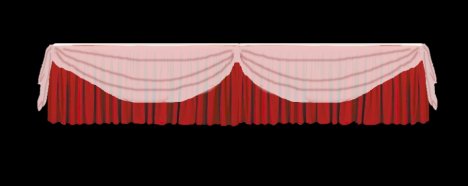
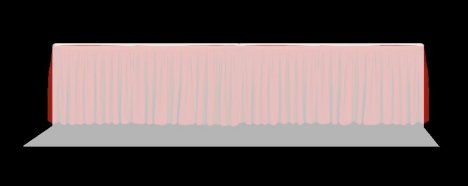
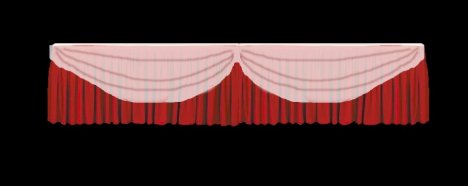
Table skirting designs often include gorgeous swags of fabric over the skirting of your head table. Let's start with the basics. This tutorial by CV Linens demonstrates fabric swags by using a table cloth over table skirting to create long swags. Using a contrasting color can create more interest and contrast.
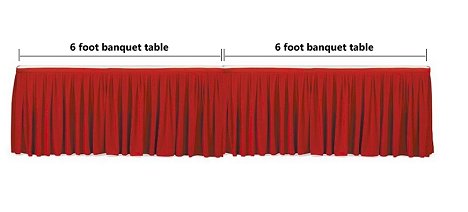
This demonstration is done on a standard 6 ft. banquet table that stands 30" high. You'll need the following:
- 1 Curly Table Skirting for 6' Table
- 1 90" x 132" Rectangle Table Cloth
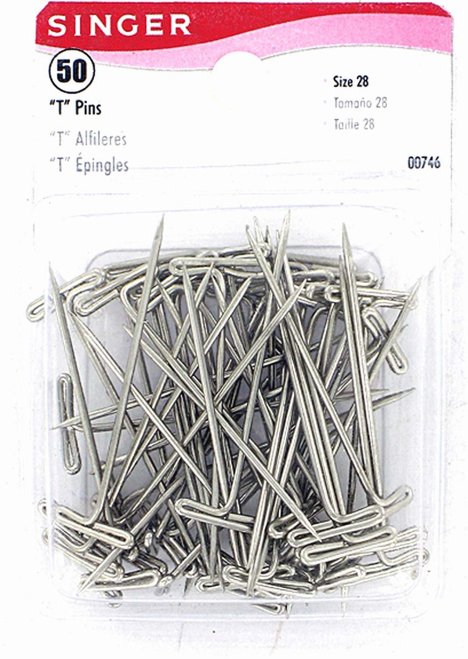
- Box of 2" T Pins or 2" Corsage Pins or 2" Safety Pins
Video Courtesy CV Linens
The technique for creating a swag using a sheer table scarf is very similar. You start by laying a cloth over the table top and then attaching the skirting. Use a measuring tape to find the exact center of both tables and mark each point with a t-pin for reference later. Mark each point on the top tablecloth where you want a drape to be attached.
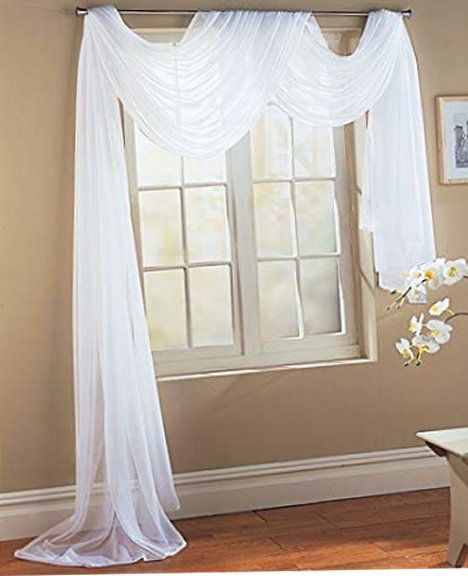
You can use a window scarf as a draping material. I like them because the fabric edge is finished and they come in 30 different colors. It measures 55" x 216". The length of two 6 foot tables is 144" down the front. That leaves 36" that will cover both ends of the tables as well.
Be sure you know how many tables you need for your wedding party (usually allow 2 foot for each person) and order enough scarves to fit and give a nice draping effect. The width of 55" will pin to a 30" table height and leave 23" extra on the floor that gathers nicely up into a drape, showing the skirting underneath it.
T-Pins are strong and sharp enough to fit through many folds of fabric, leaving a flat head. You can, however, substitute corsage pins if you prefer.
Measure your scarf and place a pin in the exact center on one of the side lengths. This will be where you insert your first pin at the center of the two tables.
Spacing out the intervals, pin the scarf to the edge of the table, going around the sides. Be sure the ends are firmly pinned at each corner of the table cloth.

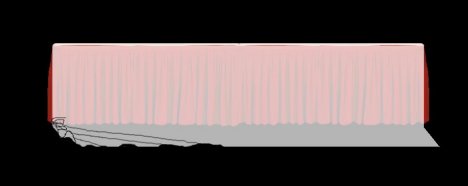
If your cloth skirt is simply a long table cloth, create box ends by tying the corners of the covering table cloth together and flipping the edge over. This will give you even corners to attach your draping to.
Start at the corner of the table and gather up the draping material, folding pleats toward the table top.
Space out the pleats and pin the pleated area to the top table cloth. Smooth down the folds to give a pleasing look to the drapes.
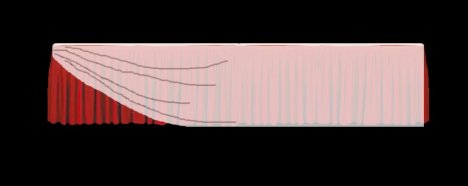
Now, at the opposite end, do the same. Gather up the corner of the drape and pin securely to the top corner of the top table cloth. Again, smooth out the pleats to have a pleasing look, with the center of the cloth resting just above the floor.
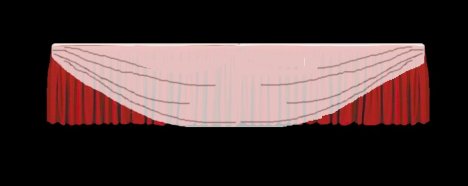
At the center of the draping cloth, gather up the material in the same manner and pin to the center of the two tables. If you desire more drapes, always gather from the exact center of the drape, to create an even swag.
You can use the excess material to either create more swags on each end of the tables or simply allow them to drop down in a graceful manner at each corner of the bridal table.