table skirting designs
Table skirting designs are trending towards longer lengths, creating soft gathers and folds that sweep out from the front and sides of the bridal table.
This design takes a little more effort, starting with a long window scarf or bolt of organza fabric. The edges can be gathered on long side in pleated gathers and then pinned directly to the table edge.

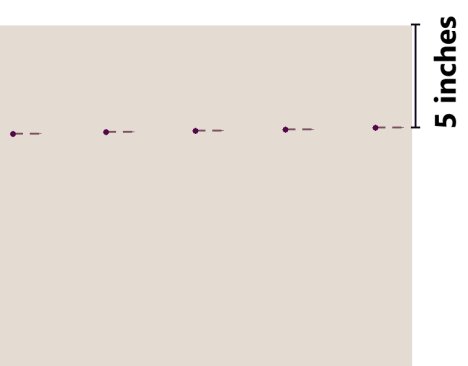
Using a long window scarf, measure down 5 inches and mark with a pearl headed corsage pin. Mark down the entire length of the scarf with a series of pins. Keep in mind that a typical banquet table stands 30" high. Window scarves typically come in lengths of 144" or 216". The longer length scarf will give you more gathers, giving a richer look. Typical gathers are 2.5 to 3 times the width of the table. A six foot table is 72 inches. When multiplied by 3, this is an exact 216 inches, the length of the longer 216" scarf.
The 55" width has a five inch fold at the top, still giving you a drape of 50 inches as a drop to the floor. The extra 20" will give you lots of folded material to gather around the table, giving a finished edge for flower petals, glass vases or battery candles. (Note: do NOT use open flames near the skirting material, as it would create a definite fire hazard.)
Start by laying the scarf out flat on a long table or floor surface. Measure down from one of the 55" sides five inches and mark with a corsage pin. Continue measuring and marking the
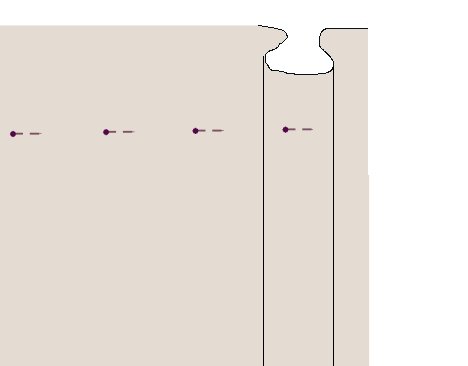
Start by pinning the edges of the scarf directly to the table ends.
Remove the pin closest to the top edge and gather the material into a pleated fold to the second pin in.
You have two choices. The first is to pin the gathers while on the floor or work table. This will allow you to find the exact middle of the draping. You and also pin and pleat at the same time, working from the center to one end, then starting again at the center to the opposite end of the table. This is up to you.
Remove the existing pin, and re-pin again at the 5 inch mark, through the front and back layers. Remove the next pin to the left, and gather the fabric over again, pinning it through the front and back and to the .
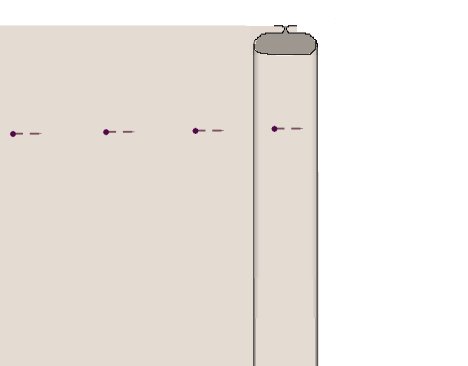
You will begin to have pinned rows of box pleats, with each pleat secured by a pin at the 5 inch mark.
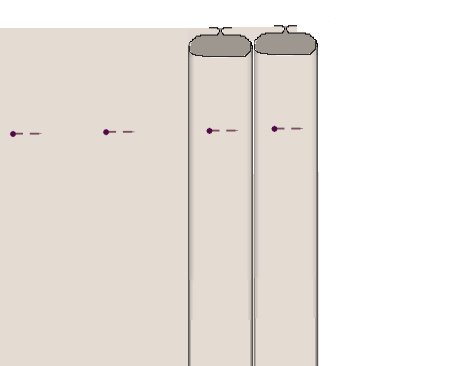
Once the entire scarf is pleated with holding corsage pins, pin the gathered fabric to the top of the table skirting, keeping the 5 inch edge above the table edge.
Allow the pleats to fall forward, creating ruffled folds that drape forward gracefully from the table edge. Once the skirting is completely pinned, add large looped bows to the table corners as shown.

Let's move on to more table skirting designs!