rose bouquet
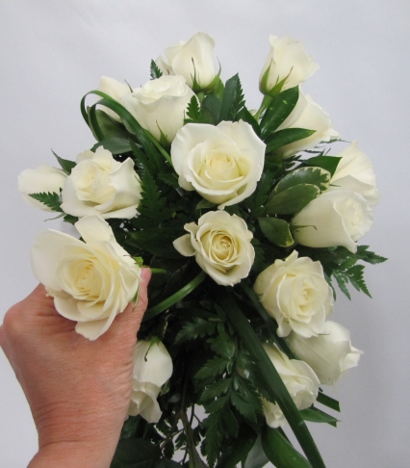
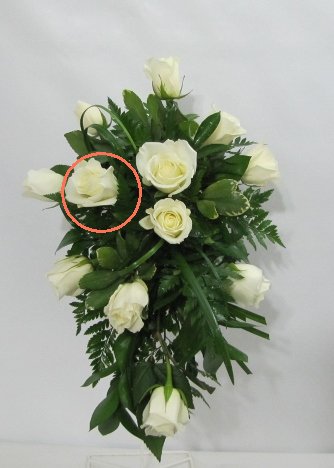
This rose bouquet is monochromatic (meaning it's all one color). Pay attention to the angles of the rose heads. I inserted the left back rose tilting backwards. I now do the same on the opposite side - but notice that I haven't tilted it quite as far back. This is what I mean by everything doesn't have to be mirror perfect.
This white rose cascade is beginning to take shape pretty quickly. I already have two more open places that I'm going to insert roses in.
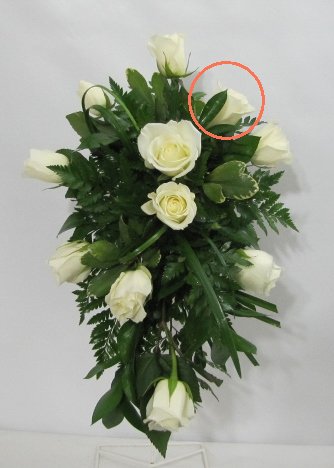
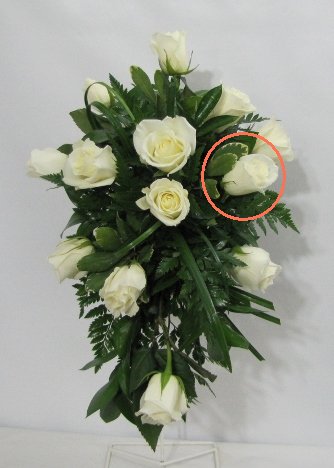
Following my rules for the flower face - you can see the center rose facing straight forward, the side rose facing tilt back and this new rose is tilted away from the center rose.
This bouquet is taking on a definite dome shape when seen from the side.
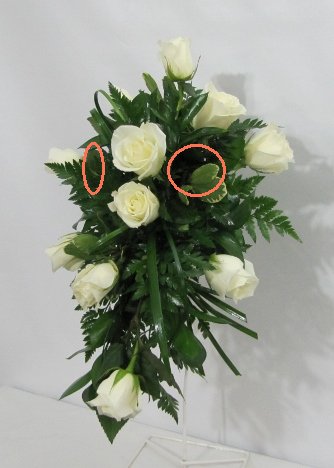
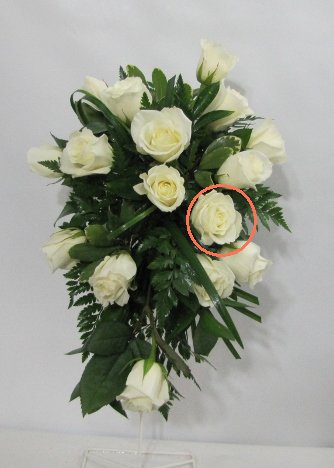
Place another rose on the right between the center and lateral roses.
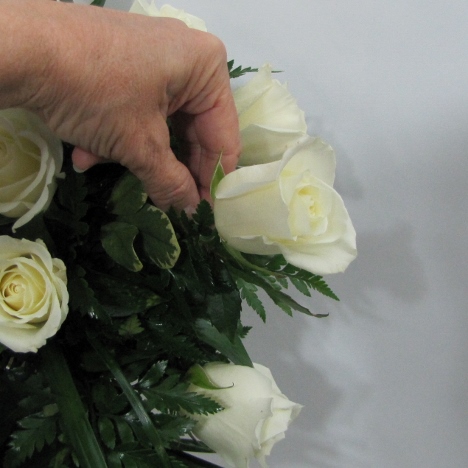
Note that I didn't make this placement "perfect" - but it still balances out the opposite side.
As you build this cascade bouquet, you learn to "see" the open spots that need another flower. Add more roses until the design pleases you.
This bouquet is going to be pretty full when finished, but don't feel that you have to keep adding more if you like the design balanced with more greenery.
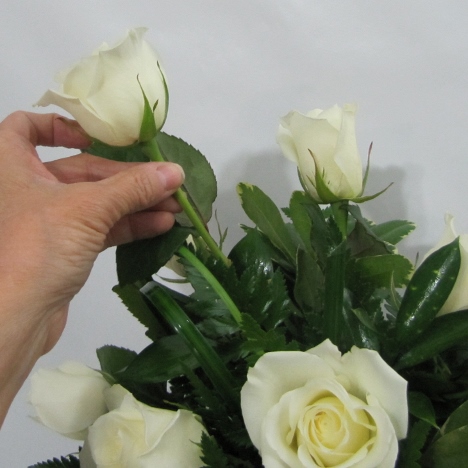
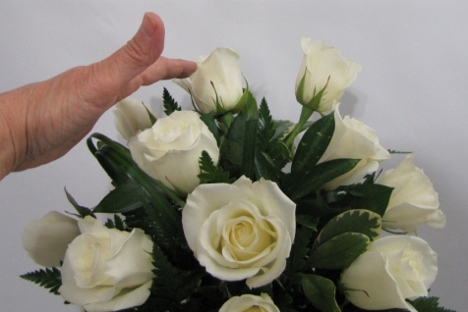
I added a rose on the upper left, centering it in the open space of greenery.

I'm going to counterbalance that rose with another on the lower left, right where the straight lily grass was inserted earlier.
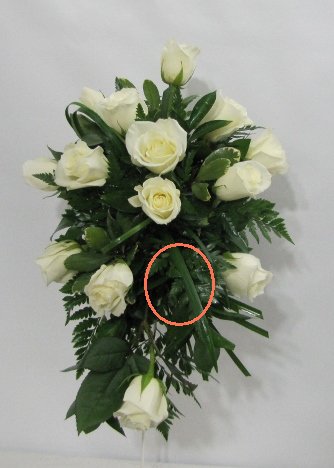
I am angling the rose face downward, as this flower is part of the cascade section.
Can you see more open spots where additional roses can be placed?

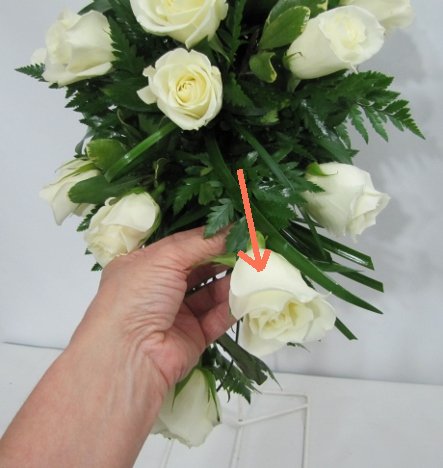
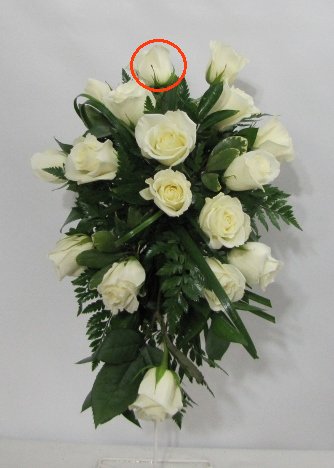
The next step in this bouquet tutorial is to place a rose just above the last one you placed as part of the cascade (lower right).
Tilt the face slightly outward from the center. You notice that the roses are opening nicely. When you first unpack your flowers that were dry packed, the roses were closed. Now they begin to open gently in the warmth as you design.
Try to take advantage of the natural curve of some flowers. I'm going to place this one near the top of the bouquet curving upwards.
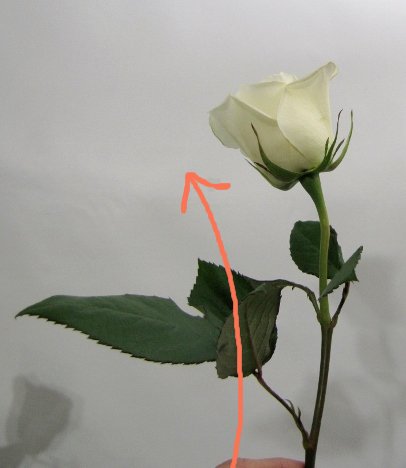
This was a tight, angled shot from the bottom facing upwards. I'm touching the bent rose that I just talked about in the previous photo.
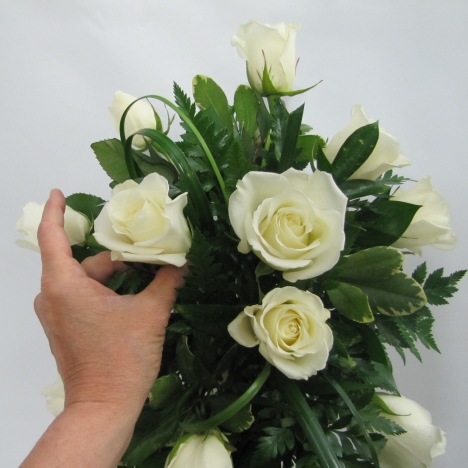
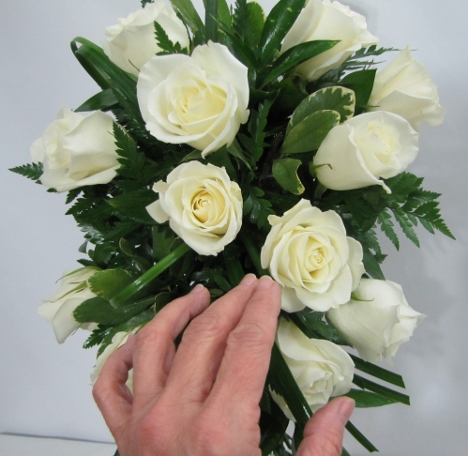
From a downward view up, see how all the roses in the center are facing center and then begin facing outward.
Now I'm placing another white rose below the very center rose on to it's left.