white rose bouquet
This white rose bouquet tutorial will walk you through all the steps, including explaining the professional floral supplies used.
You should process your flowers correctly- just as a professional florist would. Always cut all the flower stems underwater and then dipping them into a rehydrator such as Quick Dip.
PLEASE don't skip these steps. Processing flowers the right way is the start of designing process and assures that your bulk flowers will last as long as possible.
These simple products are lab tested and have
proved over
time to give fresh flowers a longer life span. If you do not have
access to a florist cooler - then it is even more important that you do
everything you can to extend the life of your wedding flowers.
For this wedding bouquet design, you'll need the following:
- 23 White (or your choice of color) Roses
- 5 - 6 stems Leather Leaf Fern
- 1 - 2 Variegated Pittosporum
- 2 stems Italian Ruscus
- 1 stem Robellini Fern
- 3-5 stems Lily Grass
- Grande Belle Bouquet Holders
- Bunch Cutters or Florist Knife
- Crystal Clear Floral Food
- Florist 24 Gauge Wire
- Stem Wrap Tape
- Finishing Touch Flower Sealant
- 1 can Floralock Stem Adhesive

Soak your bouquet holder in water that has been treated with a professional flower food. I use Floralife Crystal Clear. Float soak - meaning that you allow the holder to sink naturally in the water rather than forcing it under. Forcing can cause dry pockets that could translate into wilting flower stems.
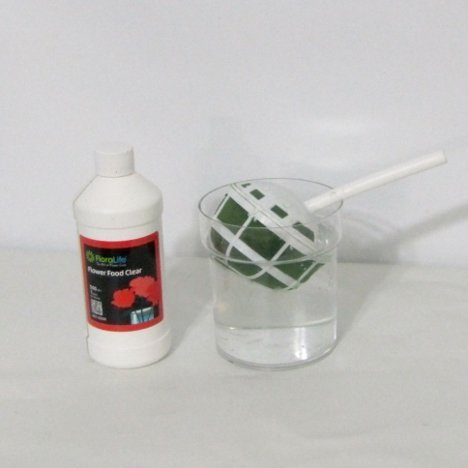
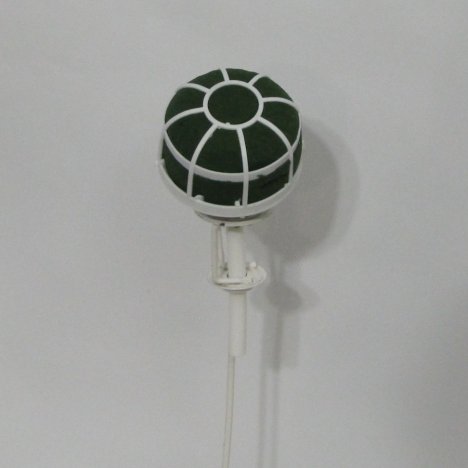
Choosing the correct bouquet holder is an important step when making this white rose bouquet. I prefer the using Oasis Belle Bouquet holders. I tend to use the Grande, since you want the largest water source you can get for such a large number of roses.
The holder must be secured firmly in an upright position. You can use a vase with a narrow neck. Fill it with marbles or rock so that it doesn't tip forward as your design gets heavier with flowers. (Trust me - flowers in wet foam are heavier than you think!)
Leather leaf fern is a basic staple in every flower shop. It only takes four or five good sized leather stems to fill a standard cascade bouquet.
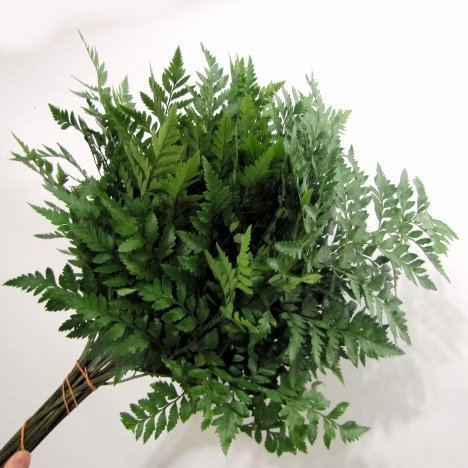
This greenery is affordable and has many lateral branches off one central stem.
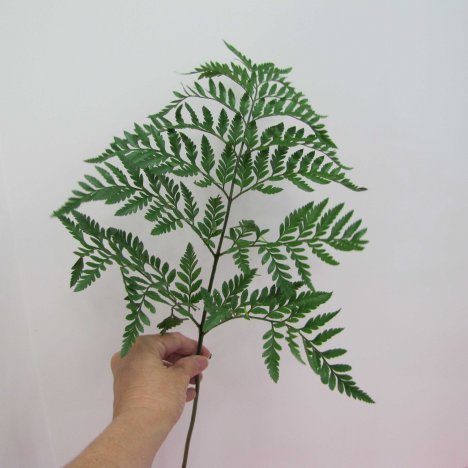
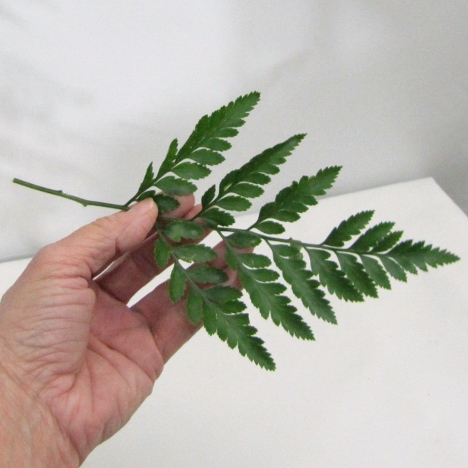
Some floral designers tear off the individual laterals.
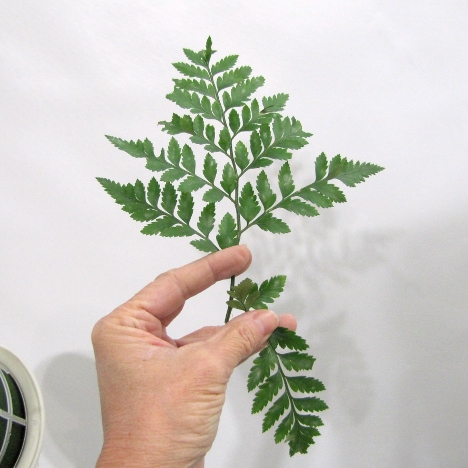
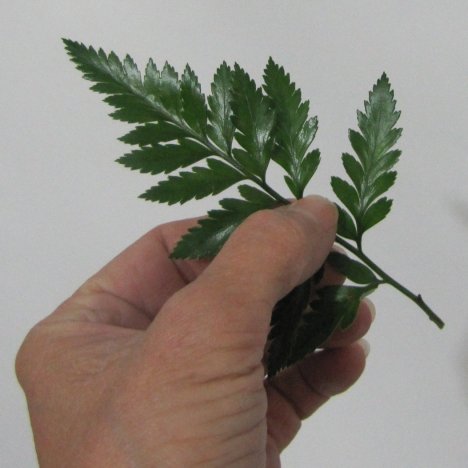
I prefer cutting off the individual fronds with a knife so you have a clean insertion point.
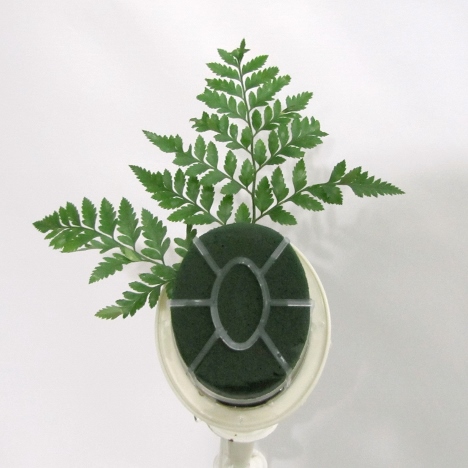
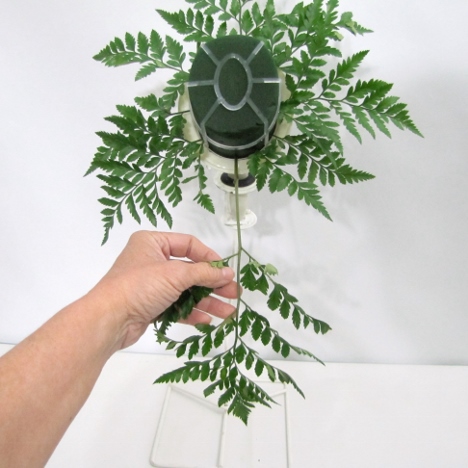
Begin by inserting your cut off leather leaf fronds (about 4" - 5" long) around the perimeter of the bridal bouquet foam. Remember that this frame of greens is going to dictate how large your final white rose bouquet will be. The lower fronds that you cut off these first pieces can later be used to fill in the center of the holder.
The greenery tips are going to be just a bit shorter than the rose heads, which will extend out past the edge of the greenery.
For a cascade, I make the first top green just a little longer than the side greens, which will give you a nice oval shape to work with eventually.
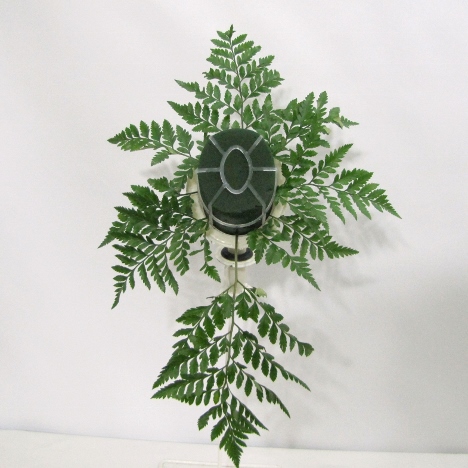
Insert all the greens around the outside first, before filling in the center part of the foam. I'm going to use a mixture of different greens in this bouquet, which will give more of an interesting look and texture.
Greenery is typically a good way to stretch the flower budget, as the greens shown should be cheaper than the actual flowers.

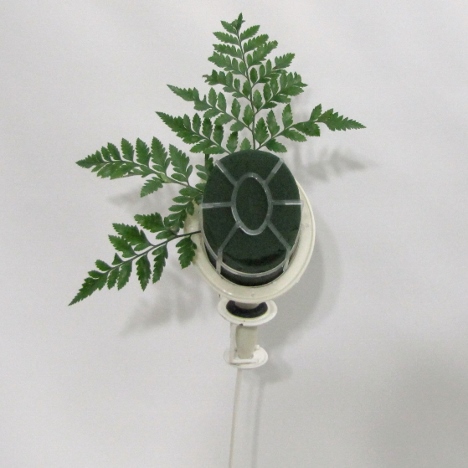
Keep the pieces of leather about the same length (except the top piece), all around the bouquet holder until you reach the cascade bottom.

Then insert a longer piece of leather leaf fern. Remember - the length of the greenery dictates how long the cascade will be.
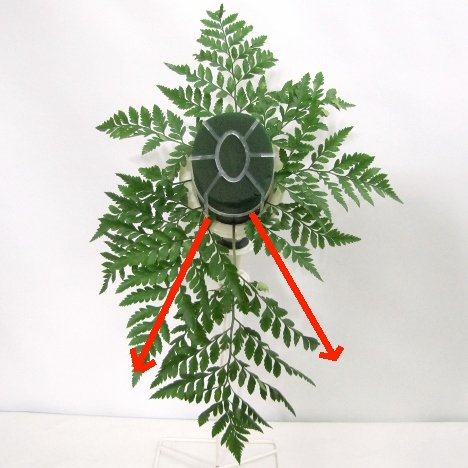
If the leather curves too far backwards, place another piece BACKWARD facing behind the first piece. The natural curve of that piece of leather will push the first piece forward.
You'll need two more pieces of fern - longer than the first pieces - yet shorter than the cascade piece.
Insert these two longer pieces on the lower right and left, filling out the cascade tail and completing the oval framework of the bouquet.
On to the next step of this white rose bouquet tutorial!

