rose bouquet
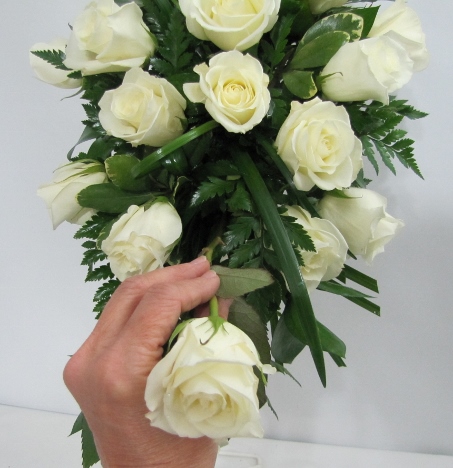
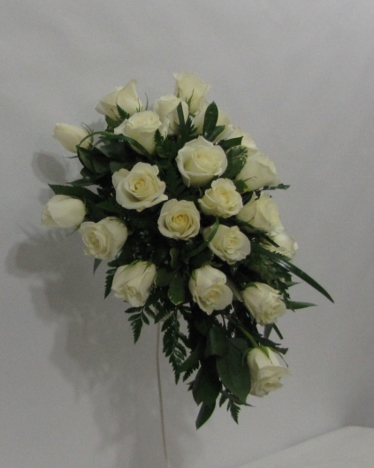
This rose bouquet is just about finished. Although this bouquet is slightly asymmetrical, (not a perfect mirror image) - the bouquet has taken on a very lovely traditional cascade shape.
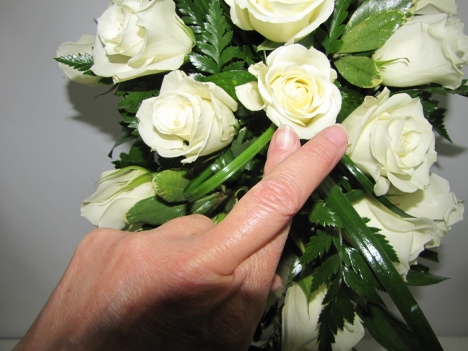
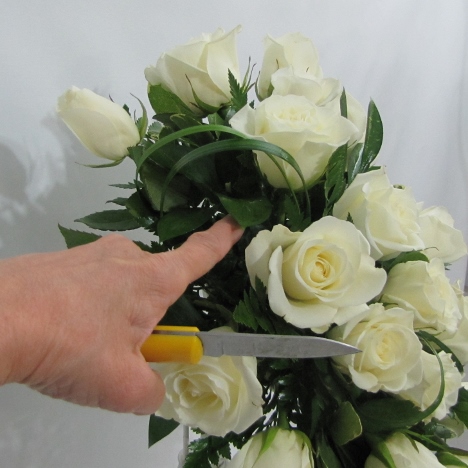
Look at the design. Can you see the open spot where the next rose is going to be placed in the cascade?

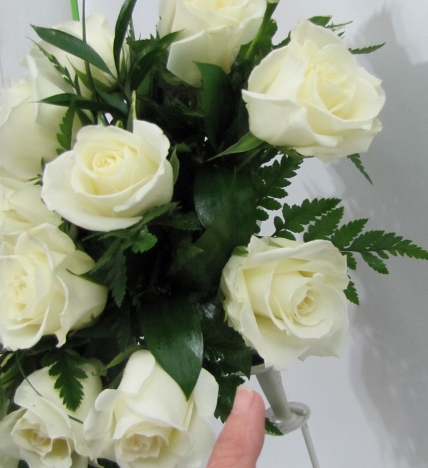
The flower heads in this cascading rose bouquet are getting closer together now. If you had begun the bouquet by packing them tightly from the center out, you could have ended up using more roses than you originally planned. Always make up "design recipes" so you count out the flowers when they arrive. This way you don't come up short.
A bouquet recipe keeps the different designs balanced and the flowers are spread out and you can stop when you reach the number of flowers you allotted for each bouquet. I'm tucking another rose down among the flowers that makes up the cascade.
See how I staggered the length of the cascade flower heads. This last rose is also pointing outward a bit more than the one on the left.
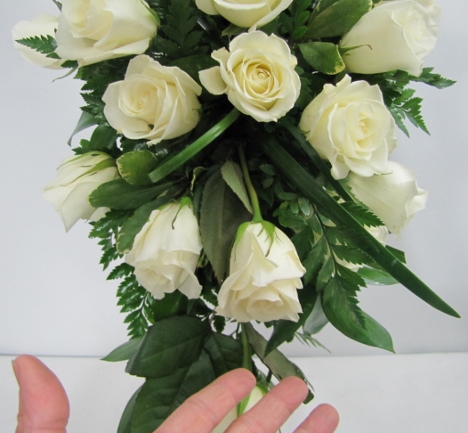
I like to tuck some smaller flower heads deeper into the design. This adds to the interest and is more of a freestyle design.
Watch the sides of your bouquet. Fill in the blank spaces if you have enough roses.
Always keep some greenery behind every rose head of the flowers placed on the sides.
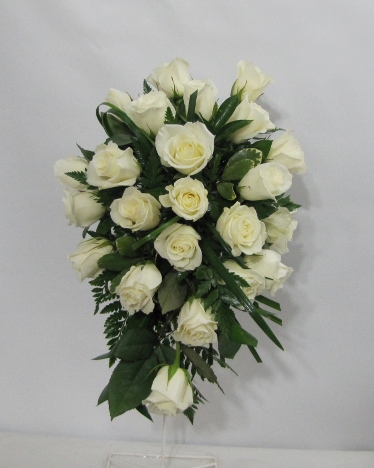
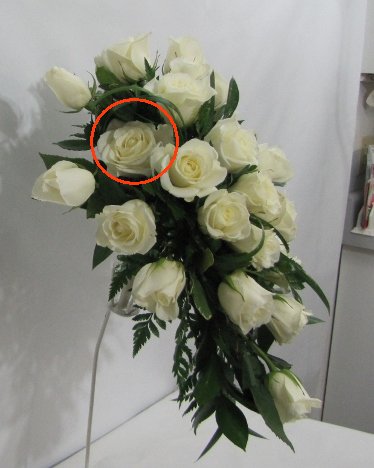
This rose bouquet is fast nearing completion. It does seem to me that there is another open "hole" below the center rose.
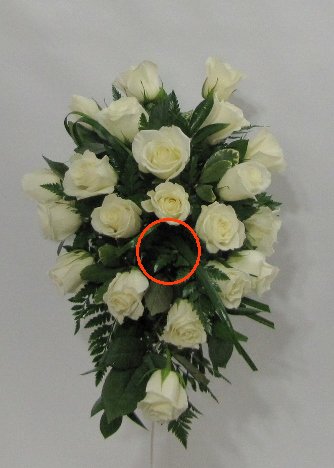
This rose is above the cascade, so it will have a short stem when inserted. Make your stems too long and they will start crowding each other in the foam head.
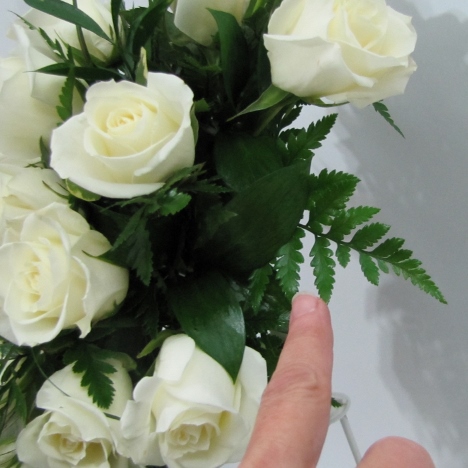
Step back and examine your bouquet design. I do want some of that interesting greenery to show, so at this point I'm only going to fill in any obvious gaps in the sides or upper portion of the bouquet.
Place this rose facing upwards . . . yet slightly tilting inwards to center.

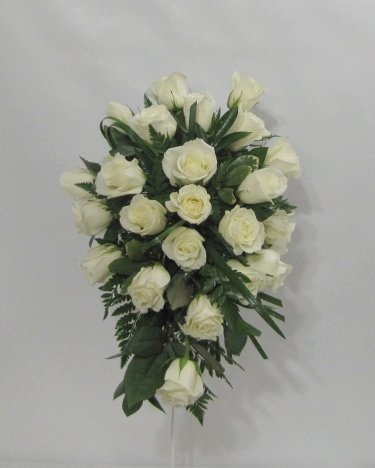
I'm liking the finishing look - but am sure to look at the design from both sides.
Don't be afraid to tuck a few of the last roses in deeper - I really don't want a "round" look as much as a free style cascade.
See how interesting greenery can add a lot of fine contrast and detailing to a bridal bouquet.
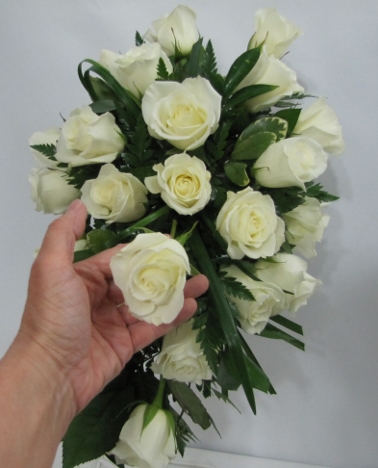
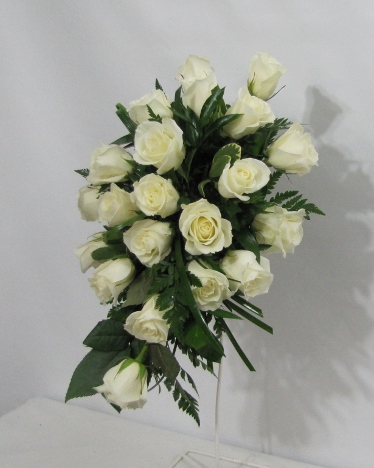
No obvious gaps from a right lateral view.
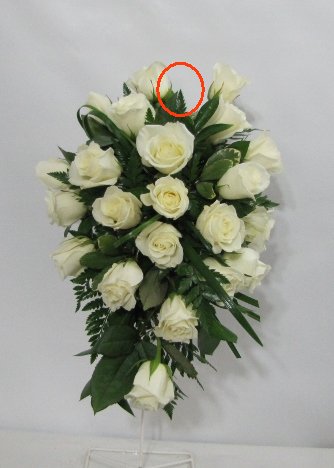
On the left side, I notice an open place in the upper section.
I'm going to insert one more rose, deep under the loops of Lily grass so I don't take away from the look.
If anything, a deep sunk rose accentuates the loops of grass in this bridal bouquet design.
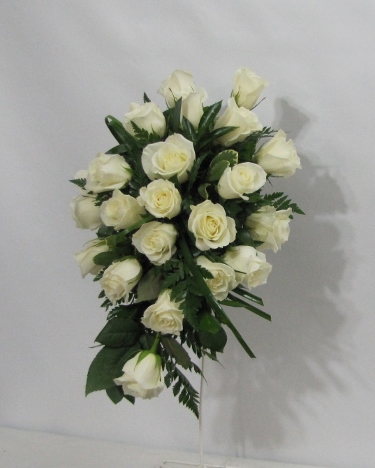
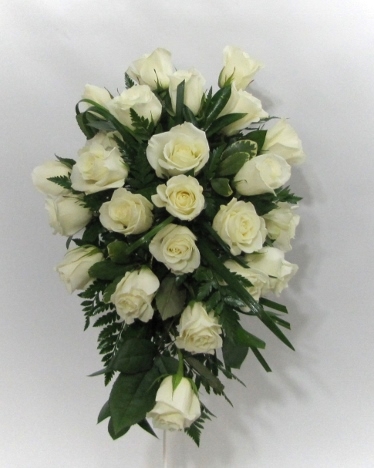
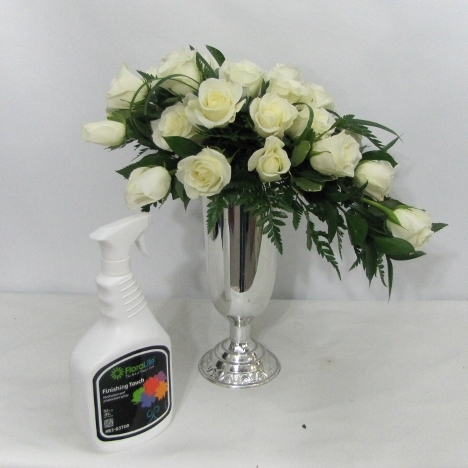
You now have a lovely, traditional white rose wedding bouquet with a traditional cascade. You can do variations on this same design by lengthening the cascade stems and adding more roses.
Store any bouquets that you have created in a large, open mouth vase. Dribble more water (treated with flower food, of course!) onto the foam.
Be sure your foam always stays wet. The flowers will drink a lot more than you realize. Keeping the foam saturated up until the wedding day assures a longer flower life.
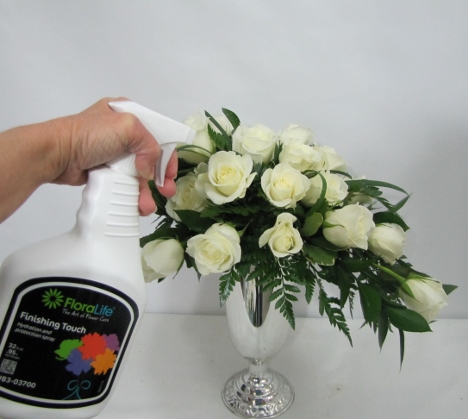
I also use a flower sealant called "Finishing Touch". This is misted undiluted on the flower heads, sealing the petals against moisture loss.
This is especially important for DIY florists who don't have access to a professional cooler. Florist coolers put humidity INTO the air. Regular home refrigerators and air conditioning pull moisture OUT of the air. This product helps immensely in keeping the flower petals soft and hydrated.
I also use Floralock to keep the stems tight and in place. Do not do this step UNTIL you are completely finished with the flower insertions. Shake the can thoroughly and use the long red straw to fit in between the flower heads and give short bursts, allowing the glue to set. Too much and you'll have glue running down the bouquet handle.


