Red Rose Wedding Bouquet
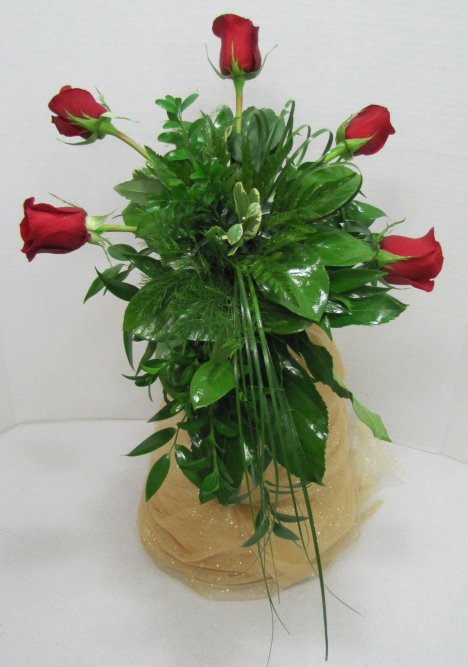
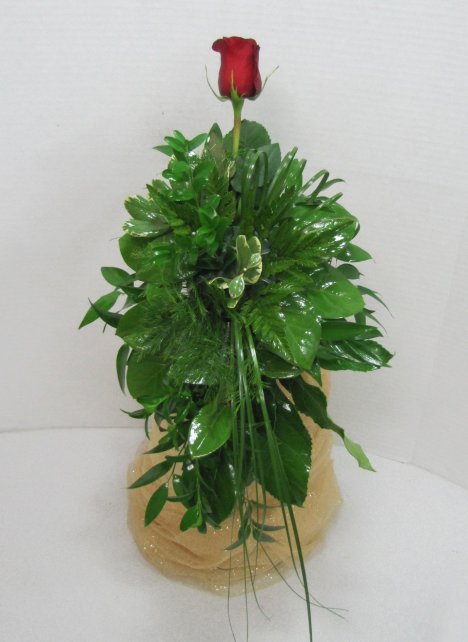
This red rose wedding bouquet is going to have a long cascade. I'm leaving a much longer stem on the rose than I did in my previous (tighter) rose bouquet cascade designs.
This is going to be a more open, sweeping look, that deliberately exposes the greenery to be a part of the final look of the bouquet.
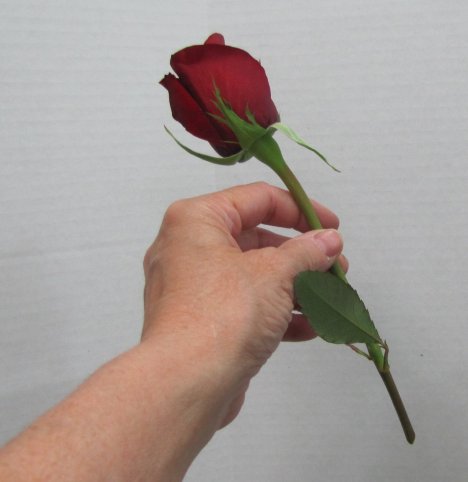
Insert the rose stem about an inch into the Oasis foam. It has to be deep enough to feel securely anchored into the foam, yet not so deep that the stems start bumping into each other, beginning to tear up and degrade the foam.
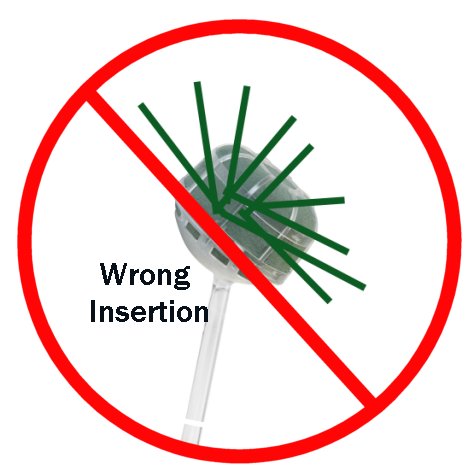
There are a lot of roses to insert into the foam, so you have to have room for all of them.
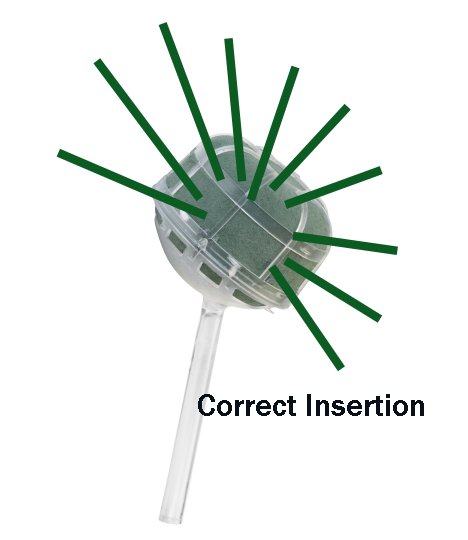
I started my first rose insertion at the top. The flower is almost straight up and down, the tilted slightly towards the back.
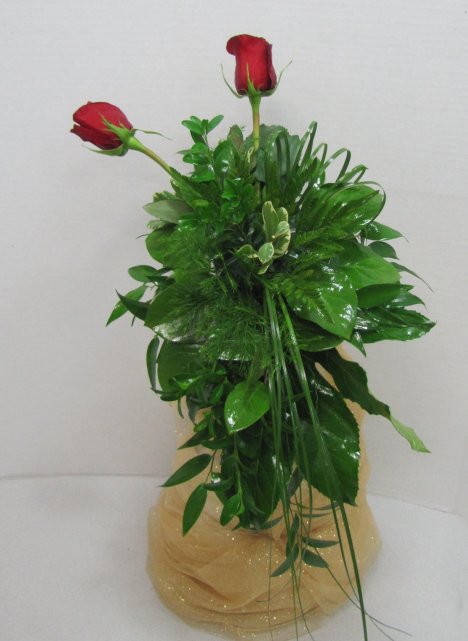
Now I insert another rose, approximately 45 degree angle to the first rose - again tilting slightly towards the back.
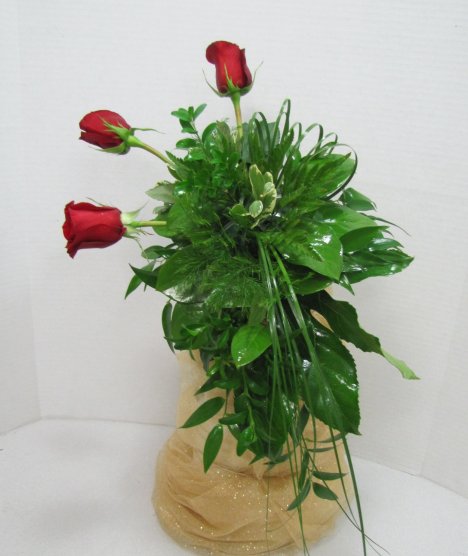
The third rose at a 90 degree angle to the first rose, tilted towards the back.
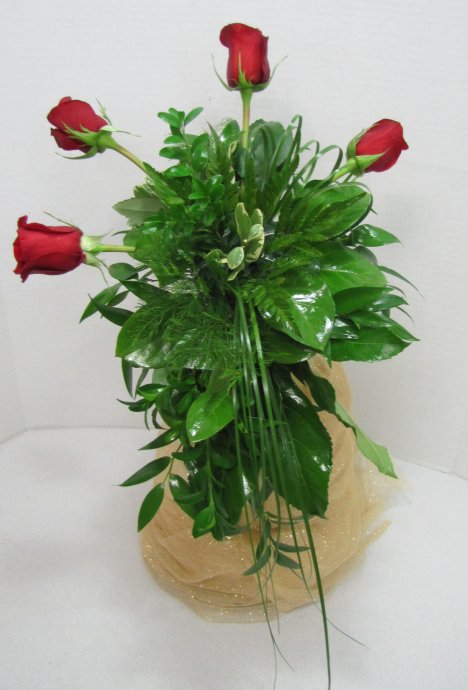
Now I'm going to place a mirror roses to the right, mimicking the flowers inserted on the left.
The length of the rose stems will determine the final size of the finished bouquet. If you want a larger bouquet, cut the stems longer. If you want a smaller, tighter bouquet, shorten the stems.
I find that taking the bouquet and looking at it in a mirror and held to my waist gives me a better sense of what size I should end up with. This is going to be a fairly, good sized bouquet with a heavier feel by the time I'm finished.