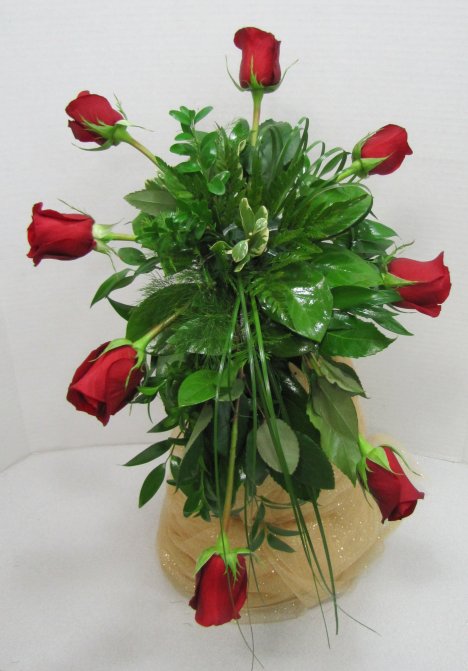
Red Rose Wedding Bouquet
This red rose wedding bouquet is really coming together. As I approach the bottom of the bouquet , my stems will get longer to create the cascade. The first rose on the bottom (shown below) is the same length as the other roses.
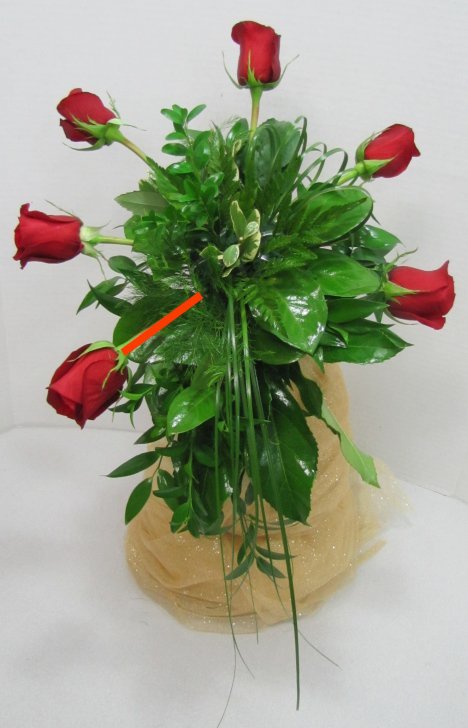
However, I stagger down the matching rose on the right side, making it a longer length.
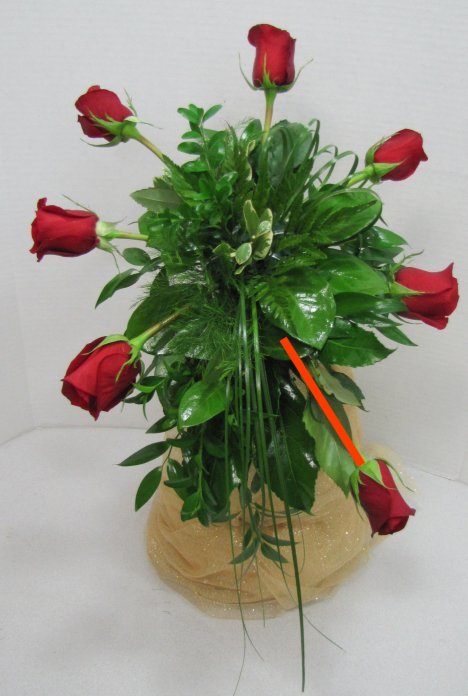
The very bottom rose is the longest, determined by the length I choose for it. I generally hold it up against the bouquet to gauge just how long I want the final bouquet to be.
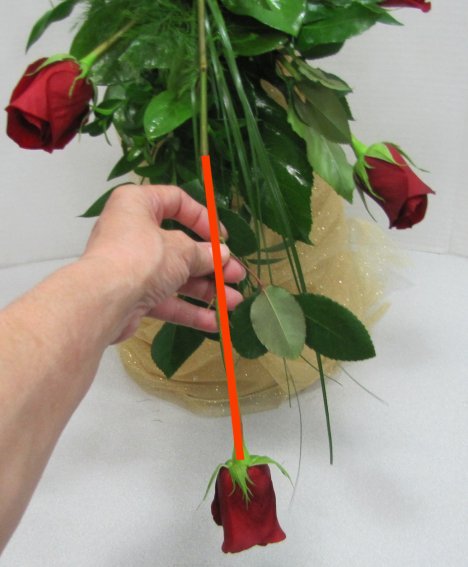
Notice that I staggered the very bottom rose slightly to the left. I will place one final rose later, pointing it straight down.
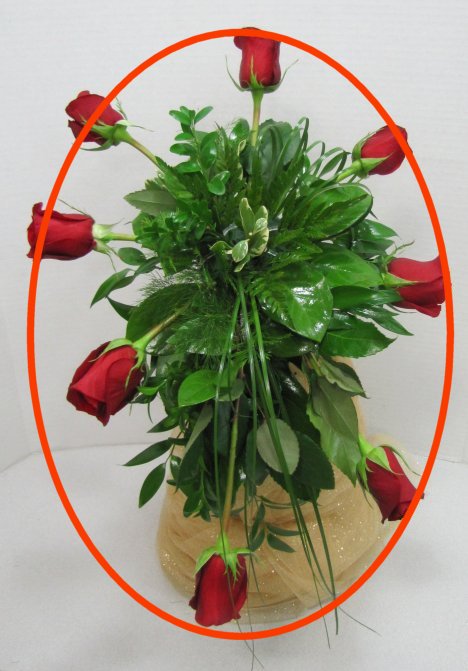
The bouquet is now ready for insertion of more roses in the center of the bouquet. The foam is beginning to get crowded at this point, but later I will show how a floral adhesive will keep all these stems firmly in the bouquet holder