Red Rose Wedding Bouquet
This red rose wedding bouquet is going to get more dimensional now. Right now the flowers are flat, all pointing outward. My inner roses will grow shorter, beginning to pull forward away from the outer roses. This will give the final depth to your bouquet, mimicking the same treatment as the greenery insertions.
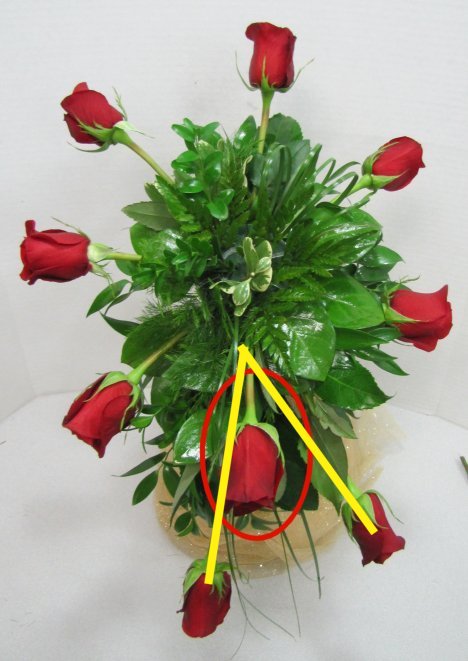
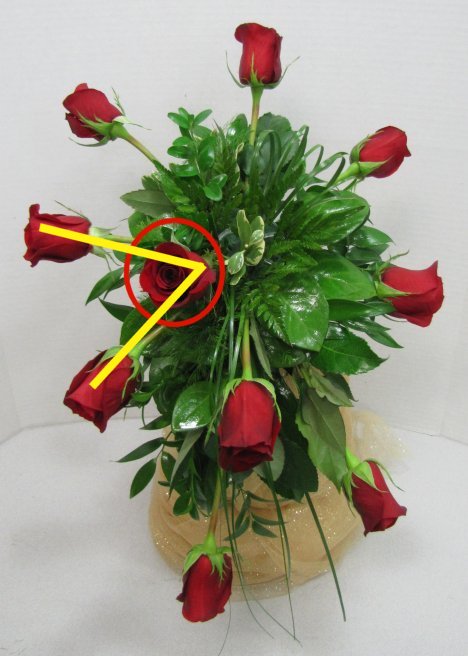
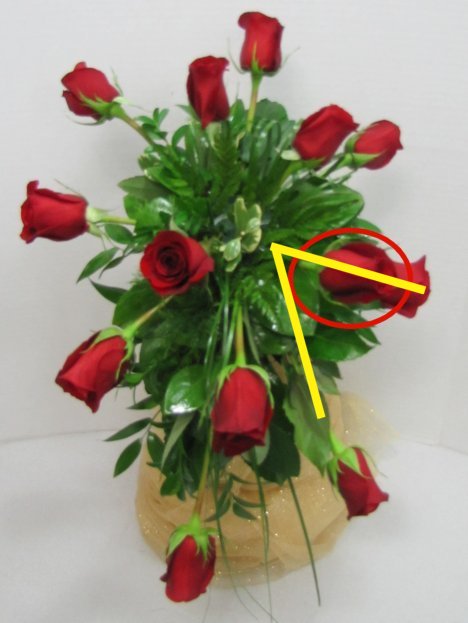
My insertion points for the inner roses are where the outer roses create a "V" point.
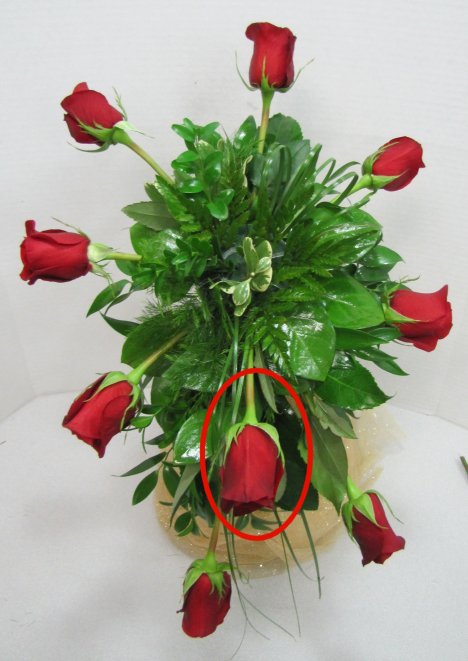
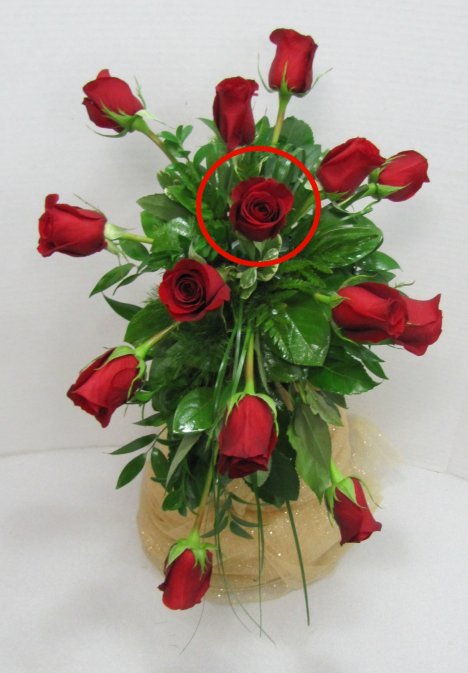
Notice this next left rose is much shorter and roughly a 45 to 50 degree angle from the outer roses.
See how this rose is at the "V" point where the two outer roses meet.
I continue to gauge the insertions of my other roses in the same manner.
This doesn't have to be perfect measurement. Just gauge with your eye.
You can definitely see that the inner roses are tilting forward, a different more forward angle that the outer ring of roses.

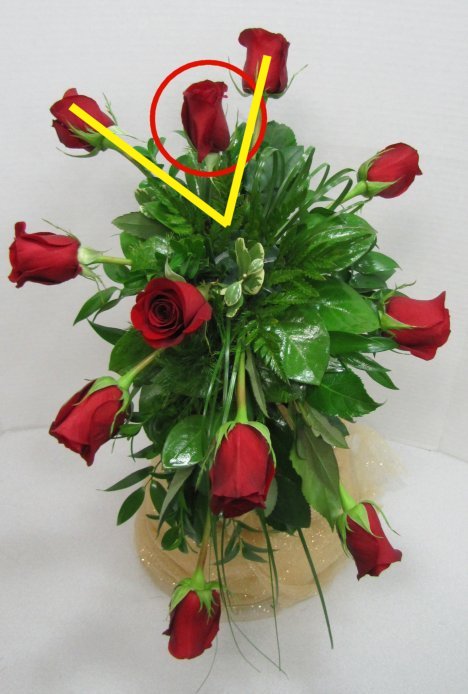
Notice the point of the "V" is the point that I inserted the stem of this right rose.
This roses is higher, simply because the bottom cascade road is longer that the right rose.
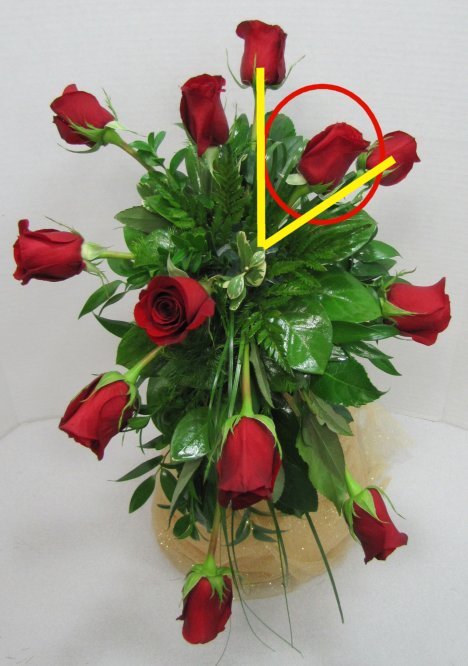
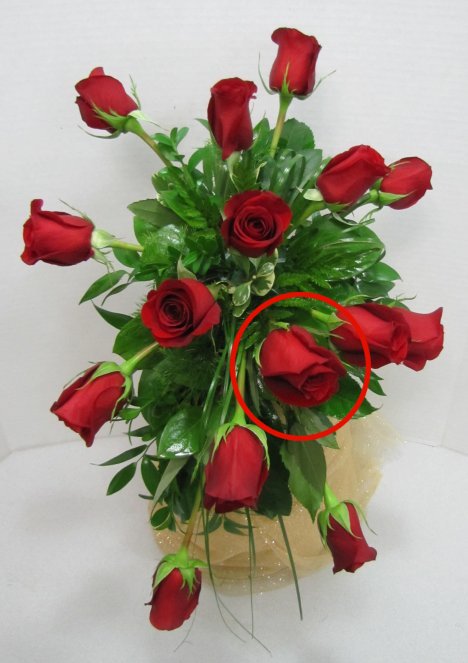
You can still visualize the insertion point for this rose.
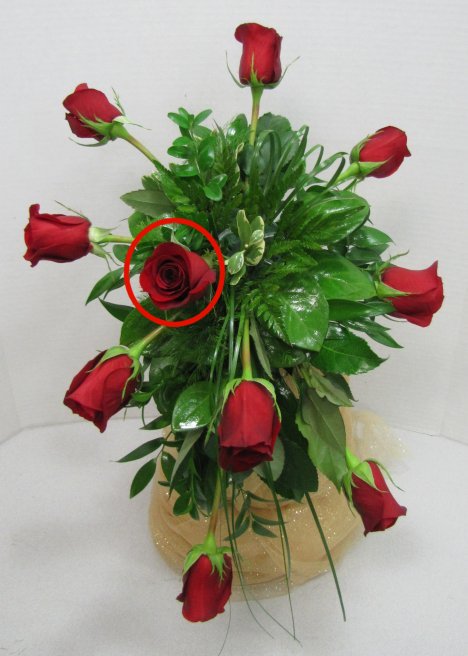
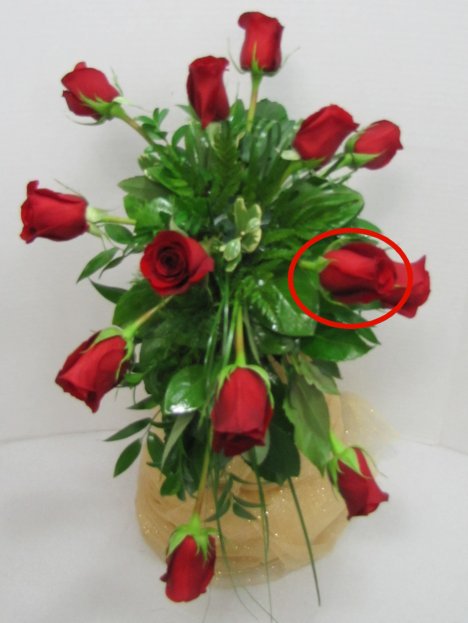
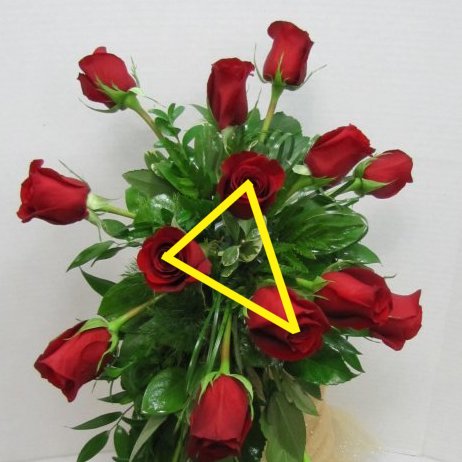
Finally, my center rose is shorter with it's face directly pointing out towards me.
The next center rose points it's face downward, creating a triangle with the center roses.
Here's a visual on the three center roses.
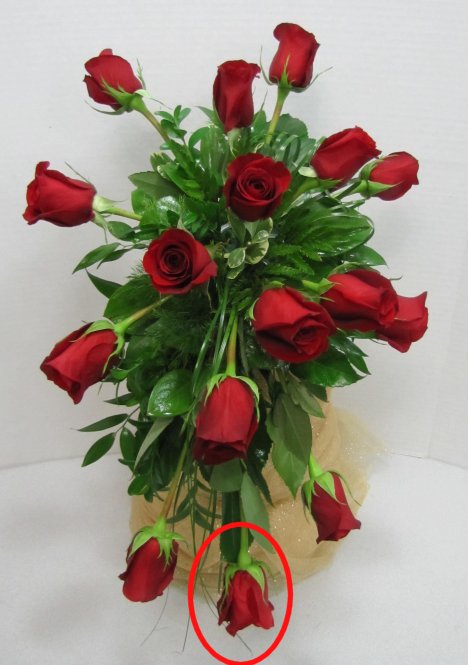
I finish off my cascade with the longest rose yet, pointed straight down.