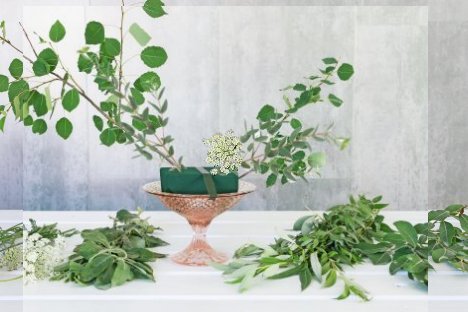
peony centerpiece
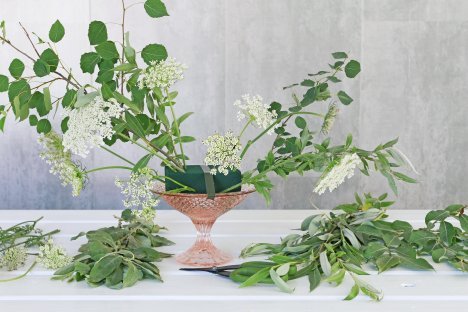
The greens of this peony centerpiece is strengthened with eucalyptus inserting next to the first branches, creating a strong line, yet with a different leaf shape and color.
Variety adds lovely contrast which make all arrangements look better.
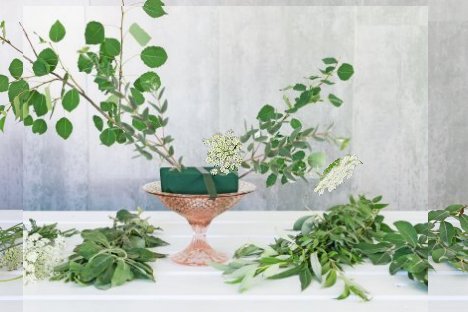
I'm also going to frame out with a flower that has long lines and wide bloom heads. Queen Anne's lace is a very thirsty flower that benefits greatly with repeated misting of a flower sealant in the days leading up to the wedding.
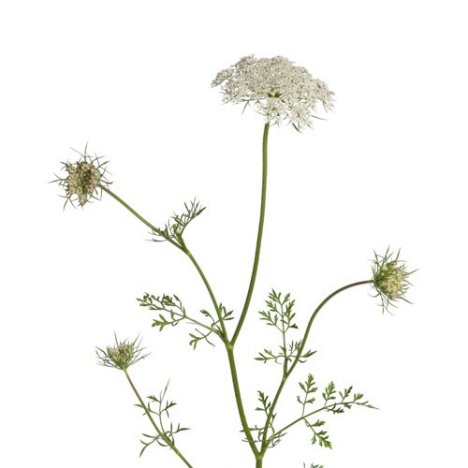
Keep in mind the graceful arch created by these flowers. You must think ahead to delivery and have this figured out. Long lengths of slender stems can be easily bruised or snapped if crowded too close during delivery. This is why I recommend Floralock Stem Adhesive after the design is finished to be sure all stems stay in place.
Notice how the second Queen Anne stem droops nicely, it's face curved down to point to the table top.
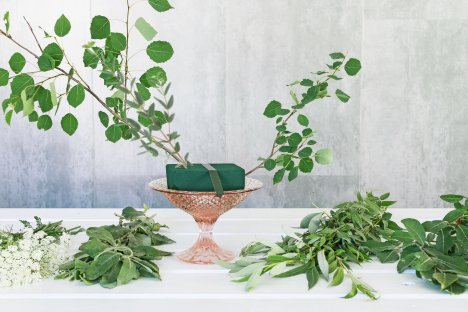
The placement of these stems are going to guide your overall design. These stems are going to be your framework that the rest of your flowers are going to stay inside of.

When you get close to the lone branch line on the left, keep a longer stem of the Queen Anne to follow that line upward.
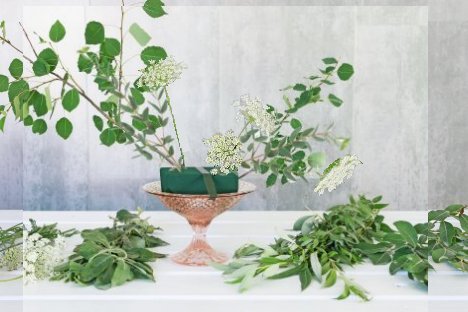
Another stem is long as well, yet with the bloom facing towards the left front.

Light the right side, another stem of a similar length of inserted on the left, facing left with a natural curve placing the flower head pointed towards the table top.
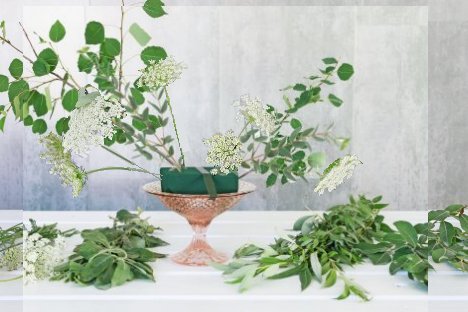
Don't forget that similar blooms have to come straight forward, with the bloom heads facing straight forward.

Once all the Queen Anne stems are in place, you're ready to start inserting of the largest, focal bloom in the design.