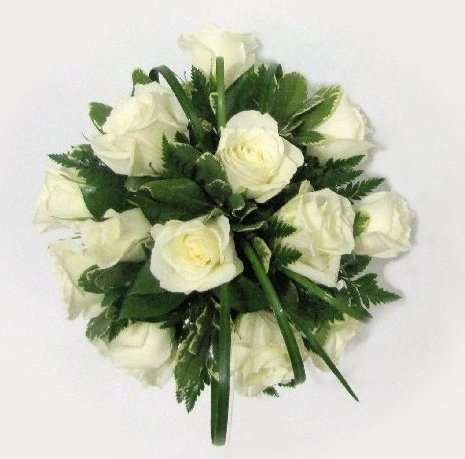
How to Make a Bridal Bouquet
Learn how to make a bridal bouquet by following my many step by step tutorials. The traditional round design is probably one of the most popular and very easy to do.
You can adapt this design by changing the color of the roses or adding in other flower varieties.
For this bouquet tutorial, you will need the following:
- 1 bridal bouquet holder
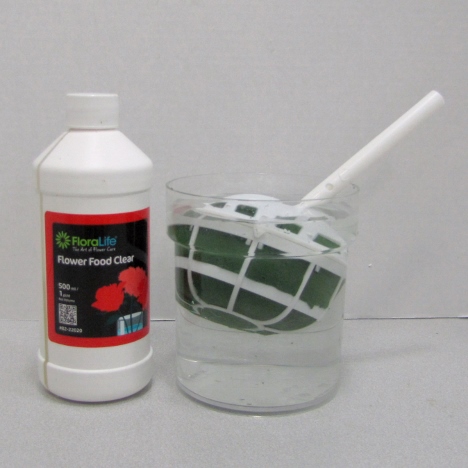
- Fresh flower food
- Floral Knife
- Cut Flower Food
- 13- 15 Standard Roses
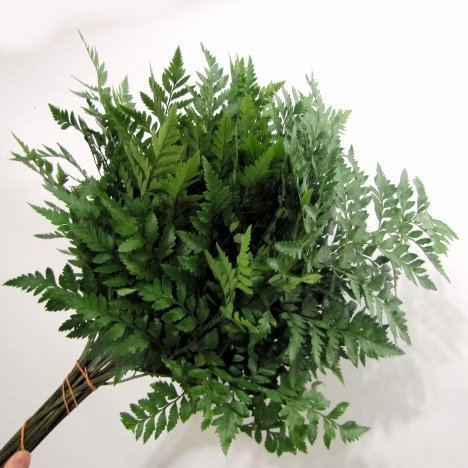
- 4 -5 stems Leather Leaf Fern
- 1 stem Variegated Pittosporum
- 1 stem Italian Ruscus
- 4 - 6 blades of Lily Grass
- 1 can Floralock Stem Adhesive
- Finishing Touch Flower Spray
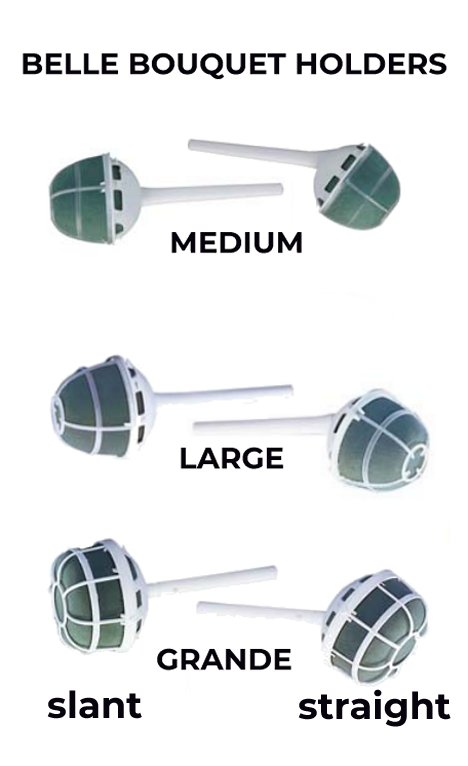
Belle bouquet holders come in three different sizes. I like using the bigger holders unless you are creating a very small nosegay. The idea is that more foam will hold more water and that's always good for the flowers.
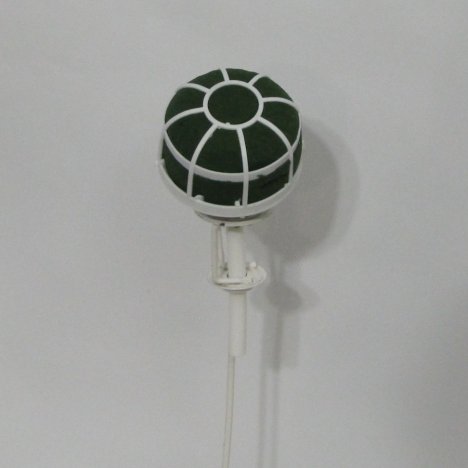
I have many tutorials showing how to conceal the holder so that the bouquet looks like a traditional hand tie. The tremendous advantage is that it looks like a hand tie, but has the water source to keep those flowers alive!
Always be sure the holder is held in a container secure and tight, to avoid toppling forward while designing. This can snap flower stems, bruise petals and cause other flower damage.
You can substitute a vase with a narrow opening, weighted with marbles or rock. Large vases can be weighted and wedge a foam into the vase opening and push the handle of the holder through it.
Always float soak your folder. This means to merely allow the foam to soak up water naturally rather than forcing it under water. That can cause dry pockets in the foam that will wilt some flower stems. Be sure to treat the water first with a professional flower food.
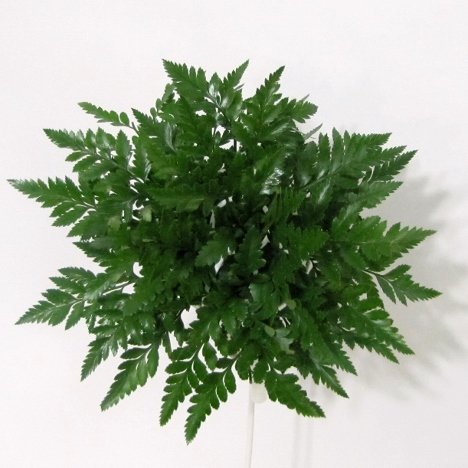
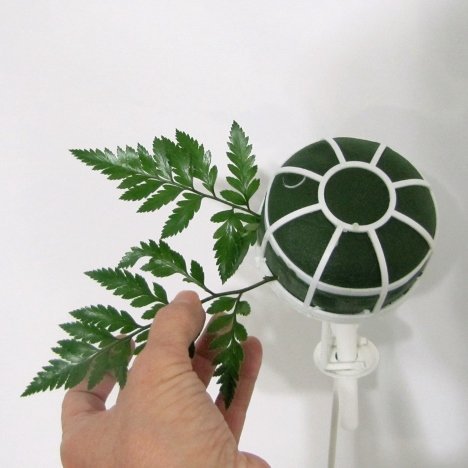
Leather leaf is a favorite in flower shops. It has a lot of stems to a grower's bunch and holds up very well, even without a constant water source.
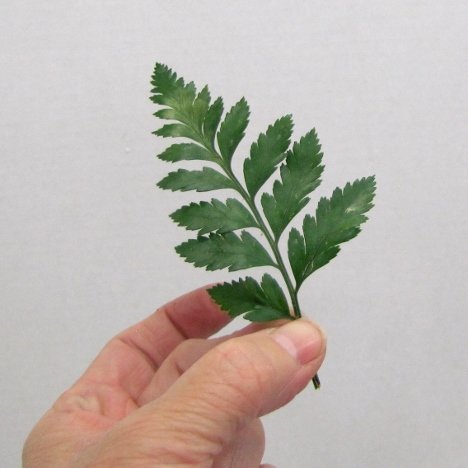
The single stems of leather leaf have individual fronds that can be easily separated from the main stem.
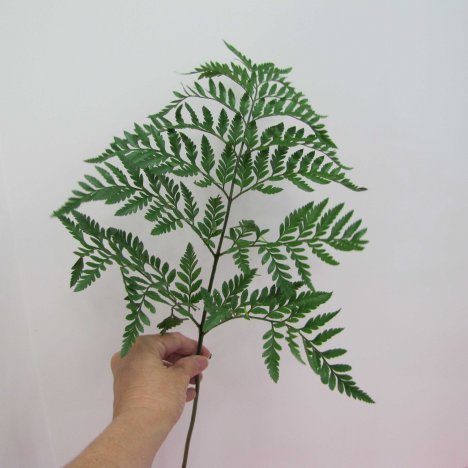
I always cut my fronds rather than tear them. This simply has a clean stem (stripped of the lower leaves) that inserts into the foam easier than the torn frond.
Frame out the outer perimeter with a circle of the leather leaf. This will give the estimated overall size of the bouquet. It's up to you if you want the leather to peek out from behind the flower heads or cover them completely, using the greenery to help conceal the mechanics of the final bouquet.
As I begin to add more fern fronds, the angle of the insertion begins to angle upwards. You don't want a flat looking design, so the stems should mimic the look of an actual fern plant.
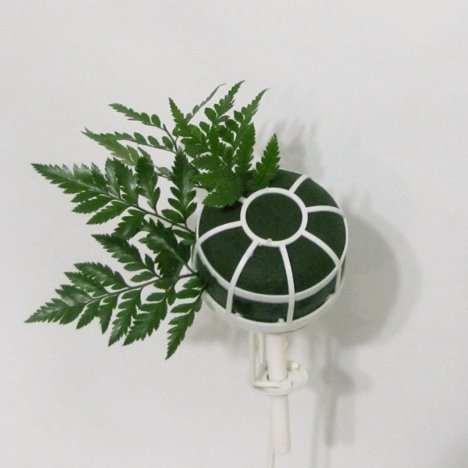
Shortening the inner stems and pointing them upward in the center helps conceal the flower cage and give lots of dimension to the greening.
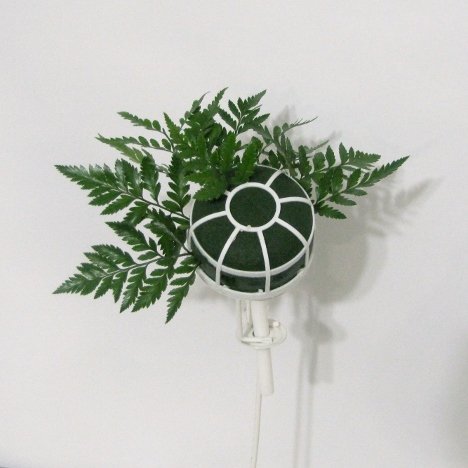
With each inner circle, start the angle gradually upward.
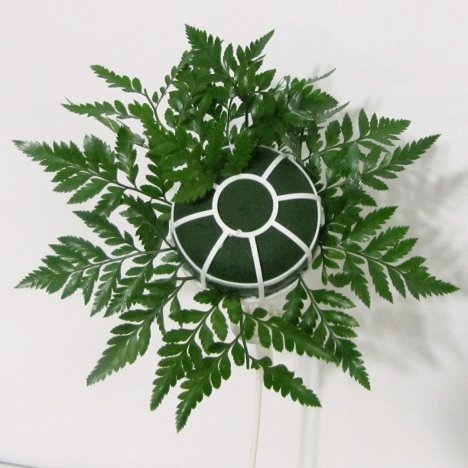
The center fern stems will stick straight up, at a 90 degree angle from the perimeter greens.