make altar decorations
When you make altar decorations, keep in mind that lots of flowers pull lots of water. You need to add more water when needed.
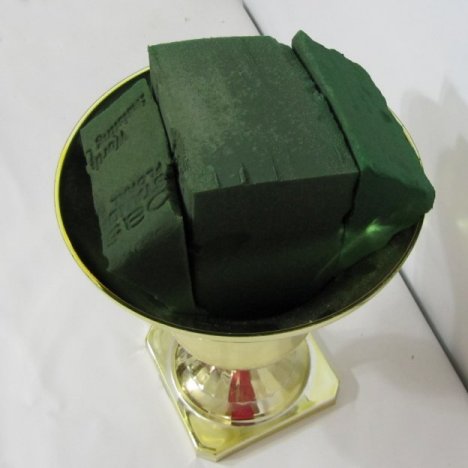
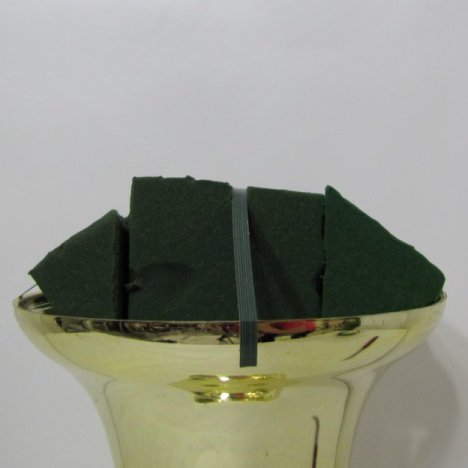
Here's a top view of the complete bricking in of the florist urn.
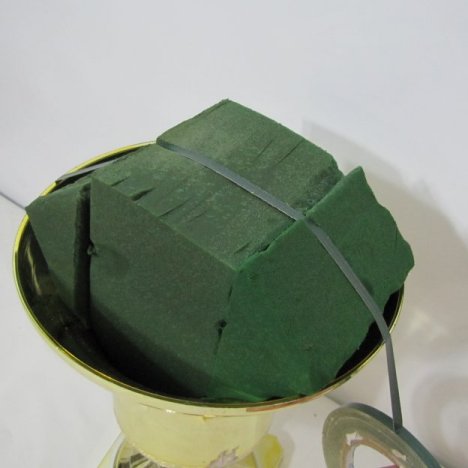
Taping your florist foam securely into the container is one more safeguard that your floral designs will survive transport and handling without the flowers shifting in the container.
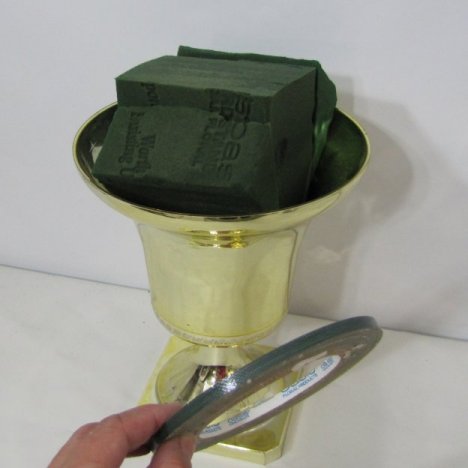
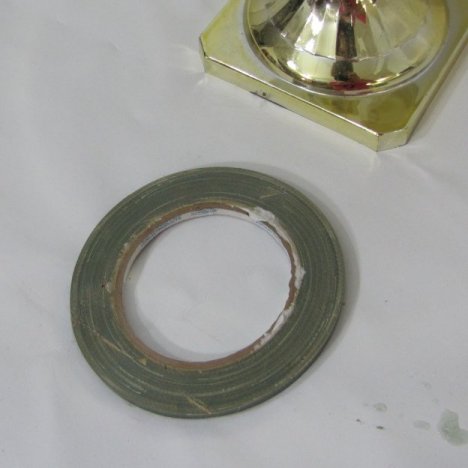
Florist use a narrow waterproof tape that securely bonds to most container surfaces. It does come in different widths, but I like to use the 1/4" that is available in both green and white. Florists commonly refer to this as "green tape" or "greening tape".
Wipe off any moisture on the rims on the run to assure good contact. Once attached, the tape usually adheres well even if water gets on the container.
Pull the tape snugly across the top of the foam from side to side.
Cut the tape with a sharp florist knife. Please note that if you use scissors, you run the risk of a glue reside gumming up the blades of your scissors.
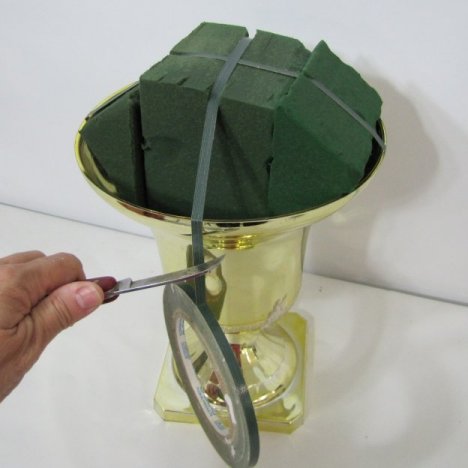
Leave an anchor of about 1/2" inch on the sides of your container. Don't worry - if you green in properly, the flowers and greenery will conceal the tape from showing on the sides of your design.
Follow with another run of tape across the foam, forming and "x" across the saturated florist foam.

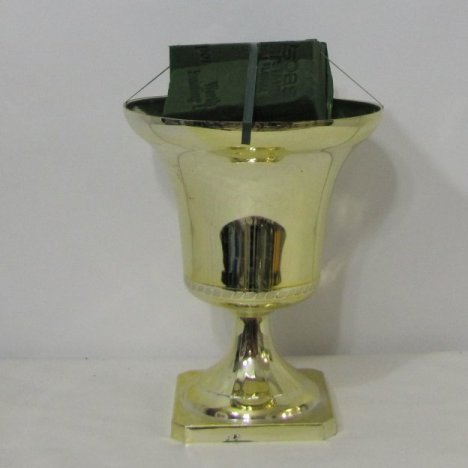
You can see I left plenty of foam showing above the rim of the container. This makes it easier to insert the stems horizontally from the sides once you begin greening in your flower arrangement.
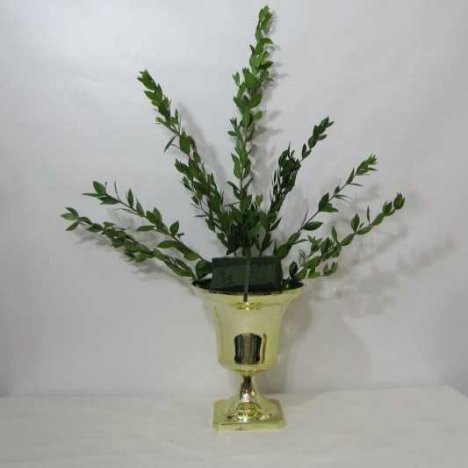
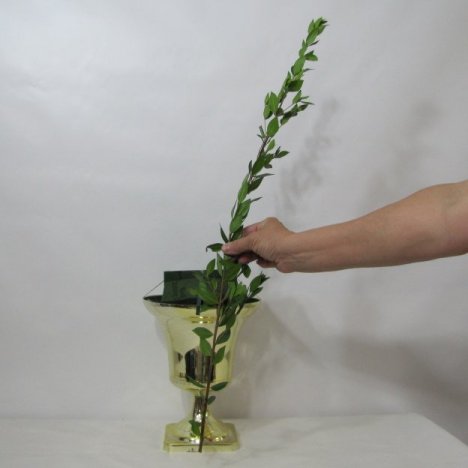
Adding greenery to your wedding urn is what will set your shape and size of the arrangement. Remember that greenery is the framework of the floral, while the flowers are the focal point. Keep in mind that the heads of the flowers will usually extend a slight point beyond the greens.
I'm beginning by using myrtle. This tall slender branch is actually from a shrub. It has small, perfectly formed leaves with tall slender laterals that create a perfect foil for most flowers.
I like myrtle because it has a pleasing fragrance when freshly cut and doesn't tend to shatter and drop leaves like some other greenery.
I first determine how tall I want my arrangement to be. Keep in mind that you will have to transport the final design, so you may have to add the tallest stems at the venue.
Arrangements that look big on your home table may look much smaller in the front of a large church. Church flowers need to be large and showy, utilizing inexpensive flowers and greenery for the most impact.
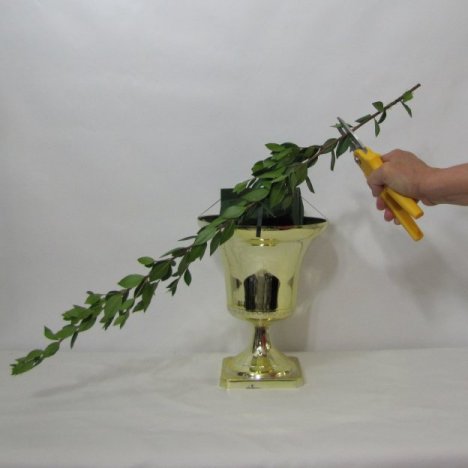
The woody branch of myrtle is tough. I recommend using professional pruning cutters or Oasis bunch cutters. Florists commonly refer to these as "bunch cutters". They are invaluable if you are processing a lot of flowers and doing designs that incorporate woody stemmed greenery or flowers.
Please - do not cut flowers or greenery with common household shears or scissors. The blades are not designed for this type of work and can crush stems, making it difficult for the stems to draw water up to the flower head.
Scissors can easily slip and cause severe cuts to fingers and hands. (I'm not kidding - you have to exert a lot of pressure to cut flowers and greenery.)
Professional florist tools have serrated edges that grip the stems firmly while cutting easily thru the wood. They are wonderful for use all around the house long after your event is over!
Exercise extreme care when using ANY professional tools with sharp edges.
Once the stem is cut to the proper height, insert it at least two inches into the florist foam brick. Don't insert it to the bottom of the container - you're going to have a lot of stems going into this brick before you're done and you want to allow room for all of them!
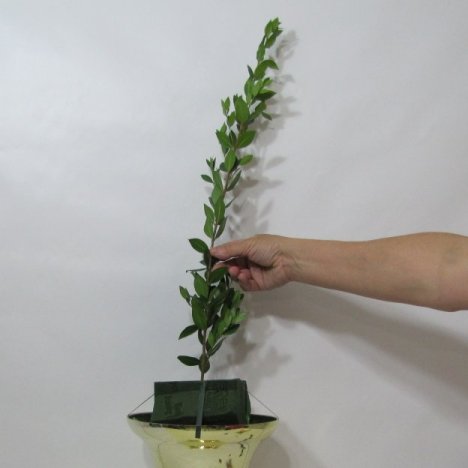
Begin angling your stems outward, creating a three dimensional fan pattern that will define the size and shape of your bouquet.
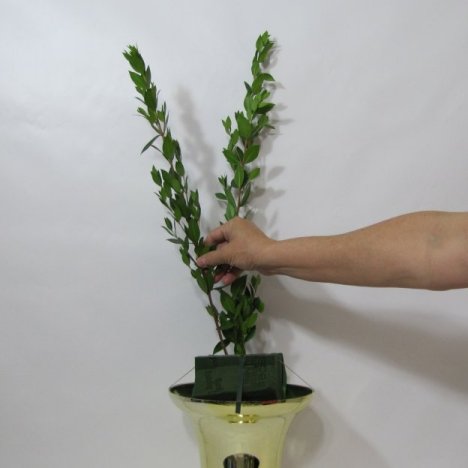
Note that I begin to alternate the placement, tilting the additional stems outward and forward. This will give a more even, dimensional look to your design that will not look flat - instead please from all sides.

So far the stems all insert in and upward, creating my basic fan shape.