altar decorations
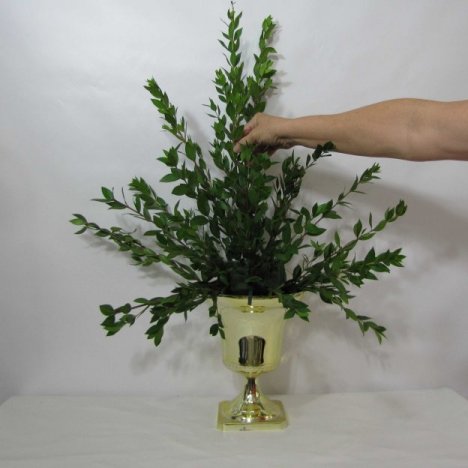
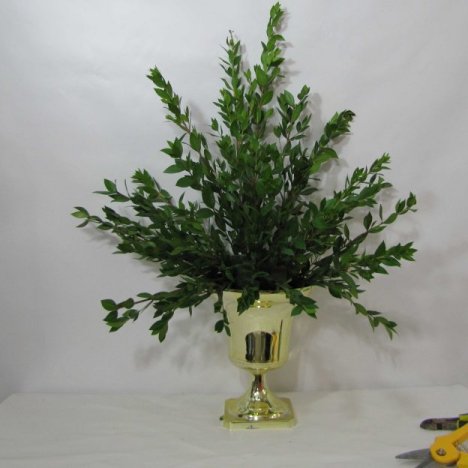
Altar decorations with long greens will draw the eyes upward and outward.
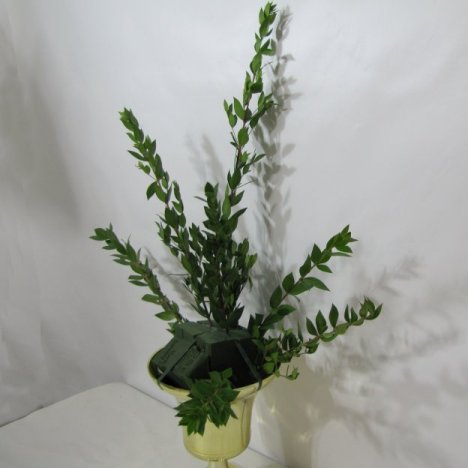
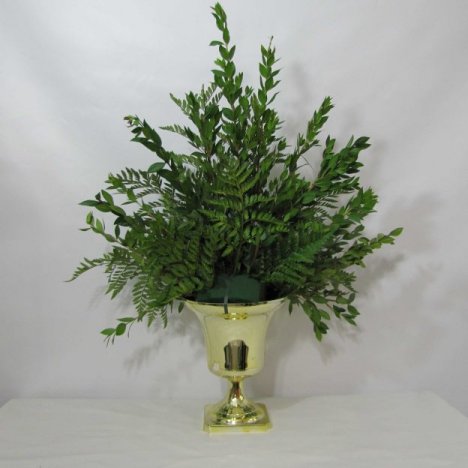
See from this view how the stems of myrtle go upward and outward, creating the perception of depth.
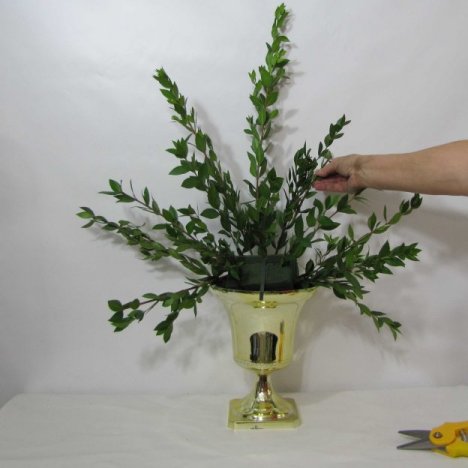
See how the foam above the rim of the container allows you to insert greenery from the sides and actually tilt downward, creating a nice rounded effect.
If you cut your foam off level with the rim of the urn, you would not be able to do this.
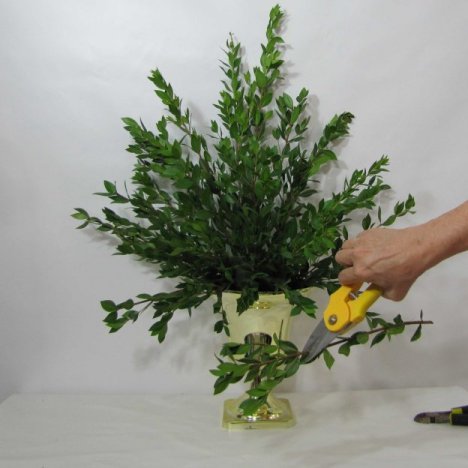
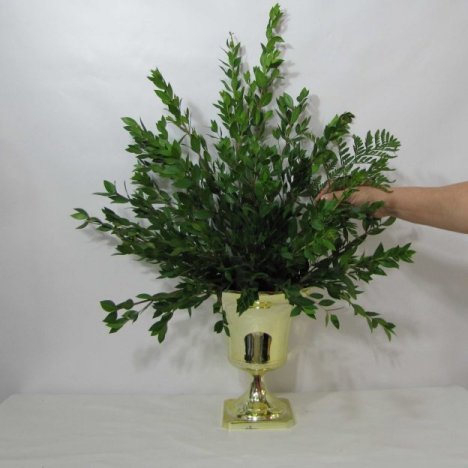
I have begun cutting shorter lengths of myrtle, filling in the center of the design. I now start tilting the stems toward the front of the container, again giving a pleasing 3 dimensional look to the design.
It's not necessary to fill in every blank space with the mrytle. I'm going to be adding other types of greenery, so at this point I'm simply concentrating on defining the height and depth of my initial design.
Cut off shorter pieces to fill in the back and center of the design.
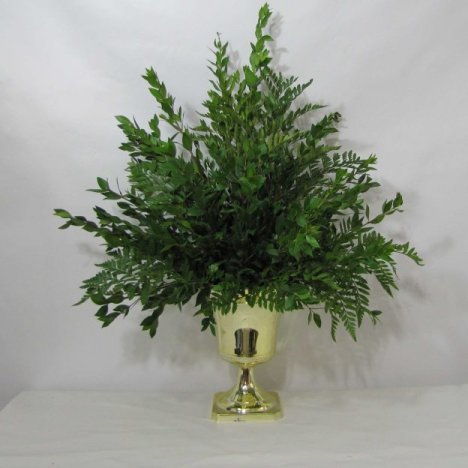
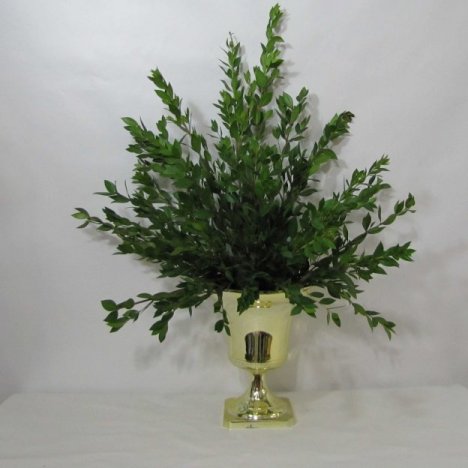
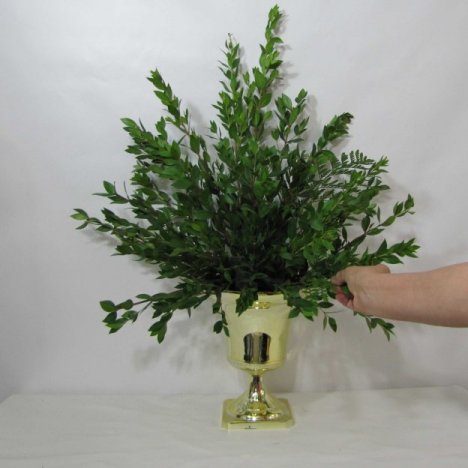
Now my basic shape is done within minutes and I'm ready to begin adding in another variety of wedding greens. The amount of each type of greenery needed is going to depend on how long and how thick you insert your own stems.
Here you see about 20 stems of myrtle for a fairly good sized altar spray.
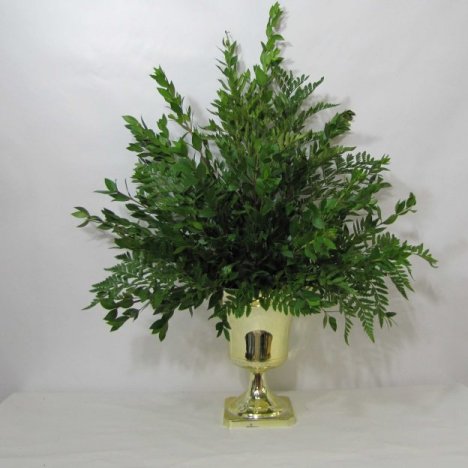
Leather leaf fern is a staple in every professional flower shop. This wedding greenery is inexpensive and comes in bunches of normally 15 to 20 stems depending on the farm.
Remember all greenery is a live product. Size and shape is similar - but not STANDARD. Growers usually pack by weight - not number of stems to a bunch. When you order - always look for a stem count so you know how much you'll be receiving.
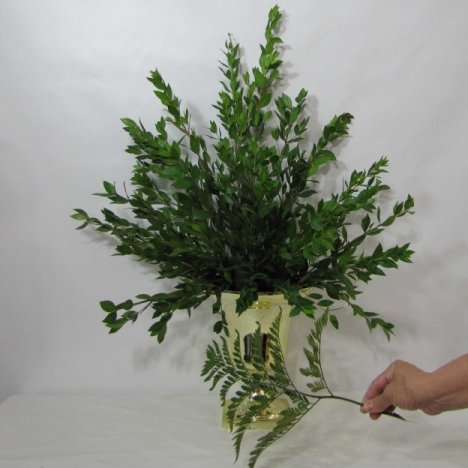
I begin filling in the urn with some of this leather leaf, facing the greenery forward and outward.
Be sure to place some smaller, shorter stems in the front, sticking out straight forward and tilted downward. This adds to the depth of the design instead of everything sticking flat and upward (a common design error).
Simply place a leaf here and there, looking for open spaces in the design.
Keep in mind that most greenery is generally cheaper than flowers. It fills out the design, helps to conceal the mechanics (such as the foam and tape) and creates a bigger look for a cheaper price.
I generally encourage designers to complete their centerpiece by filling in the back of the design with leather leaf fern. Some florists skip this step, reasoning that it saves on flower costs.
But filling in this hole doesn't take that much time or greenery. I always advocate that the bride should arrange (if possible) to have her church florals transported to the reception venue and use as a display there. Since it may be viewed from all sides, it's faster and looks more professional if all sides are finished with no foam showing.

Cut your leather leaf into shorter pieces, quickly filling in the design enough to cover the foam and tape.
The polished look is more pleasing - even if it's not going to be viewed from the seating in the church.

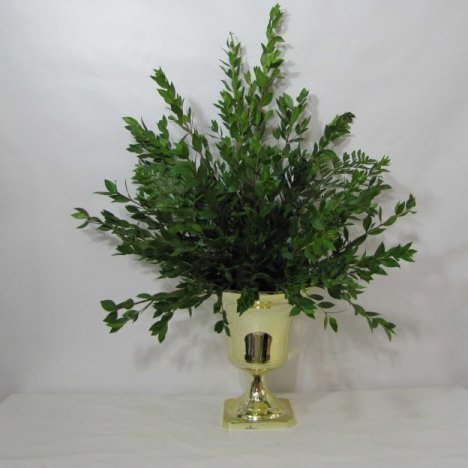
Your basic greening is completed and could be flowered in now. I do like to add in more different types of greenery, because the variety of textures and colors add as much to the design as the flowers do.
It's your choice from here whether to add in the additional varieties or to simply choose to begin to flower at this point.