How to Make a Rose Corsage
If you plan to add ribbon to your design, it's wise to create the loops first and set them aside, ready to glue into the corsage when needed.
I like using ribbon that has a little stiffness, filament edges or wired edges. Double satin or picot ribbon is pretty, but makes droopy bows that don't have quite as crisp of a look.
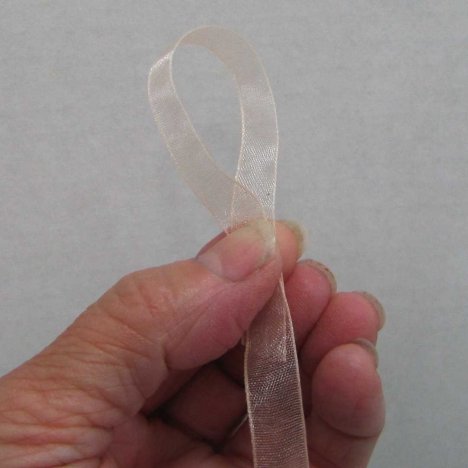
Keep the loops smaller, about two finger widths. Too big of loops can create an large bow that can quickly overpower the look of a dainty corsage.
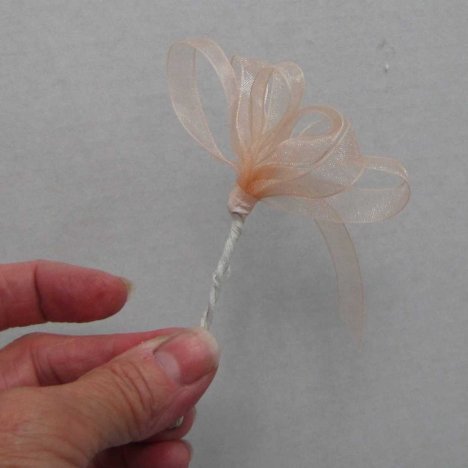
I loop about six loops (three on each side) and then bend a taped wire over the bow and twist tightly.
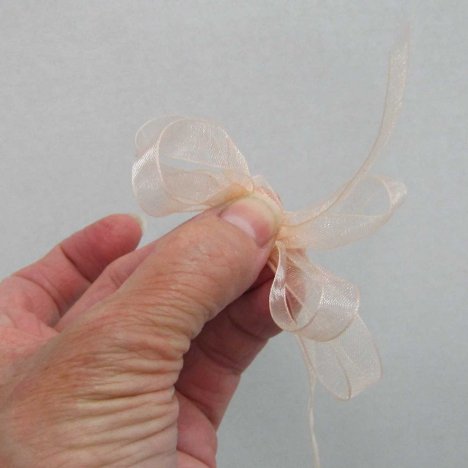
These are just a few loops to scatter here or there among the flower heads of the corsage, so they are not as large and full as a regular bow.
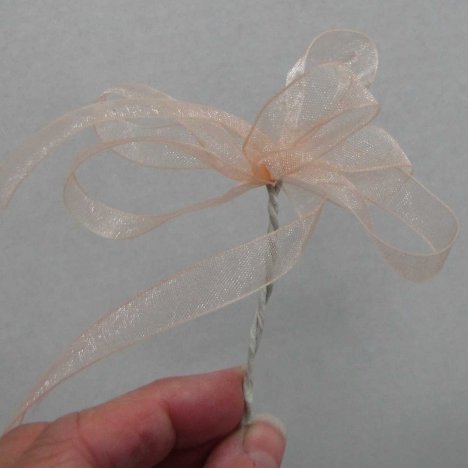
If you tape down the stem, start a little high on the bow itself, so it crowds the loops together tighter.
The finished bow tuft has tightly clustered loops small enough to tuck in between the flowers as you are assembling the corsage.
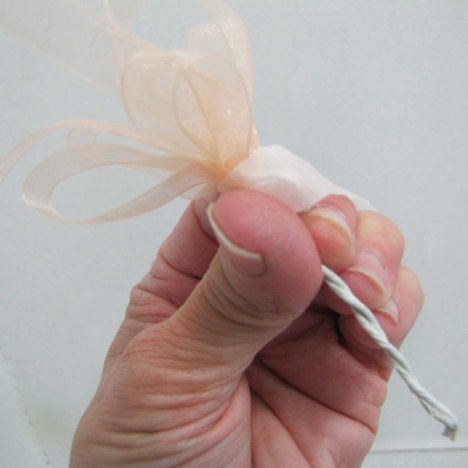
If I'm making several corsages, I do all the bow tufts at the same time. You'll be glad you do as much prep work as possible before your flowers arrive.
Set these aside and they'll be easy to grab and glue in place when needed.
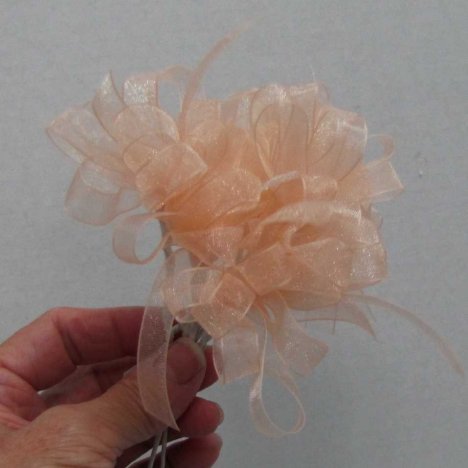
This is a grandmother's corsage, so I usually make between six and seven loop tufts. Grandmothers seem to love the traditional look of fluffy bows and even tulle.


