inserting roses into bouquet
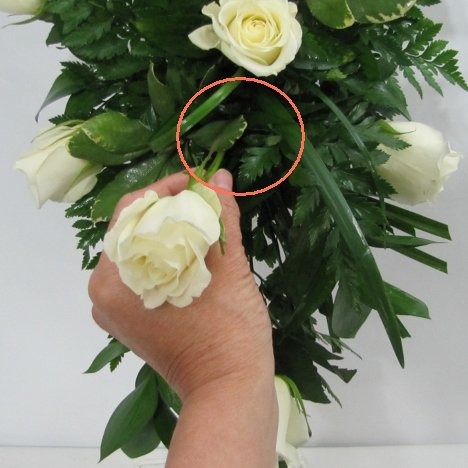
Inserting roses into the bouquet has to be a one time insertion. Inserting and removing flowers again and again will degrade your bouquet foam. Cut the rose to length and insert once into the bouquet. Don't insert deeper than about 1 - 2 inches or you'll soon have stems running into each other. The stems will later be locked into place with a spray adhesive called Floralock.
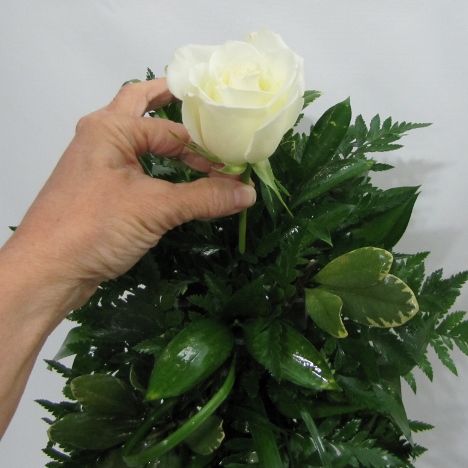
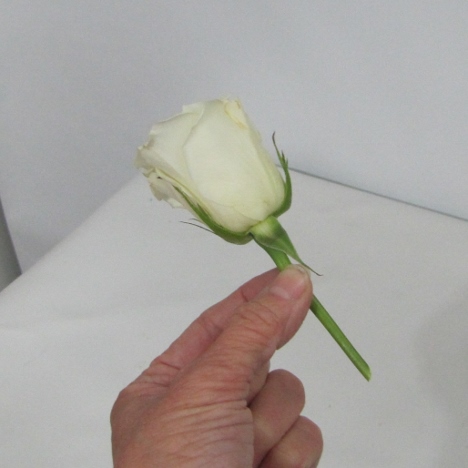
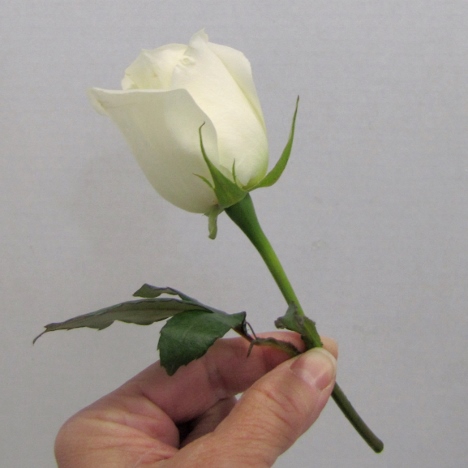
Learning how to make a bouquet isn't that difficult, but more of an exercise in doing each step properly. Treat your roses gently, holding them by the stem only if possible to avoid any type of bruising now that you've removed the guard petal.
Sometimes you can't avoid touching the head, but never push on it hard and try not to insert the flower stems more than once. Otherwise the foam surface begins to degrade.
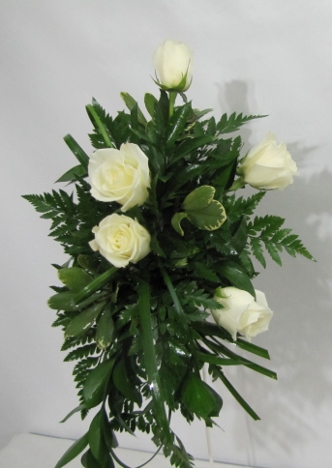
Take note how the flower heads face. I have the center rose facing dead straight out of the center. All other flower heads begin to tilt outward, towards the edge of the bouquet.

Now the outside roses are at a complete right angle to the center rose. Those flower heads are seen from the sides of the wedding bouquet.
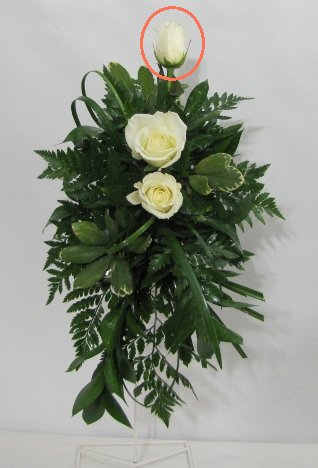
I'm establishing the perimeter of the bouquet. The flower heads should extend beyond the greenery tips, unless you are specifically creating a collar of leaves that is a deliberate part of the design.
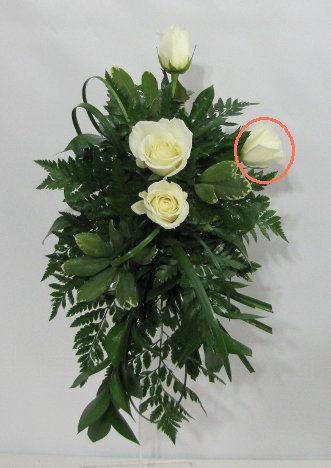
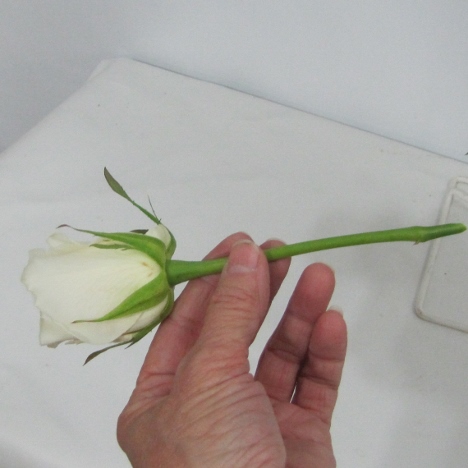
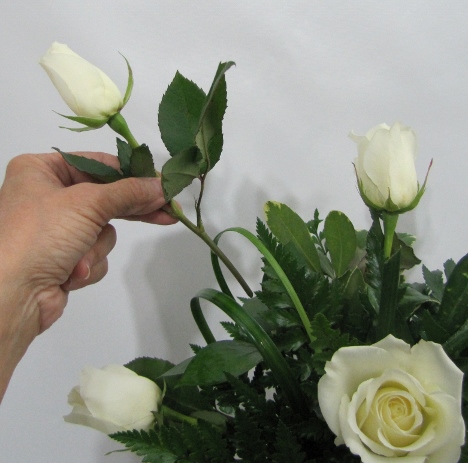
My rose stems are getting a little longer, because this bouquet is meant to be an oval cascade. This rose will be inserting at the bottom right.
A side angle shows how the flower heads face outwards and are creating the final size of the bouquet.
Make the rose of the bottom of the wedding bouquet the length you want the cascade to be. It will be longer than the other rose stems and you can leave the rose leaves attached if you wish.
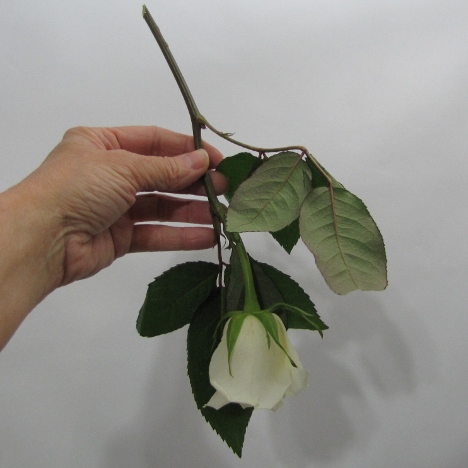
Insert the bottom rose straight up into the bouquet holder. Then continue to cut stems to match the roses on the opposite side and insert them on the left of the bouquet.

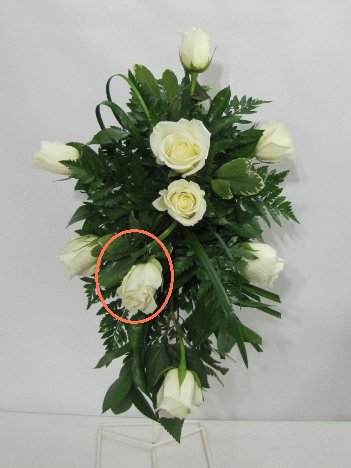
Now I cut a rose almost as long as the bottom cascade flower for filling out the cascade portion.
I'm inserting this flower angled upwards and left to the center rose.
This flower extends outward a bit (this is where the extra length is needed).
From the side angle, you can see that this bridal bouquet has depth and dimension - it doesn't have a "flat" look.
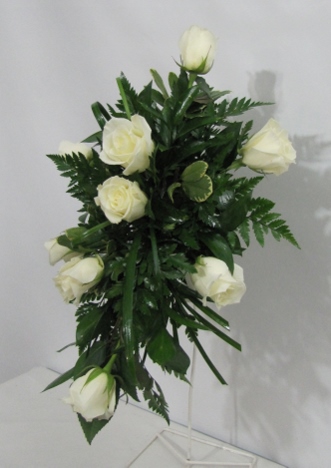
Here's a left lateral view. Can you already spot more places that I'll be inserting more roses?
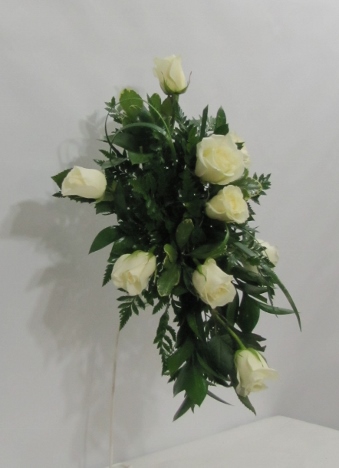
Since this design consists of nothing but white roses, I've allowed the mixed greenery to add dimension and interest.
I don't want to be too symmetrical (mirror perfect placement), but I do look for obvious "holes" as I'm filling in the bouquet.
I've placed this outer rose with a slant that actually faces backward, which adds to the appearance and feel of depth.

On the opposite side, I tilt it slightly forward.


