head table decor
Head table decor can be only on one end, balanced by (perhaps) a tall arrangement on the other end. Brides often like to have mirror images, matching the same design on the opposite end of the head table. These are the choices you have to decide on before ordering your flowers, so you can have a correct count of the number of stems you need for each design.
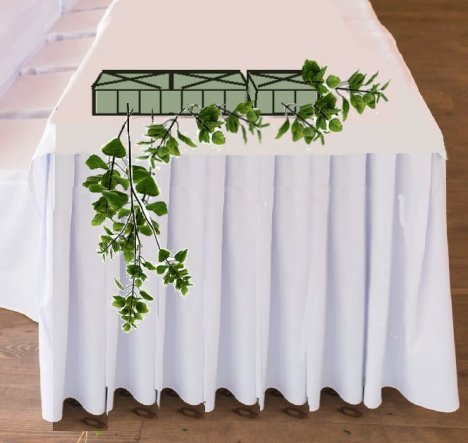
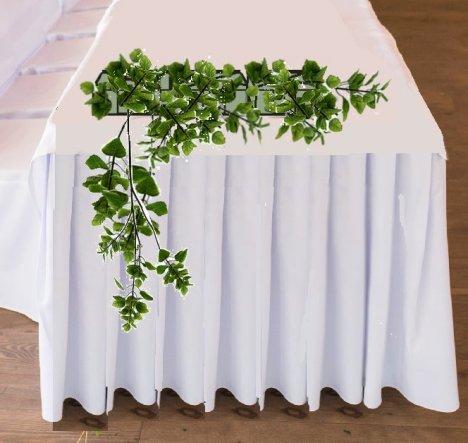
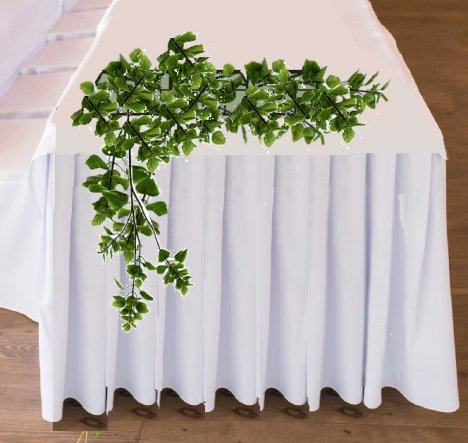
Start cutting some of the cotinus very short, cutting at an angle and inserting into the top of the foam cages. The goal is to eventually cover all the mechanics, making it look like one single design.

Fill in lightly. I often advise brides to order some leather leaf fern as an extra filler where needed. It is very inexpensive and has lovely laterals that work great as a final "filler" to cover up any mechanics showing after the flowers are in.
You can do the same with some type of filler flower, such as wax flower, baby's breath or limoneum.
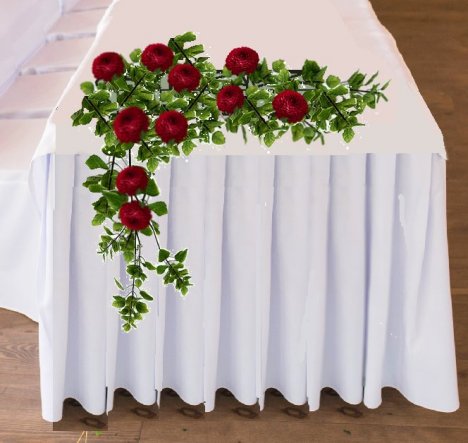
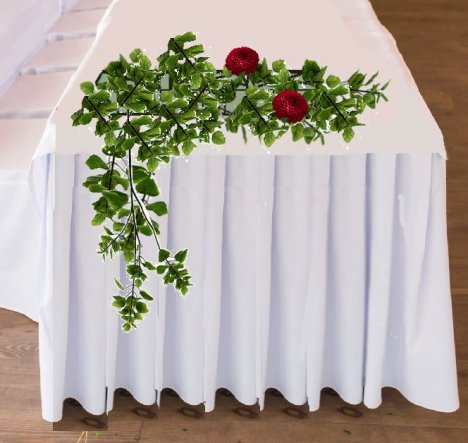
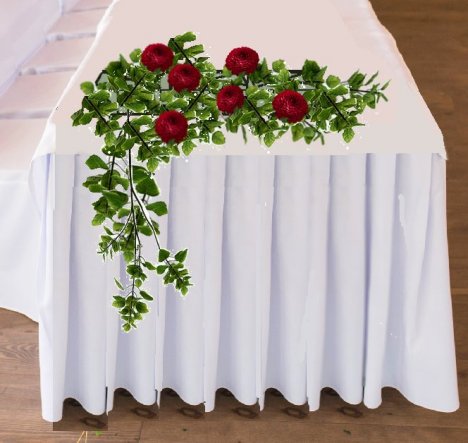
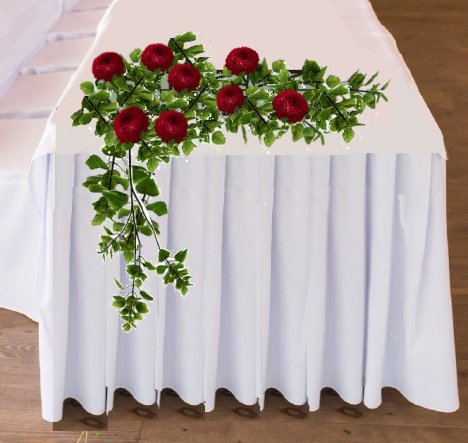
It's okay at this point if some of the foam is visible, as the large heads of the Dahlias will fill in a great deal.
Don't feel restricted by the choice of the dahlias (which tend to be a seasonal flower). You can substitute other flowers such as roses, alstroemeria, sunflowers, oriental lilies, asiatic lilies,daisies or poms. If you chose smaller headed flowers, just add a few extra to the number of stems ordered.
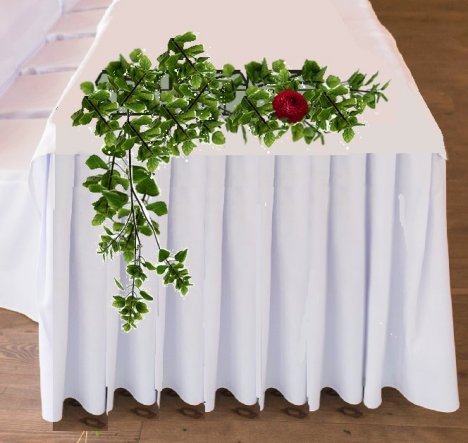
I tend to flower in one variety at a time, starting with the focal flowers. These are usually the flowers that are the focus of the design and usually have the biggest heads.
Pay attention to the direction each flower head faces. In the middle, straight up, on the sides, tilt outward and face downward for the cascade over the table edge. Again, for the cascade, cut at an angle and insert from the bottom of the cage upward.
These longer stems will need to be locked into the foam with Floralock. You don't want any falling out of the design. Wait, however, until you are done flowering, because the adhesive will dry and make it hard to insert other stems.

Don't keep the spacing too perfect. Like a garden, cluster some heads together, other heads a little deeper and some standing a little higher. This, along with the way the heads are tilted in different directions, will give the depth of the flowers, creating more interest.
As you reach the cascade area, be sure to leave room for the trailing flowers to be inserted upward. Don't pack this area so tight with greens or flowers that you can't get the trailing flowers inserted.
I tend to wire the flowers that trail over. This, and gentle manipulating of the stems, will allow you to gently bend the flower if needed. Take care not to bend too fast, as you don't want to snap the flower heads off the stem.
If your flower stems are too inflexible, you may need to cut shorter and tape a wire, creating a more flexible stem. Take care to give these flowers a good misting of Finishing Touch, if the flowers are not inserted into the foam, thus cutting off the water source.
Since the cascade is usually done on site, the good misting of Finishing Touch should keep your flowers fresh and lovely throughout your reception time.