hand tied rose bouquets
Creating hand tied bridal bouquets can be a little tricky because it requires you to hold the flower stems in one hand, while rotating the entire bouquet and adding flower stems in a spiral pattern.
Speaking as a professional florist, I prefer that my wedding bouquets have a water source and generally create a mock hand tied bouquet on a holder. You can't tell the difference and the flowers are fresh longer and not under as much stress.
However, I have created a step-by-step tutorial for those who want to create a traditional spiral hand tie. What I mean by that is the the flower stems that are used to build the bouquet stem by stem use the method of crossing the stems at about a 45 degree angle, adding a stem, then rotating the bouquet about a third of a turn.

Every florist seems to do this a little differently. You can hold all the stems in one hand, add a stem, rotate and then add another stem, rotate and continue this pattern. If your hands are small, you may need to tape the stems into place after adding a few stems. No method is "wrong". Check out the four different hand tie methods tutorials and practice with some flower stems. Don't skip this part, since you need to understand how a spiral bouquet is obtained. You'll soon figure what works out the best for you once you know the basic technique.
One of those "needed necessities" (in my opinion) is a foliage/thorn stripper. While there are several different types, by far my favorite is the acrylic stripper by Chrysal.
This flexible stripper is kind to both your hands AND to the flowers. Some of the older models tend to strip bark and scrape the stem, allowing bacteria to invade the flower when standing in water. These handy little silicon strippers are cheap and make quick work of removing unwanted thorns and foliage.
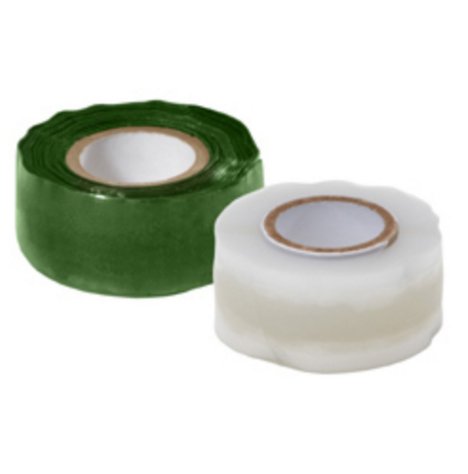
BindIt tape is a product by Oasis. It has a stretchy kind of feel to it and adheres to itself with a very tight bond. It is not tape . . . but sort of acts like shrink wrap.
It is waterproof and quickly binds stems into place, allowing you to relax your hand somewhat and not have to hold the stems so tightly.
I have a small hand, so this works well for keeping a handle on the unwieldiness of a large amount of stems. You also have the choice of the traditional stem wrap tape or waterproof tape.
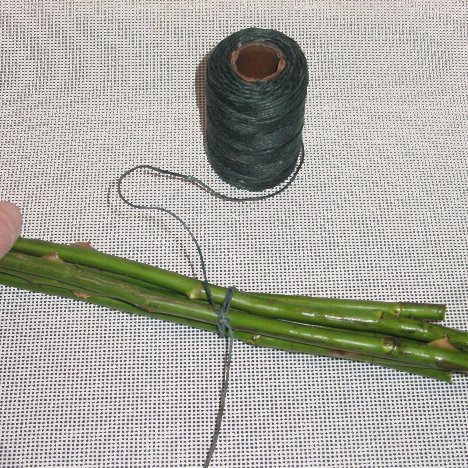
The old fashioned method is to used waxed string. The wax helps protect delicate flower stems from getting crushed or cut.
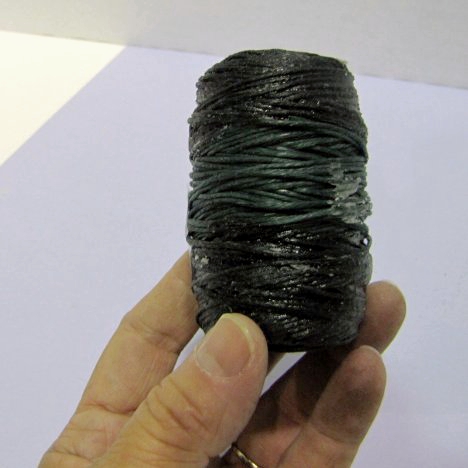
It really does take two, however, since cutting the string when you have your hands full of flowers can be a challenge.
Ok . . . let's get started. Feel free to substitute a mixture of different flowers or greens for a garden look.
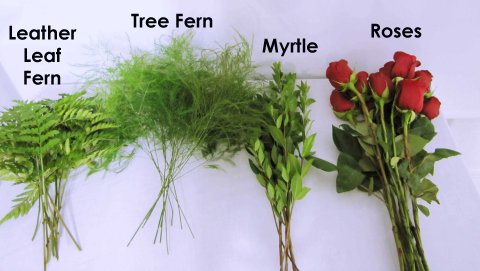
You'll need (adjust for more if you want a larger bouquet):
- 15 standard roses
- Acrylic Rose Stripper or traditional Garden Party Rose Dethorner
- Approx 1/2 bunch Tree Fern
- 6-9 stems leather Leaf Fern
- 3-5 stems Myrtle
- 26 gauge Floral Wire
- BindIt Tape or Waxed String
- Crystal Clear Flower Food
- Finishing Touch Flower Sealant
- Decorative Aluminum Wire
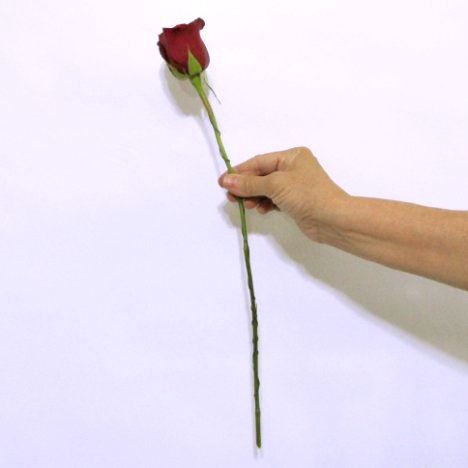
Your hand tied bridal bouquet begins by preparing your roses. Be sure to clean off your stems, either by using a thorn stripper or your knife.
I like to wire my roses, pushing a 22 - 26 gauge floral wire up into the bulb of the rose and then gently winding it down the stem. Cut off the about halfway down and then bend the cut end of the wire upward so there are no sharp edges to cut anyone's hand when they hold the bouquet.
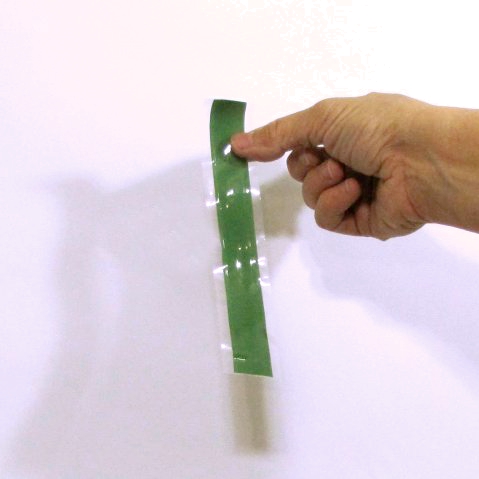
Bind It tape comes wound on a spool with the tape attached to a clear plastic strip. This isn't really like adhesive tape . . . it pretty much sticks to itself - not other things.
Be very careful NOT to touch the tape to itself, because it binds instantly.
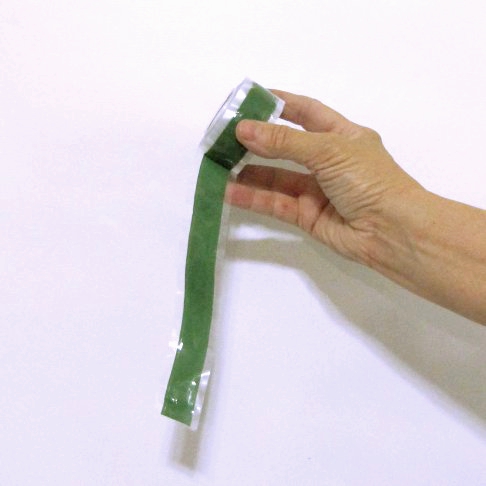
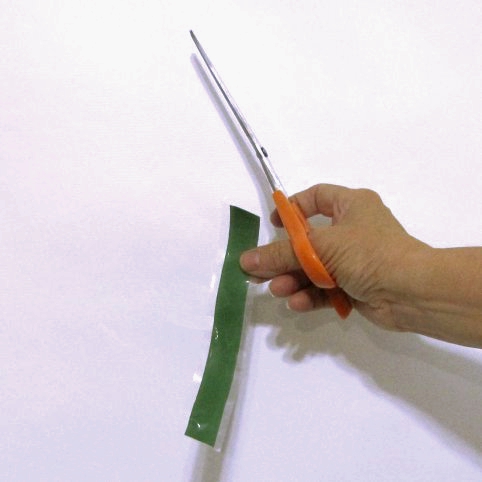
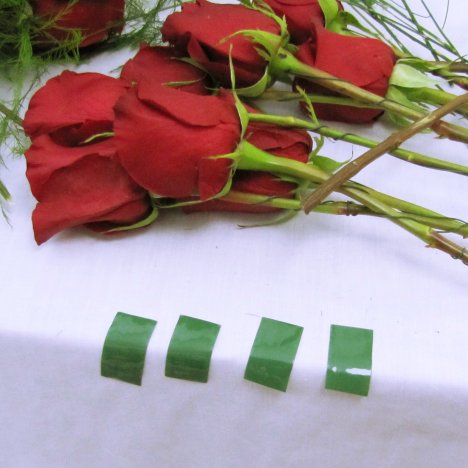
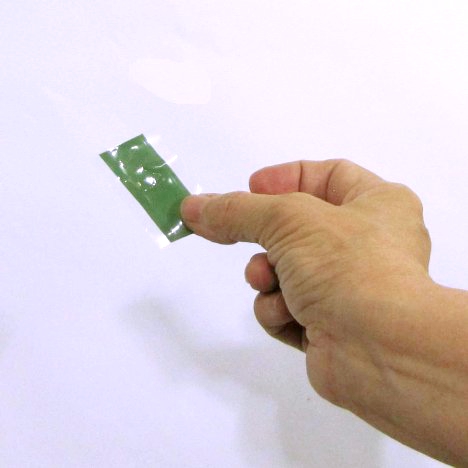
I like to prepare strips of cut Bind It tape ahead of time and lay them on a table ready to pick up when I need them.
I then lay one end the tape against the bouquet stems and peel off the protective layer, pulling the tape so it stretches tightly around the stems.
You'll see in later photos how this is done.
For now, cut some fairly short pieces about 3" - 4" long and have them lightly resting on a table, ready to grab one when you need it.
I also precut some of my greenery. For this hand tied bouquet I'm using myrtle, tree fern and leather leaf fern.
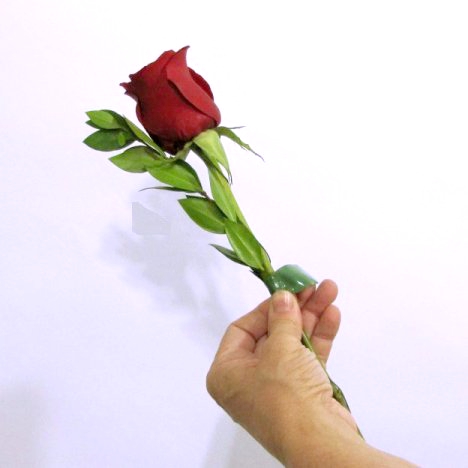
Precut your myrtle to about 9" to 12" inches and strip the leaves off the lower half of each stem.
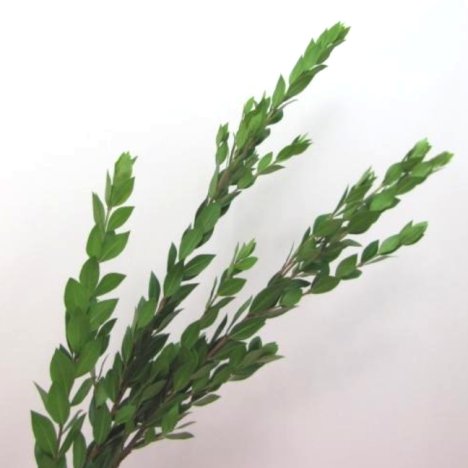
Take advantage of the natural curve of your greenery to compliment the roses. The greenery should curve out, away from the flower head and begin the natural design of rounding out the bouquet.
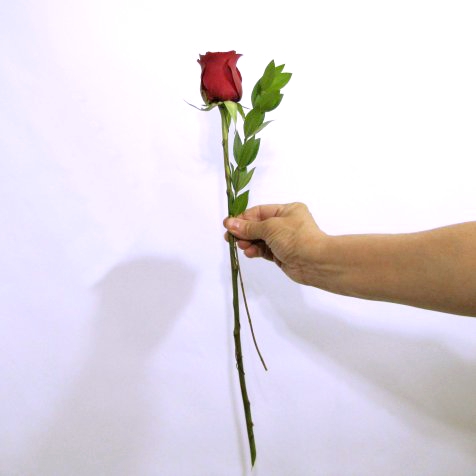
Choose a binding point to wrap your first stem of myrtle and rose together. A binding point is where the stems are all bound together and the bride grasps this point in her hand. A higher binding point will make a tighter bouquet, with the flower heads packed tightly together. A lower binding point will make a more loose, open bouquet with space between the flower heads.
Professional florists usually create a hand tied bridal bouquet by holding the stems in one hand, rotating them around, and adding more stems in a crossing 45 degree angle.
They generally do not stop to tape each individual flower head into place. This is much quicker, but if you are unaccustomed to this method it can be rather frustrating, as the flower stems can quickly become hard to handle and rather bulky, causing flowers to slip and slide out of place.
Taping each individual rose into place doesn't take long and you don't have to worry about hand fatigue.
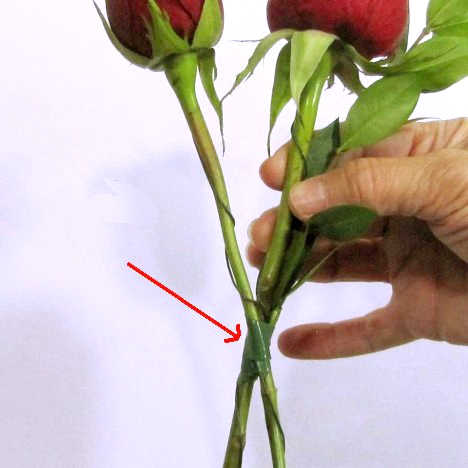
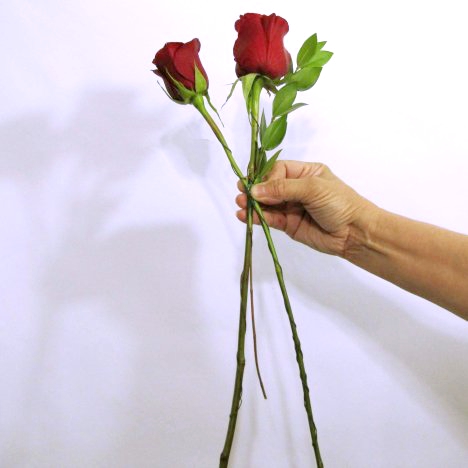
Cross your second rose across the stem of the first rose as shown below.
Take up a piece of your pre-cut Bind It tape.
Place the tape about 5" below the flower head, pressing your thumb against the tape and the rose stem, holding it in place. Peel off the protective cellophane layer.
Pull the tape outward and wind it around the flower stems, so that the tape stretches and adheres tightly to itself. It seals very tightly, yet doesn't harm the flower stems in any way.