hand tied rose bouquet
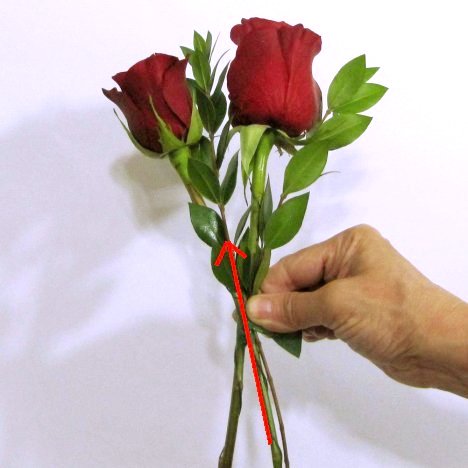
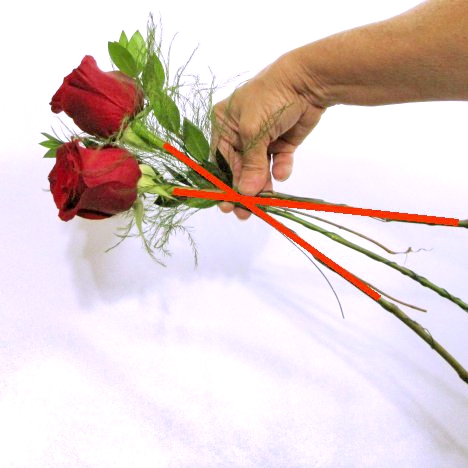
A hand tied rose bouquet is rotated after each flower or greenery placement. See the arrow in the photo below showing the "V" shaped space between the rose heads. Place another stem of myrtle in this "V".
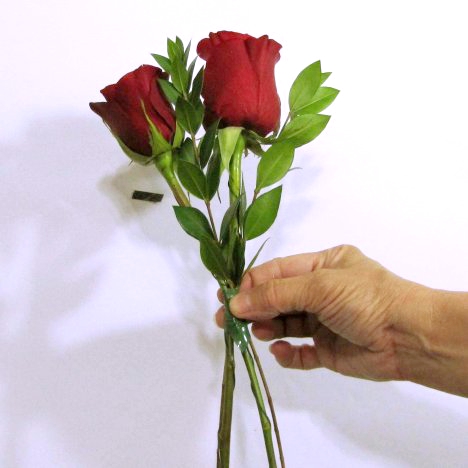
Tape it into place as shown below.
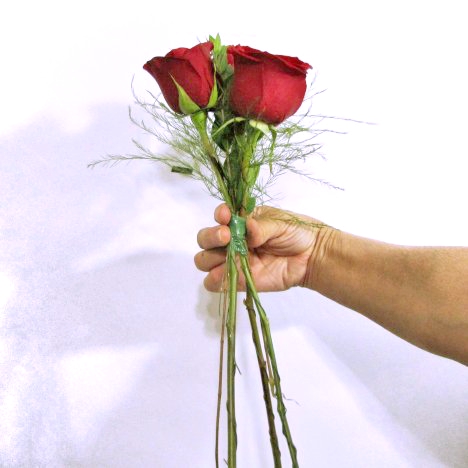
Here is a side view of the roses and greenery after being taped into place.
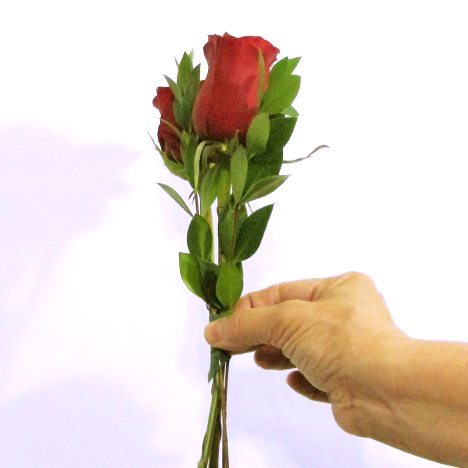
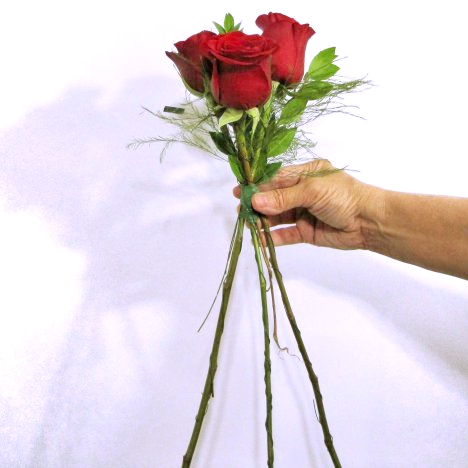
You can see a definite crossing of the stems as you add flowers to the bouquet. It will be this crossing that fans the roses outward and creates your rounded shape.
Greenery should always compliment the flowers - not overpower them. Don't go overboard with adding greenery.
Keep alternating as you go, changing between myrtle sprigs and tree fern stems.
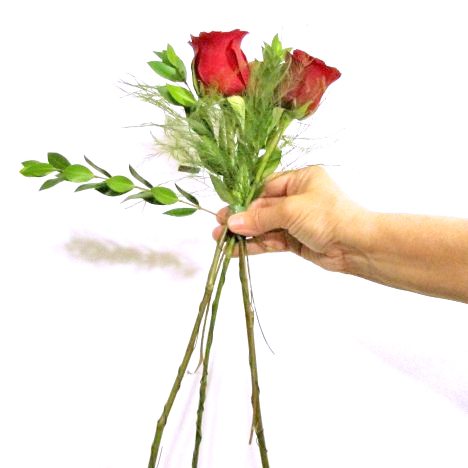
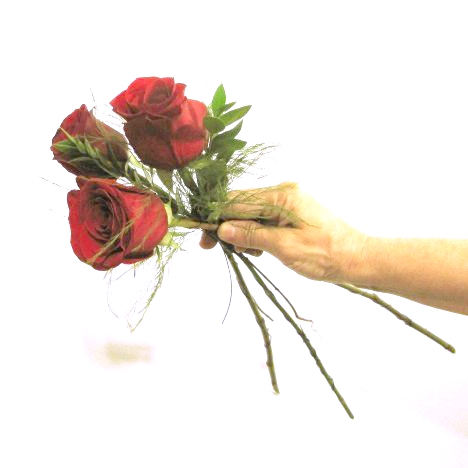
You'll know you are doing it correctly as you see your lower stems fanning out in a definite "V" pattern.
Be sure to keep this pattern shape when taping the stems with the Bind It tape.
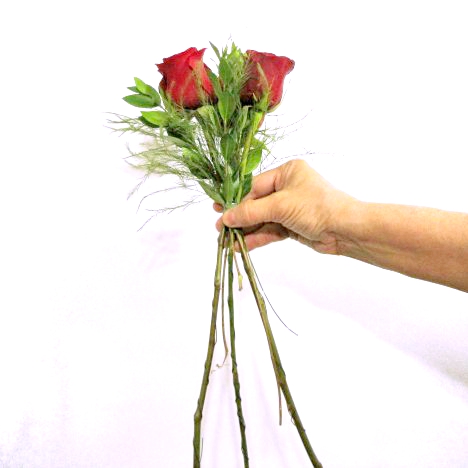
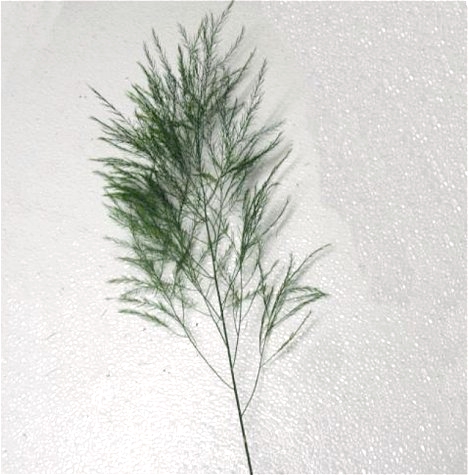
Now introduce a new greenery into your hand-tied rose bridal bouquet. This feathery fern is commonly known as Tree Fern. I like it better than plumosa, which has sharp tiny thorns.
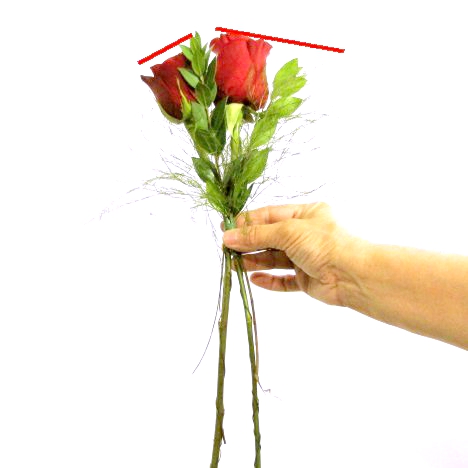
Note how the greenery isn't longer than the flower heads. The goal is for the greenery to peek out between the roses - not overpower them by being taller than the roses themselves.
Rotate your bouquet around and cross the third rose across the already taped flower stems.
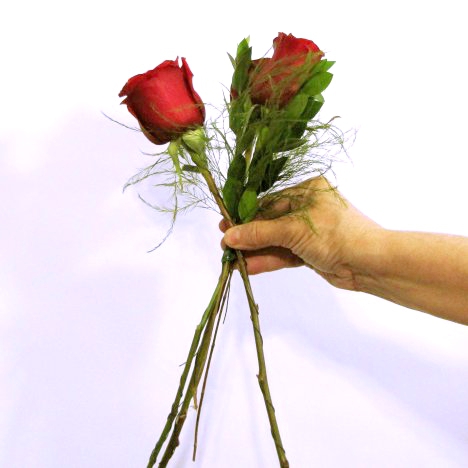
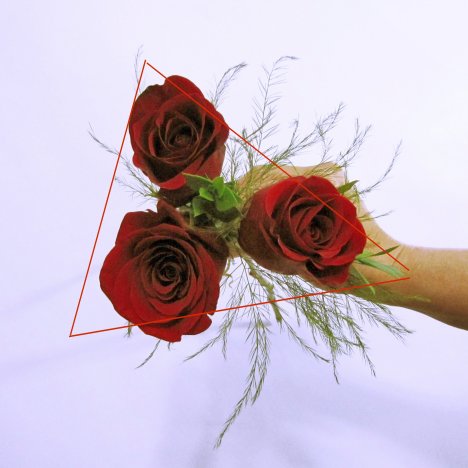
You should see a definite triangle shape developing, with greening in between the flower heads.
Before taping this third rose, I add another piece of tree fern with it.

See how the triangle shape is beginning to form? The three open sides is where you'll be placing additional roses, filling in those spaces with a methodical turning and taping of more flowers.