hand bridal bouquets
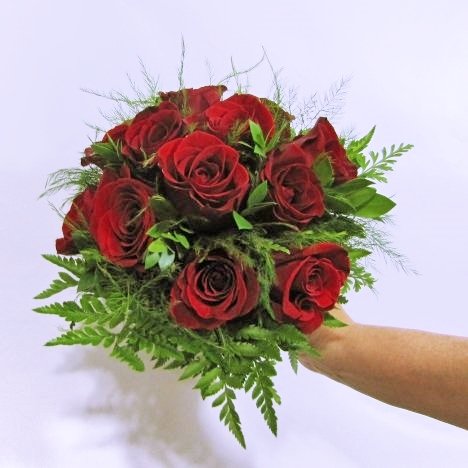
Hand bridal bouquets are very popular right now. Your rose flower variety is also going to play a part in how well the flowers opens. You can encourage a wider open look by blowing gently on each rose before placing it into the bouquet.
Be sure to pull off any bad petals before using them into your bouquet.

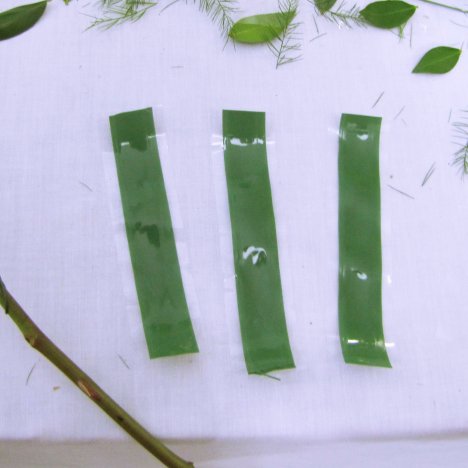
My strips of Bind It tape is now 6" long, so it can going around the thicker handle that has developed as I've added more roses and greenery.
I continue to turn and tape each flower.
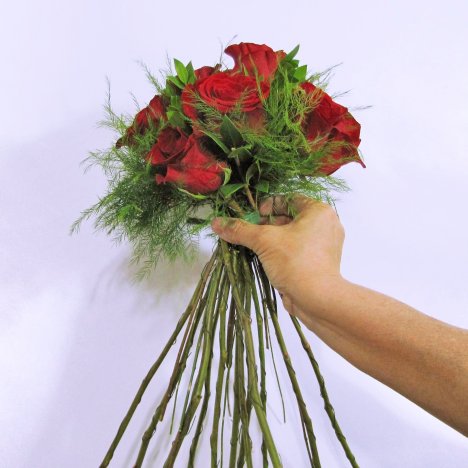
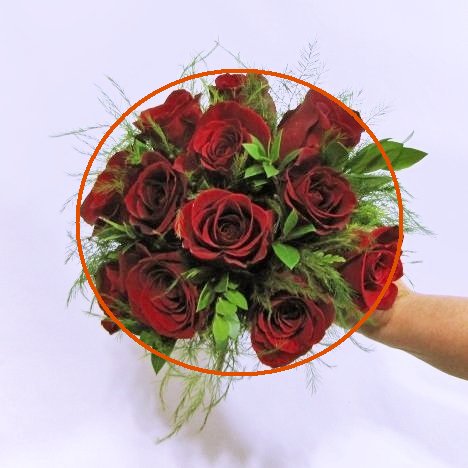
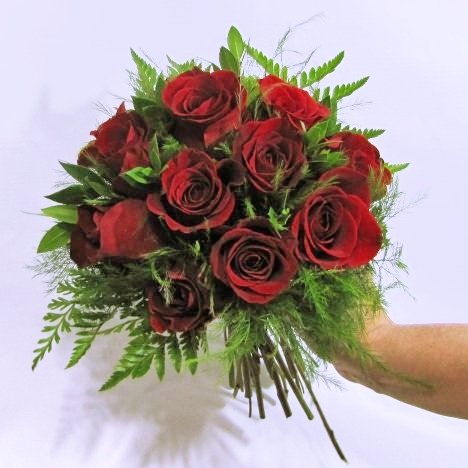
This is what the bouquet looks like with one dozen roses. Can you spot the obvious holes where I need to insert more roses?
At this point, fill in the obvious holes with any remaining roses, stopping when you've reached a nice rounded bouquet with no obvious gaps.

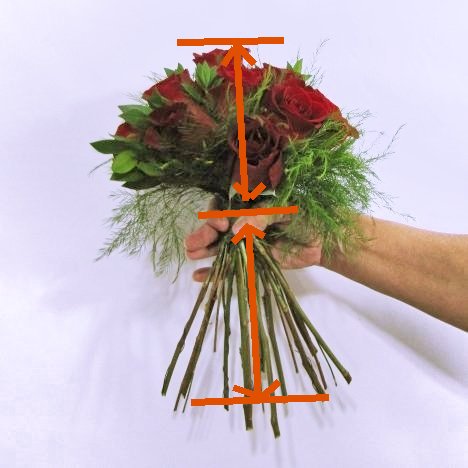
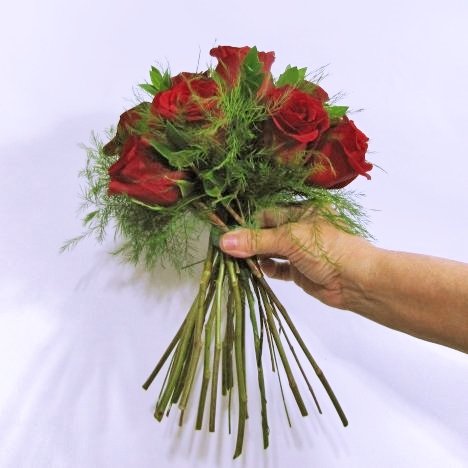
Once all your roses are in place in your hand tied bouquet, you will need to cut the stems off shorter.
Please use either a knife or bunch cutters. Florist tools are created especially not to crush delicate flower cells. Mashing stems with regular scissors can cause the problem of the stems not being able to draw water up to the flower head.
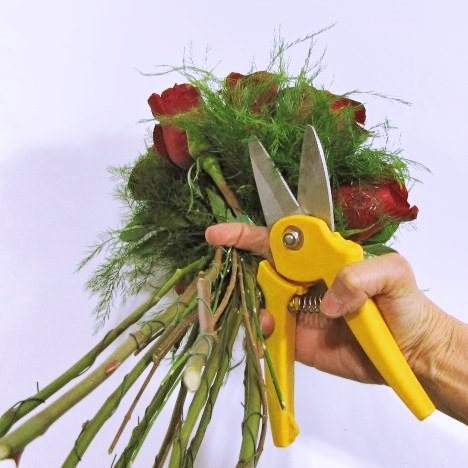
Cut off to a length that is comfortable to hold, usually proportionate the the depth of the flower heads above.
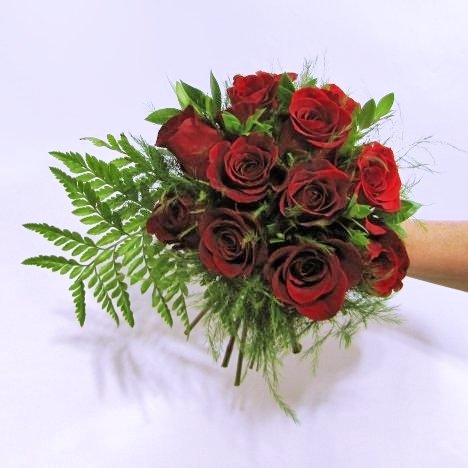
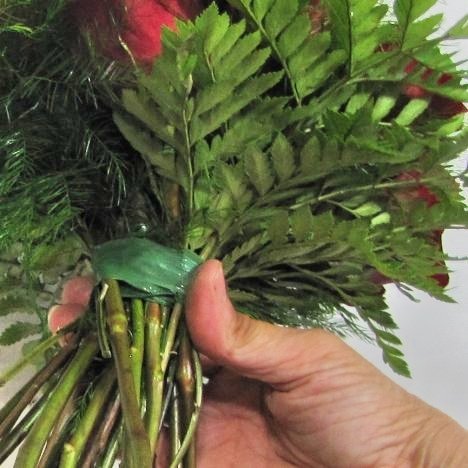
Fill any final holes you see, because we are going to finish off with leather leaf around the perimeter of the bouquet.
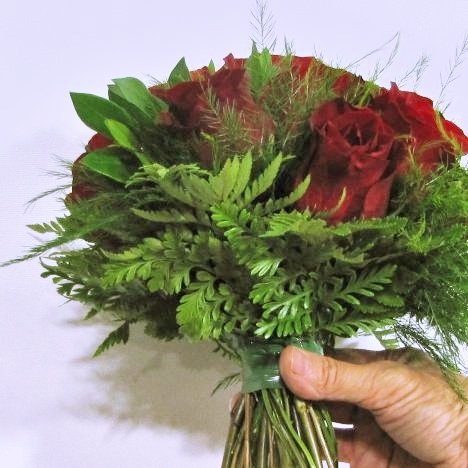
Alright! The bouquet looks like it is nicely rounded and ready to be finished off with an outer frame of leather leaf fern!
If your leather leaf fern is really huge, you may need to trim it back or remove the bottom laterals.
This fern has a lovely natural curve that can be used to advantage. At this point, don't worry about crossing the stems - simply lay it straight up and down against the finished bouquet.
Don't worry if you see "black dots" on the underside of the fern. This is natural spores (seeds) that repopulates the fern.
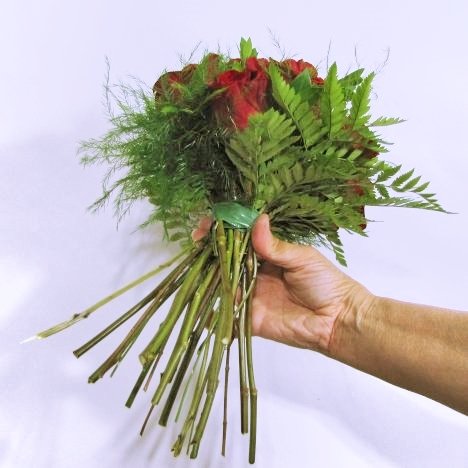
Continue placing the fern all around the underside of the bouquet.
See what a lovely finish the fern gives to the roses, making a natural collar of greenery.
Now I like my underside of the bouquet to be attractive as well, so I add a few more pieces of fern, except I flip these around so that the front of the fern is facing outward, covering the ugly back "underside" of the ferns.
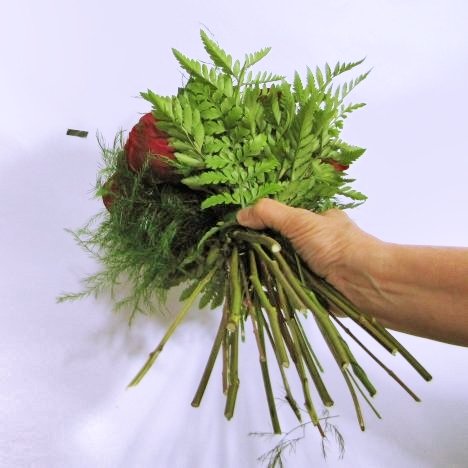
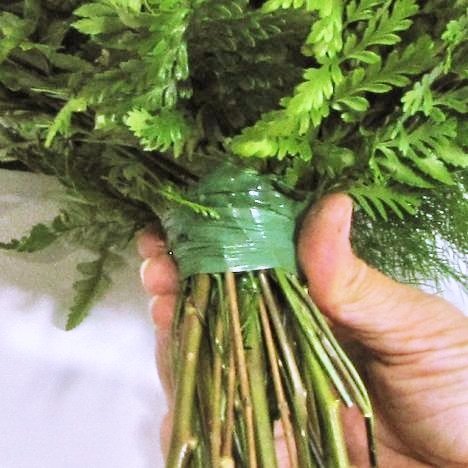
Tape into place with Bind It tape, wrapping the tape down far enough to cover the wires that were on your rose stems.
Snip off any unwanted stray fern, tree fern and remove any damaged petals. Now we are finished with the basic construction of the bouquet!
Let's move on to giving the bouquet handle a nice smooth finish!