hand bridal bouquet
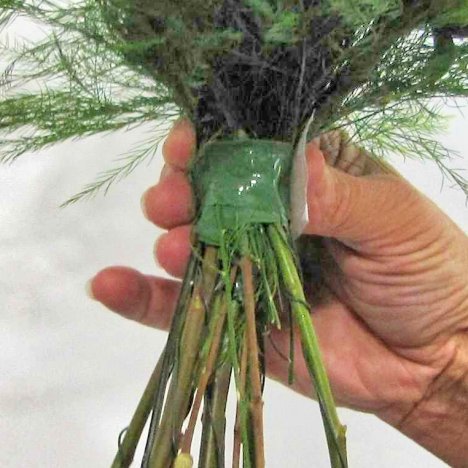
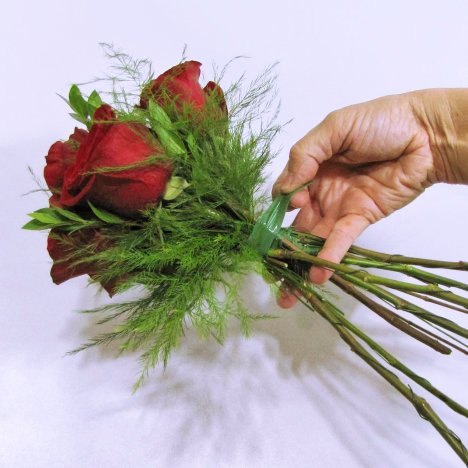
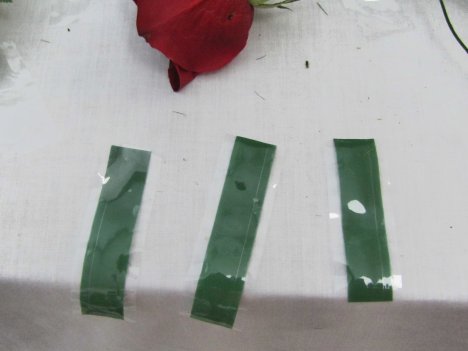
You can see how tightly the Bind It tape holds those stems together. It is impervious to water, unlike florist tape typically used for corsage work.
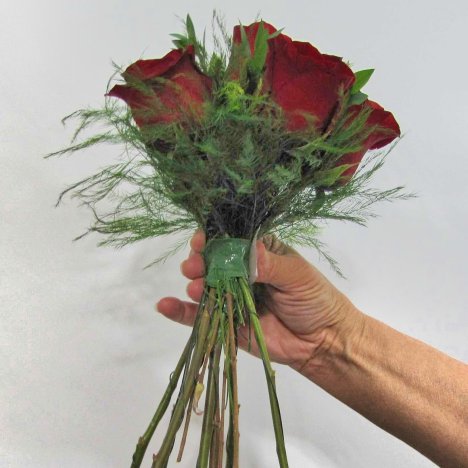
Different florists have different techniques for making hand tied bouquets. Since Oasis came out with the Bind It tape, I like the freedom of laying my bouquet down if needed without losing the hard work that I've done so far.
The more flowers you use, the bulkier the handle is going to become. You'll be surprised how heavy real flowers can get after you've held them for 20 minutes!
Stretching the tape is what activates the tape to cling to itself. It rather reminds me of plastic wrap for sealing food in bowls.

Always be sure your flower heads are exactly where you want them, because peeling the tape off is not impossible - but can be a little hard to do because it seals so tightly.
Keep your pattern going, always rotating the bouquet and filling in the next empty space between the flower heads with another rose, myrtle and tree and leather leaf fern.
Check the top periodically, to be sure the flower heads are placed right where they are needed and fanning outward from the center of the bouquet.
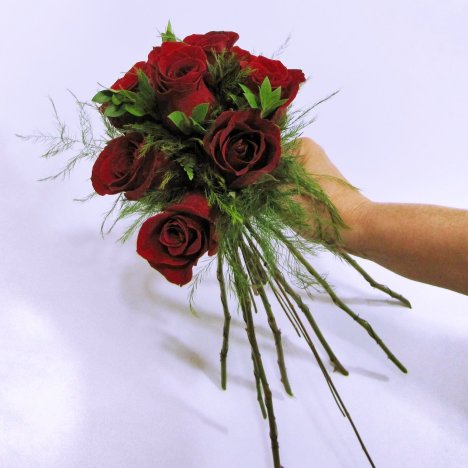
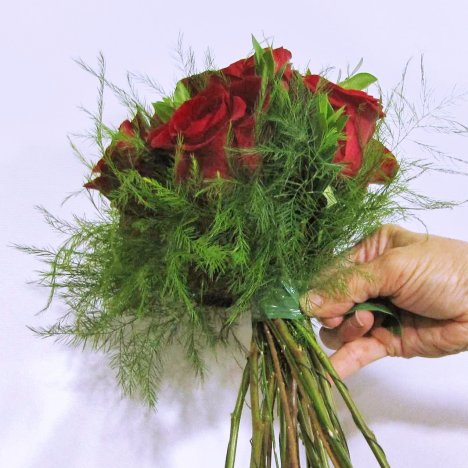
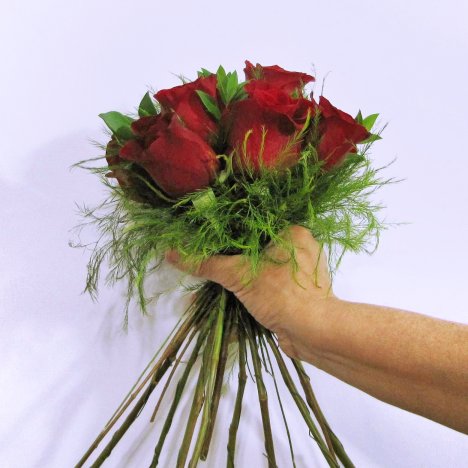
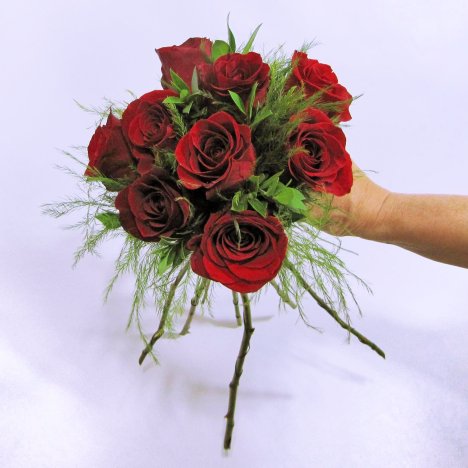
This hand tied bouquet is now growing rapidly with each additional rose you place into it.
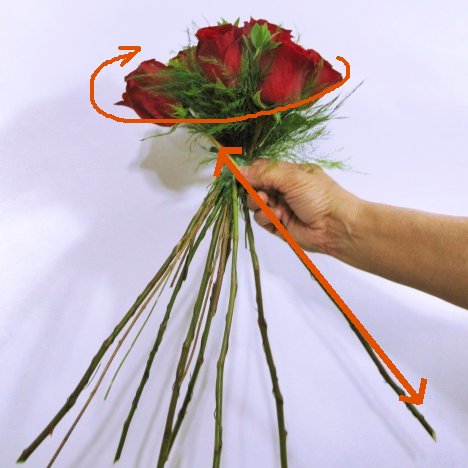
See how a definite curved dome pattern is taking place at a side angle? Note how the bottom stems are really sprayed outward.
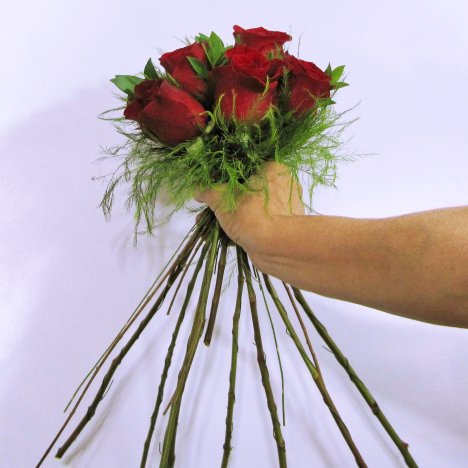
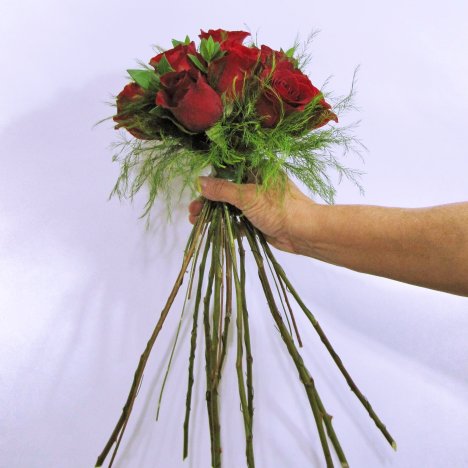
Don't worry about how far the stems are apart. When we go to tighten the stems and wrap them, you'll be surprised how flexible flower stems can actually be.
Begin cutting longer pieces of the Bind Wire, since the width of your stems is growing large with each new flower and greens.
Can you see the obvious empty space that this flower head needs to be placed into?

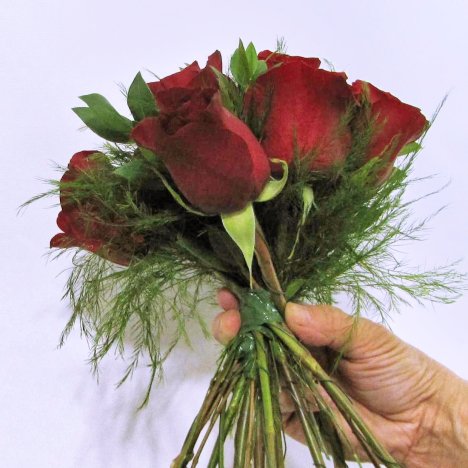
You can choose to create your hand tied without greenery, but you would want to place the heads closer together so there is no empty space that is usually filled with greens.
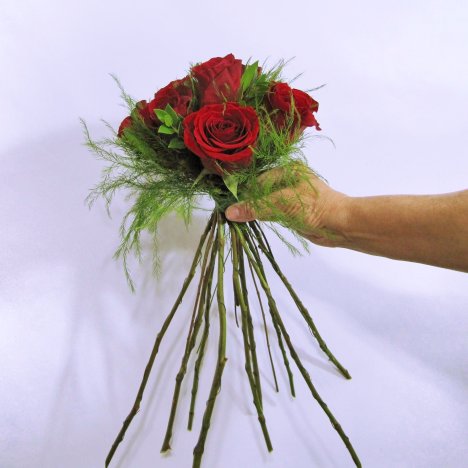
A top look shows this bouquet is filling out nicely. Don't worry about a "perfect" placement of each flower. This bouquet will have a nice, casual garden look when completed.
If you were not turning and crossing the flower stems, rather just clutching them together in a straight "up and down" manner, you would really be stressing the outer rose heads by now, having the danger of them snapping off at the top with the bending tension.
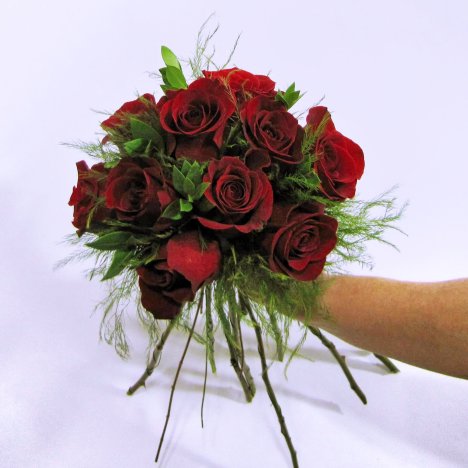
There is now only about five more flowers to place. Don't worry about exact numbers. Place the flowers in until you get a nice, rounded bouquet.
There is often times you need an 'extra' simply to fill in one last hole.
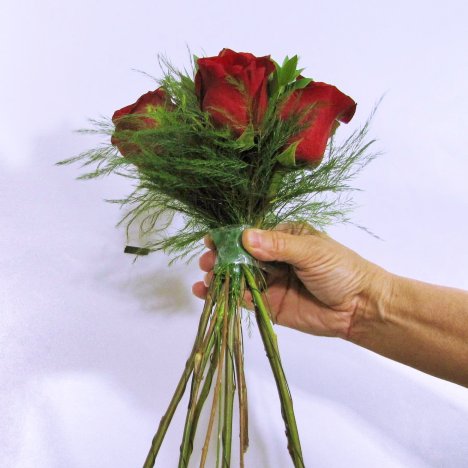
I'm making this rose bridal bouquet in about an average size by using 15 roses. Of course, size is going to be determined by the size of the rose heads.
Short stem roses (which I recommend) usually have a smaller diameter head. If you want very large, open roses, consider ordering long stemmed roses.