bridal table decoration
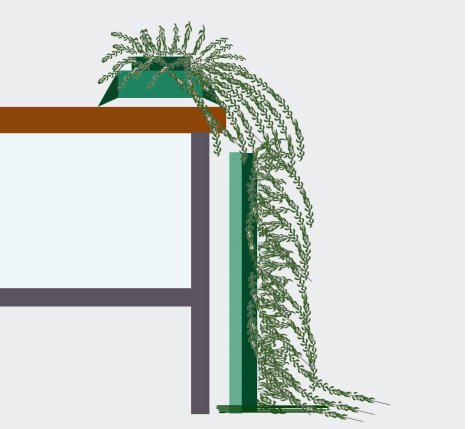
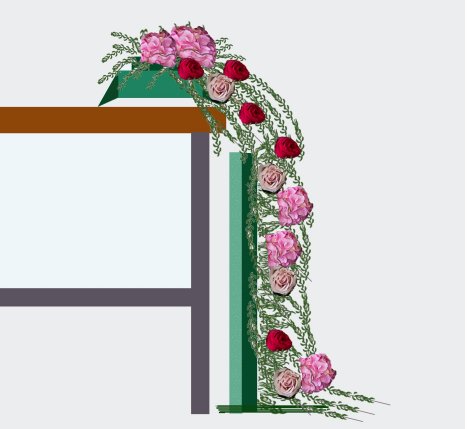
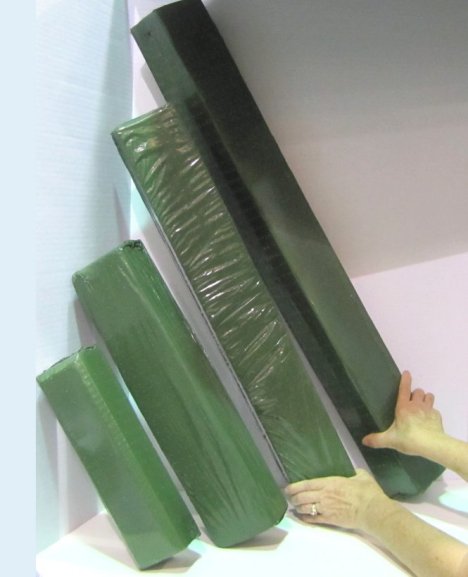
This bridal table decoration needs to be greened in on the sides as well as the front, so the mechanics are concealed from all angles. I've left off the sides to give you a view on how the greens are inserted.
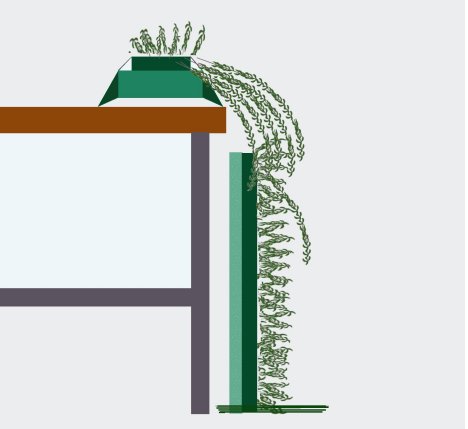
Add more fall stems lower down on the upright Oasis Sculpting base. It has to look like a completely fluid fall from top to bottom.
As you get the the bottom of the Oasis sheet, insert upward and lay the curve opposite of those above, so the greens spill out onto the floor.

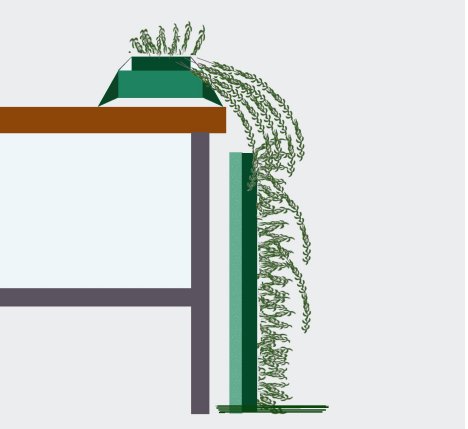
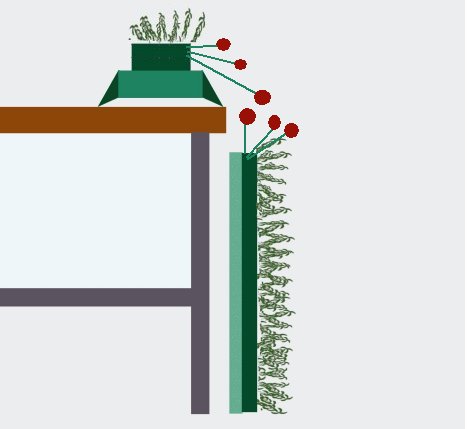
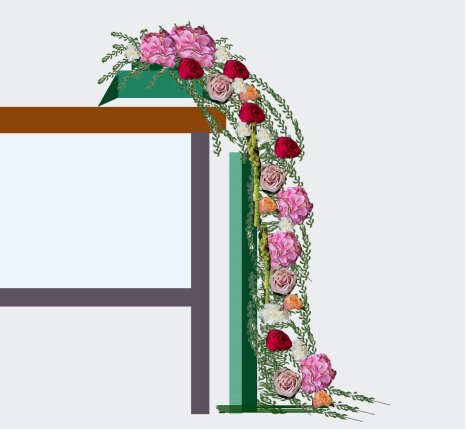
Start filling in from the sides.
Keep in mind that the height of the tabletop foam has to be a high enough brick of foam that you can insert flowers straight out and at a downward angle. You'll insert flowers on the topside portion of the sheet into the 2 inches of foam.
This gives an illusion of the flowers draping over the table.
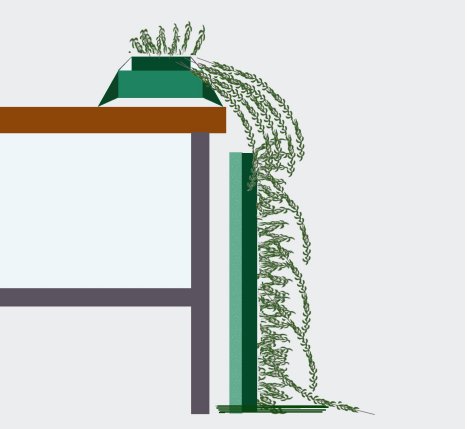
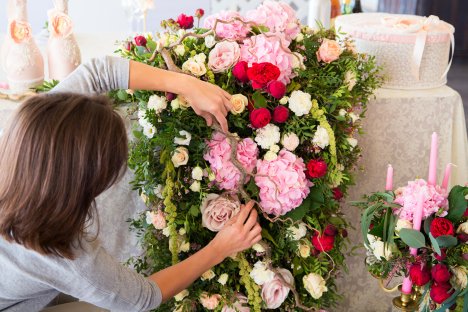
So fill in your largest flowers first. You can substitute sunflowers, allium, football chrysanthemums or other larger headed flowers if you have a different color scheme in mind.
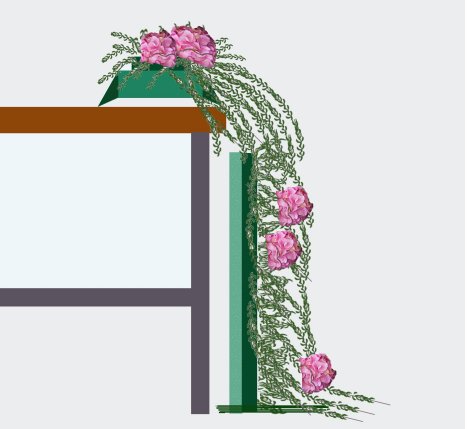
Begin a spray of forward falling flowers to fill in the gap between your top saddle and the standing sculpting sheet.
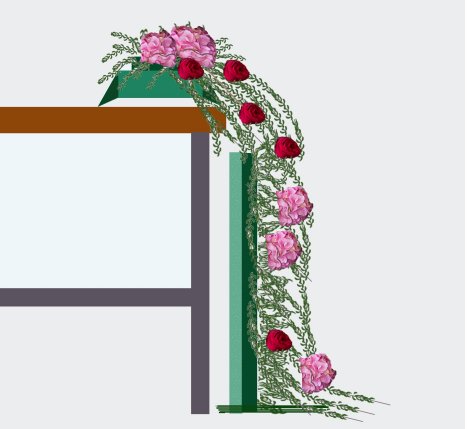
Now's where you can begin to have fun. Fill in with your choice of filler flowers or other varieties of greenery.
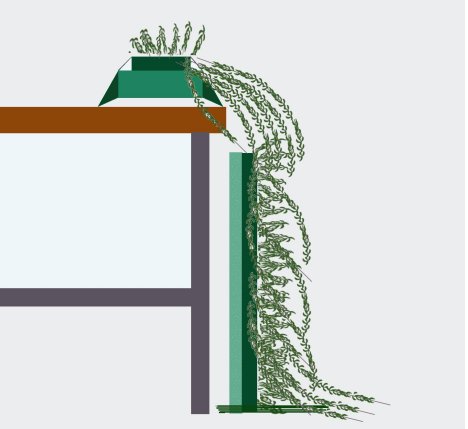
Hanging amaranthus looks beautiful in this style of design and comes in both bright green and a deep burgundy red. Continue to fill in until flowered to your satisfaction.
Put your own spin on the design. You can add curly willow, birch branches, sprengeri, ivy or draped pearls to make this design a true work of art.
Always stand back and look at your design from the sides and front. This design is a true showstopper!
I strongly recommend using Floralock Stem Adhesive to secure your flowers in place. Be sure to shake the can thoroughly, as this allows you to get all the adhesive out of the can. The handy nozzle attaches to the finger nozzle and allows you to insert carefully in between the flower heads.
Give short bursts of adhesive, taking care not to spray too long. You don't want glue dripping down only the floor or on other flower heads. Only do this step once you've inserted all the flowers you want. The adhesive sets up and makes it harder to insert more flowers into the foam.

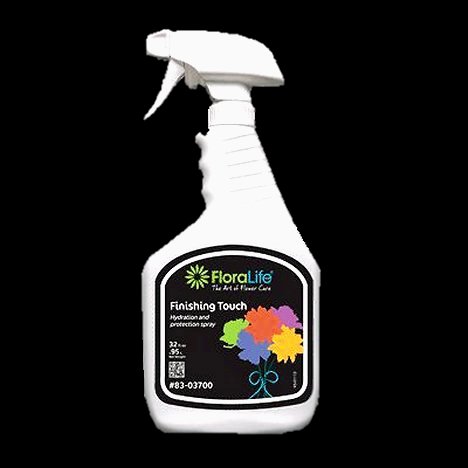
Finishing Touch is something I use on every single design. It helps seal moisture into the flower heads and slows down the aging process. Moisture is the life of the flowers. Air conditioned rooms are designed to take moisture out of the air, so it makes sense to stop this on your flowers as well as possible.
If you want the sprays shown on the first photo, spray bars are easy to attach to the lattice panels. Find a tutorial for greening and flowering raquette bars.
I hope you've enjoyed this bridal table decoration tutorial. I have many other step by steps, taking you through the basics and showing you the products and elements used by professional florists.

