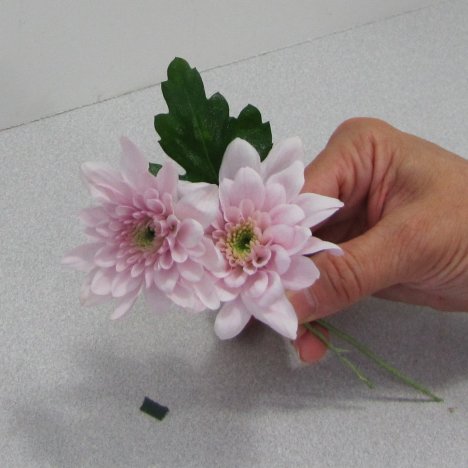
Make a boutonniere
To make a boutonniere unique, be willing to incorporated a mix of greenery. Start with the green leaves of the mums itself.
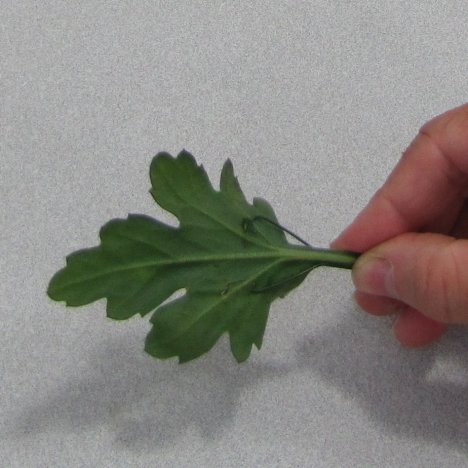
Bend down the other side of the wire, creating an open wire loop that is secured around the veins of the leaf.
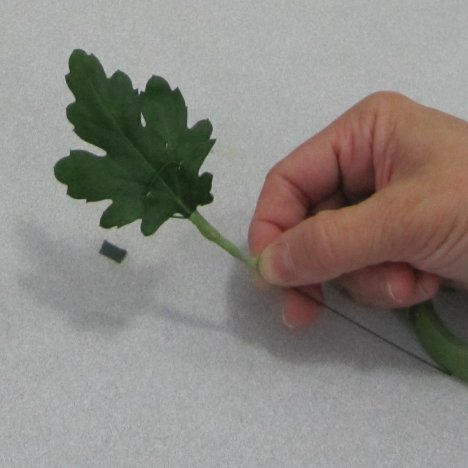
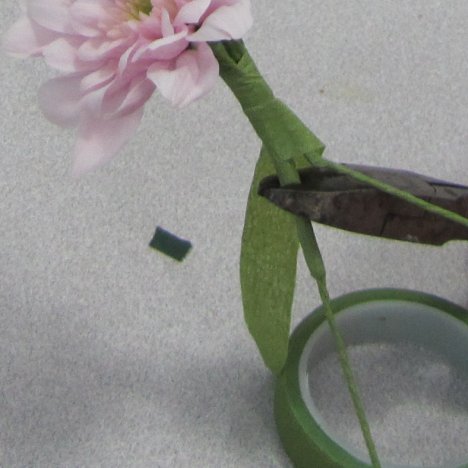
Use green stem wrap to secure the wire to the stem of the leaf. The wire can also extend the stem down lower than the actual flower leaf. Now that the leaf is supported by wire, you'll be able to bend it however you need to cradle the flower head of the boutonniere.
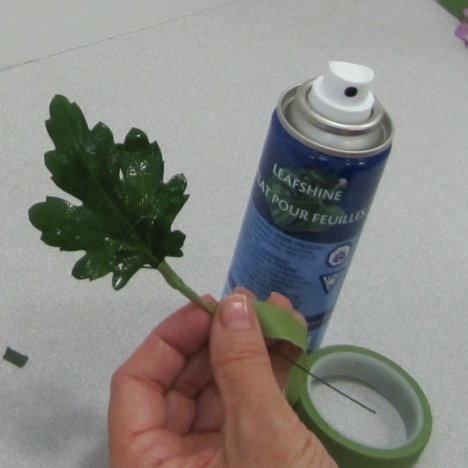
Fresh leaves should be given a quick soaking in tepid water before using to hydrate the leaves.
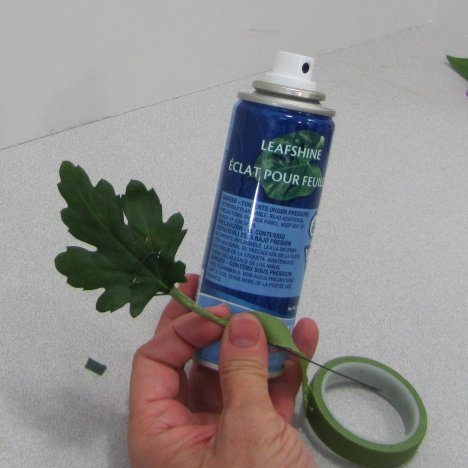
Flowers leaves sometime look spotty and mottled with hard water residue. Leafshine gives them a shiny appearance that dries to a high gloss, giving a more attractive appearance to the boutonniere.
Attaching the leaves to your boutonniere is not difficult once you learn how to wire every single leaf so you have more control over the bend and sway of the stems.
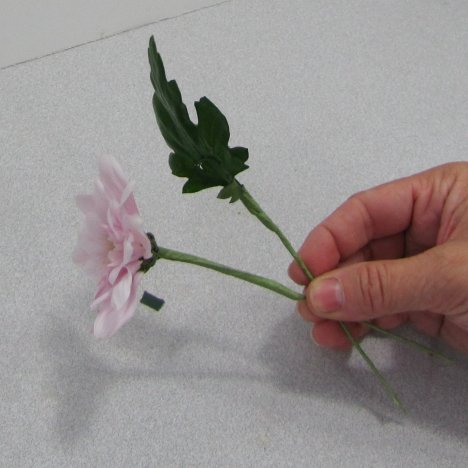
You can simply tape the leaf as it to the back of the unwired flower stem, but I like the control that wiring both gives me in being able to gently bend the flower to the way I want it to look.
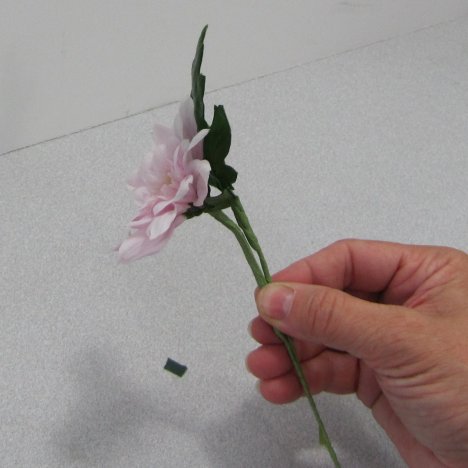
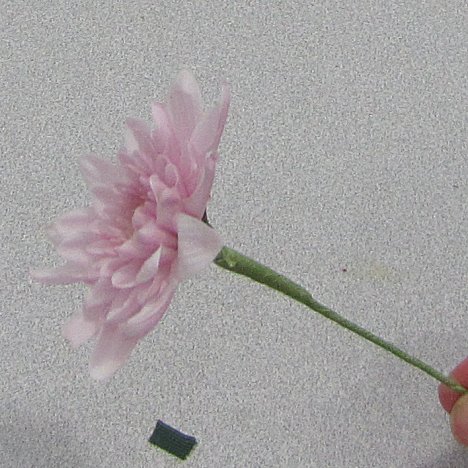
Bend the head of the flower gently forward, so that when laid against the tux lapel the face of the flower faces outward rather than upward.
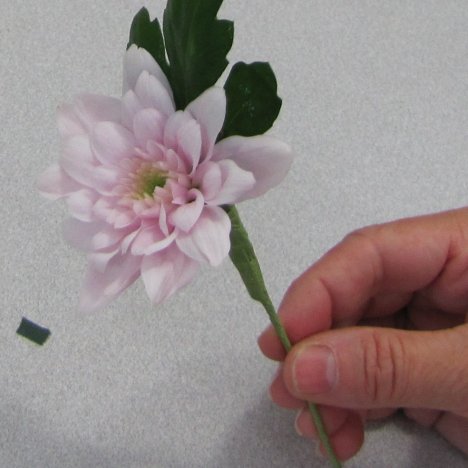
The leaf should be place straight behind, bending only if necessary to make the leaf cup the back of the flower head. Keep the tip of the leaf a bit longer than the actual flower head, so that it frames it nicely once pinned to the lapel.
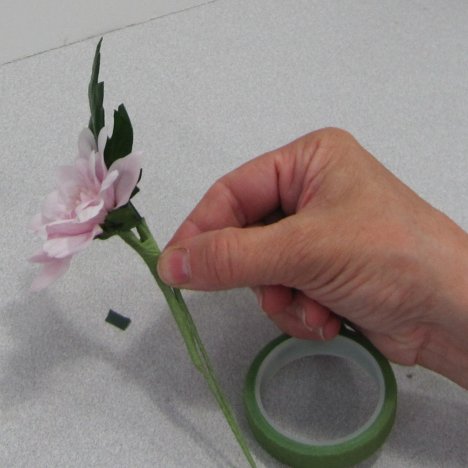
Use more florist tape to secure the two stems together. Tape only a short way down however - not the entire length of both wire stems.

Once you've taped far enough to securely hold the leaf in place, stop and keep the stems separate. As a professional florist, I always try to keep my flower stems on corsages and boutonnieres slender and manageable. Big bulky stems have an unprofessional look and are sometimes difficult to pin.
Using wire cutters, snip one of the stems off in a clean cut and then continue taping down the rest of the stem. Sometimes I do not cut off the extra stems in order to have several stems to curl up and leave a decorative finish.
If you do not plan to include the stems as part of the design, work at keeping the finished stem thin and bendable.
You'll have a smooth, slender stem with a tightly taped finish all the way down covering all the wire.
Repeat the first step of this tutorial on how to make boutonnieres by wiring a second pink mum. Lay the wire next to the stem and push it up thru the center of the flower head.
I generally do all similar steps at the same time. Thus, I wire all the flowers needed for a boutonniere or corsage, I then tape them all, and so forth.
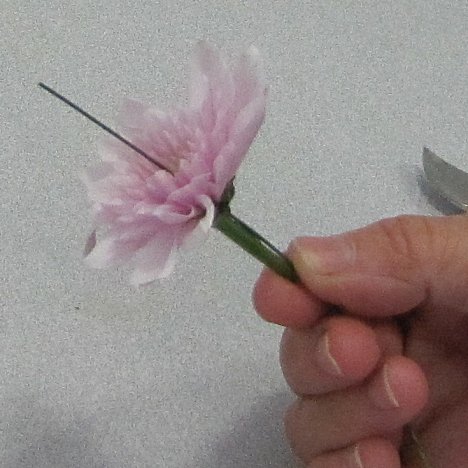
Quickly bend a hook and pull it down through the head, sinking it just below the center of the flower.
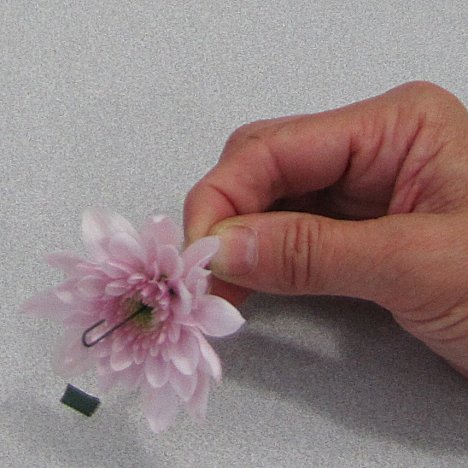
Using florist tape, secure the wire firmly to the flower stem.
Bend the head gently forward and tuck this flower above the first one wired.