double mum boutonniere
This double mum boutonniere is easy to construct, as each piece is wired. Bend the head gently forward and tuck this flower above the first one wired.
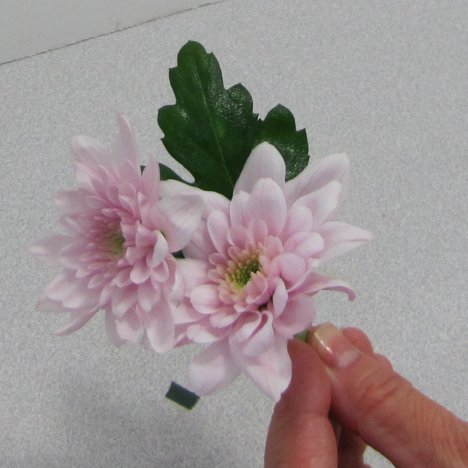
Flowers should be clustered tightly, with no gaps showing between the flowers unless you plan to fill in with more flowers, ribbon or other decorative accent.
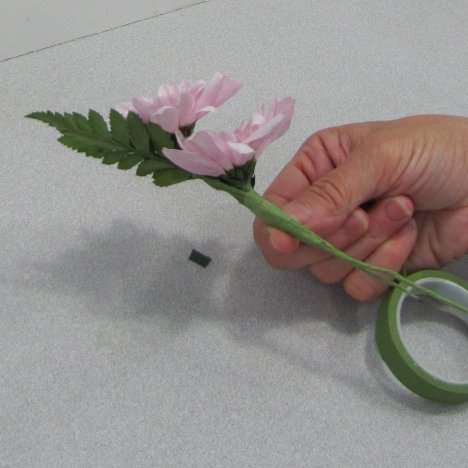
Using green stem wrap, wind it securely right below the bottom flower head, taping the two flower stems together.
See how I positioned the second flower above the first. I will be adding more greenery that will conceal the back.
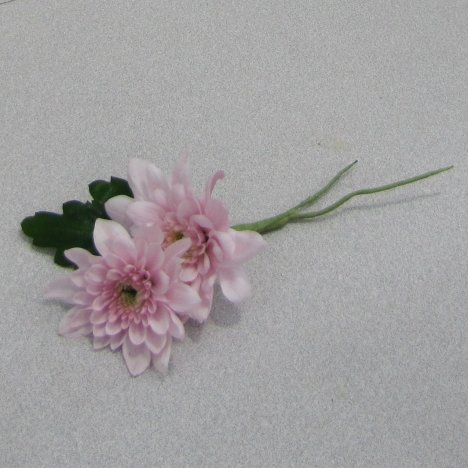
At this point, leave the slender bottom stems untaped. There will be a decorative finish involving these two stems later.
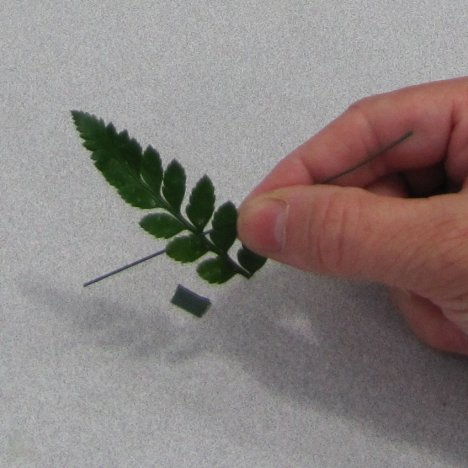
I love adding interest and texture to boutonniere designs by using different foliages. Leather leaf fern is a common greenery and used frequently in bouquets, centerpieces, corsages and more.
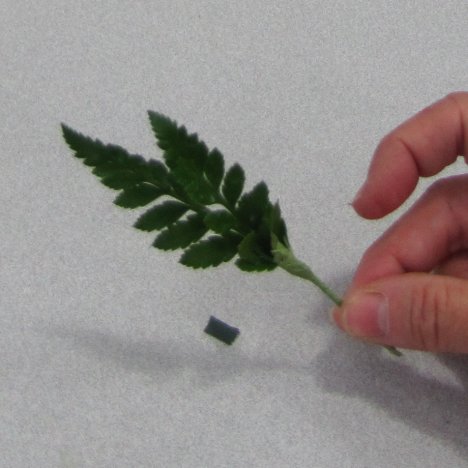
Using just a small leaflet from a stem of fern, thread a florist wire through the leaves of a frond.
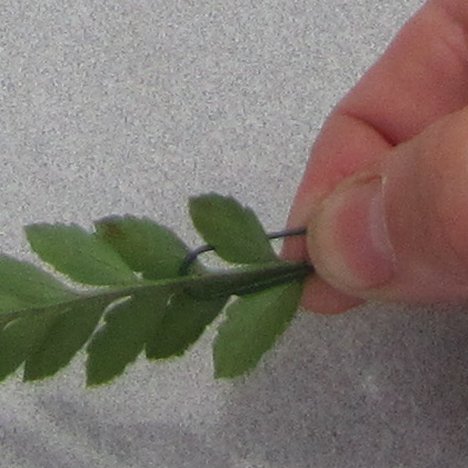
Gently bend the wire down in a hairpin fashion, hooking the wire over two of the leaves. Be careful not to pull too hard and strip any leaves off the greenery stem. Tape the wire in a single stem. Repeat, wiring and taping another stem of greenery.
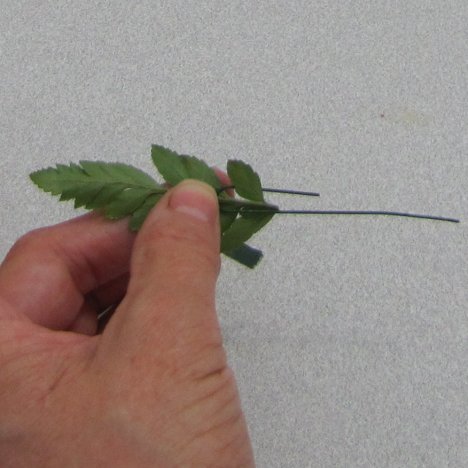
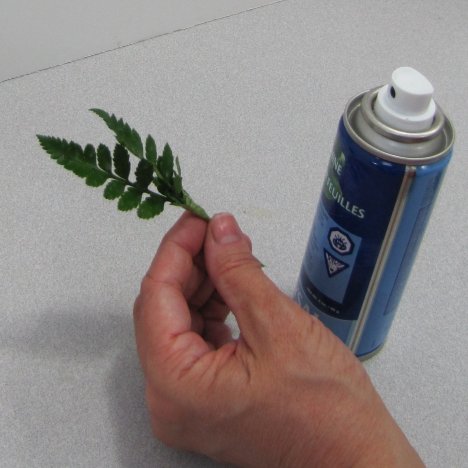
Lay the two fronds together and tape as one stem.
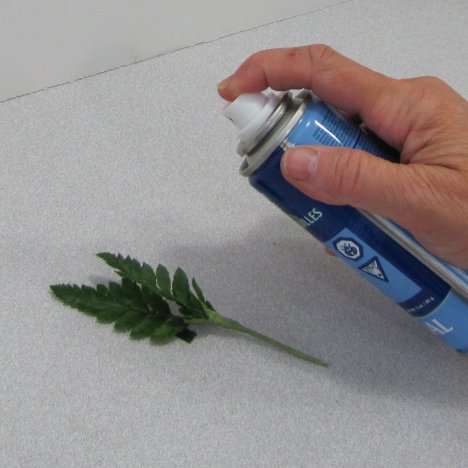
Leather leaf is long lasting. Misting with water alone on greenery sometimes leaves a spotty residue if it is hard water. Florists generally seal both flowers and greenery with products that lock in the moisture and create a beautiful finish.
Using a plant polish gives your designs that professional touch. Spray on greenery only, but you can use Finishing Touch on both greens and flowers.
Using the right products that ensure both cut flowers and greens remain fresh as possible is the key to being able to create flower designs days in advance. This saves the DIY bride valuable time and assures her that those designs will still stay fresh throughout her entire wedding day.

Once you know the basics, assembling boutonnieres is a quick process. I usually save my cut flower work (corsages and boutonnieres) for the day before the wedding.
Since I generally generally create bouquet on bouquet holders (even creating hand tied looks) (even the hand tied look), the flowers have a continual water source and can be created a couple days in advance. Just be sure to keep in a cool place, mist regularly with Finishing Touch or Crowning Glory and turn the lights out.
Cut flower work generally doesn't have a water source, so you should only do it a day in advance and then keep in a refrigerator if possible.
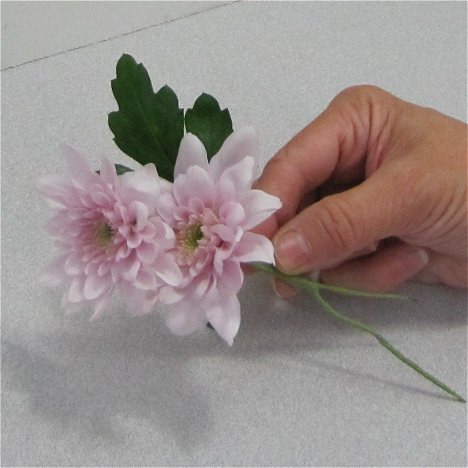
Place the leather leaf taped fronds behind the top flower, making sure the edge of the frond is about halfway about the top tip of the flower.
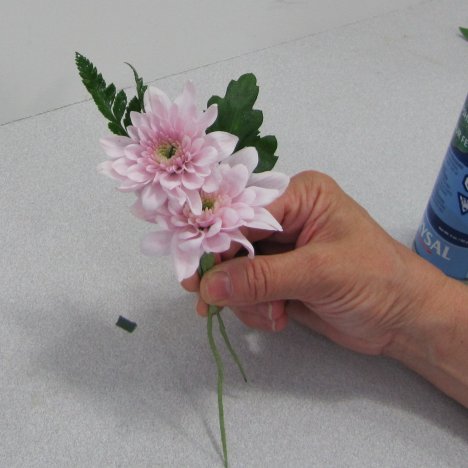
See from the back view that the fern is flat and lays completely against the flower backs.
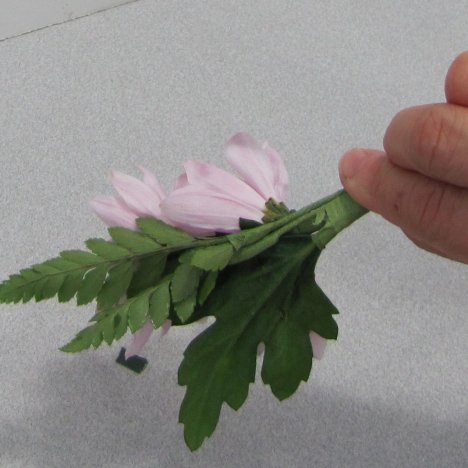
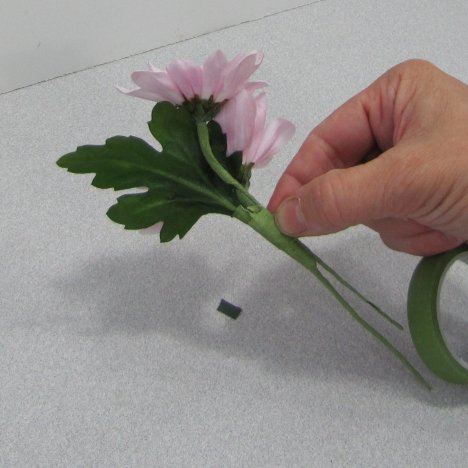
Once you are satisfied that the leaves are where you want them, secure with green stem wrap.