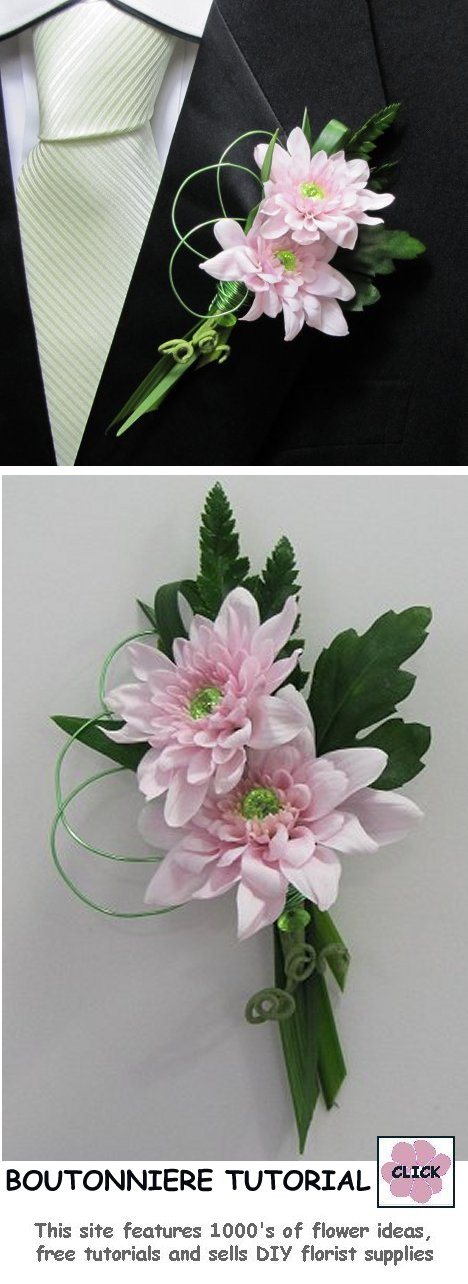
how to make boutonnieres
Learn how to make boutonnieres that will rival professional flower shops! It's hard to believe that this gorgeous lapel flower is made with a few inexpensive chrysanthemums. It's all in the way you combine interesting greens and a few design elements that can turn a simple flower into a gorgeous accent flower.
You'll need:
- 1 Chrysanthemum Pomp Stem (with at least 2 flower heads)
- 1 roll Green Stem Wrap
- 1 stem Leather Leaf fern
- 1 blade of Lily Grass
- 3 Diamante Pins
- 1 Roll Metallic Wire
- BoutStix or Diamante Pins for fastening to Lapel
- (Do not use magnets on people with Heart Pacemakers)
- Finishing Touch
- Leaf Polish
When learning how to make boutonnieres you need to begin with basic wiring of flowers. Mums and daisies have a slender stalk and do well with the hairpin wiring technique.
It's very easy to master and will give extra support to both the flower head and the stem of the boutonniere.
I like using 22 gauge wire which is flexible, but not so thin that it doesn't give good support. Remember - the finer and thinner the wire the higher the number.
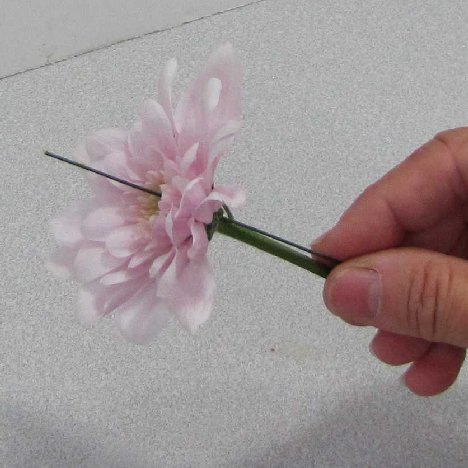
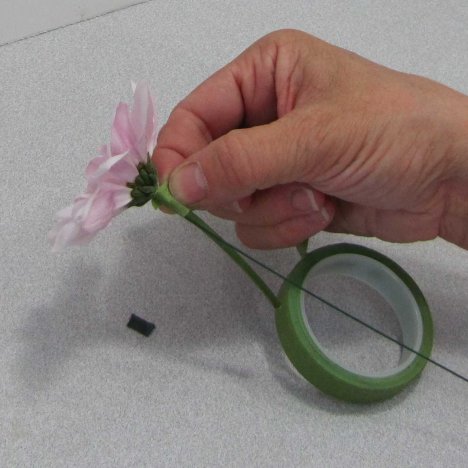
Place the wire stem parallel to the flower stem and pierce right below the flower head.
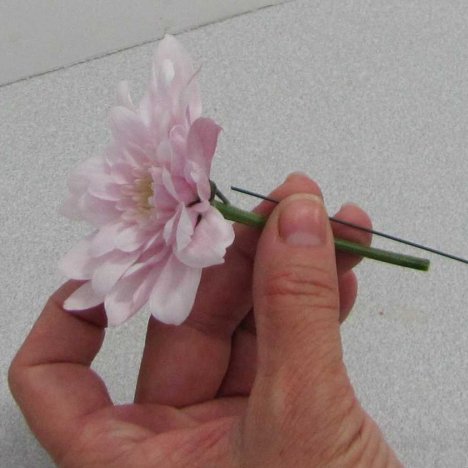
Gently push the wire up into the head and out through the center of the flower.
With either your fingers or needle nose pliers, bend the end of the wire to resemble a hairpin hook.
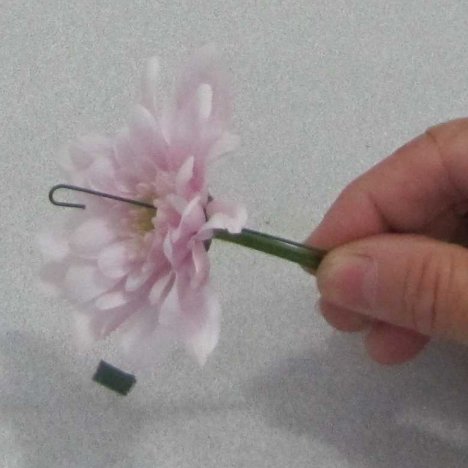
Keep the hook narrow so it makes a small indent in the flower center when pulled through.
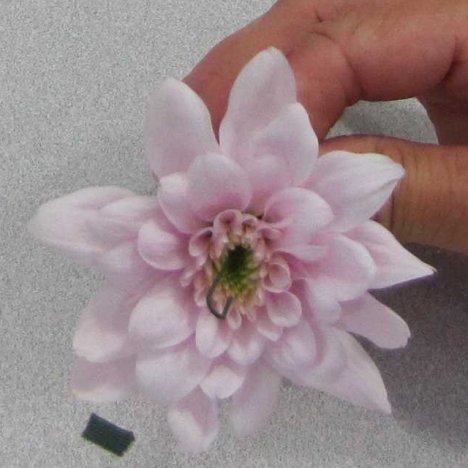
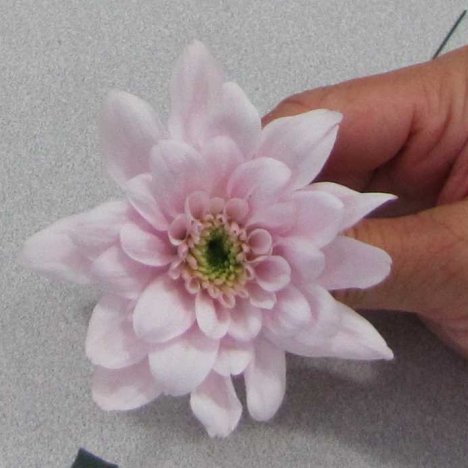
Gently pull the wire downwards, until the hook is buried and concealed in the center of the flower. Don't pull so hard that the wire comes back out of the bottom of the flower.
Continuing our boutonniere instructions, you will need to use green stem wrap to cover and support the hairpin wire you just inserted up into the mum flower head.
This tape stretches and adheres to itself and is easy to work with. It comes in a variety of colors, including dark green, light green, white, pink, and black. I like to consider what the finished stems are going to look like when choosing my florist tape color.
If I plan to ribbon wrap, then I may use white or a color that blends with the ribbon. If I want natural looking stems, I choose a green that blends with the other flower and greenery stems.
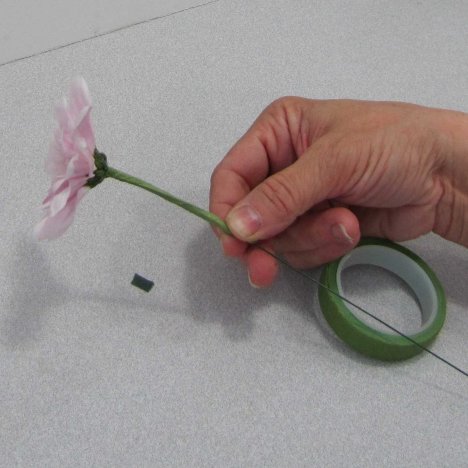
Begin at the top of the flower, right under the base of the head.
Pull the tape as you wind it around the flower stem. Keep the tape taut and pull down smoothly so there are no lumps or clumps of tape.
Please keep in mind that fresh tape is best. Sometimes (as I've sadly found out in a pinch at an out of town wedding) the tape found at discount and dollar stores is old stock. It may be dry and refuse to stick to itself or (worse!) be so sticky that it's a gummy sticky mess before you get done. Florist tape isn't that expensive! Invest in a few rolls for a good sized wedding, especially if you are doing a lot of corsage or boutonniere work.
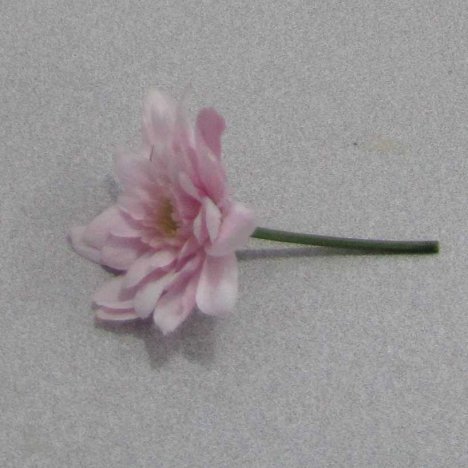
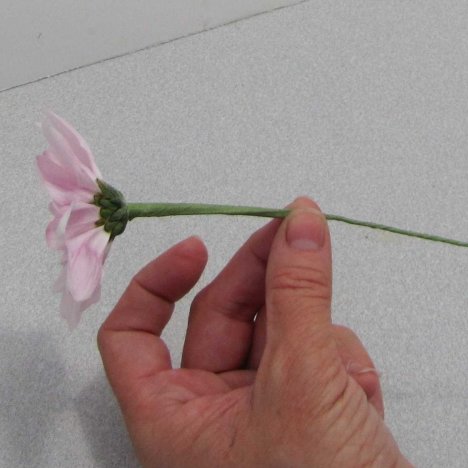
The finished look should be smooth and slender. Now with a wire taped to the flower stem, you have the advantage of being able to gently manipulate the stem, bending the flower head at the angle you want without snapping it off accidentally.
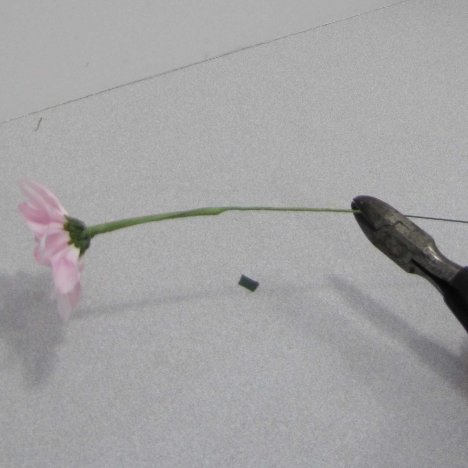
Snip off the excess wire, allowing yourself plenty of stem to coil up as a finishing touch. Keep in mind to always keep the stems on your boutonniere and corsage work as slender as you can. Reducing the bulk makes for a nicer look when pinned to the lapel.
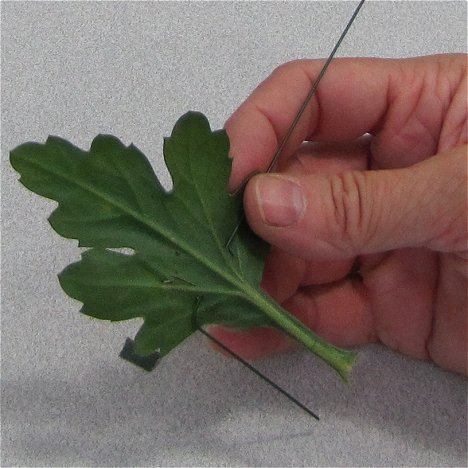
A basic part of boutonniere making is learning how to wire and accent the design with fresh leaves. This is actually a chrysanthemum leaf off the same stem as the flowers that I wired in the earlier steps of this tutorial.
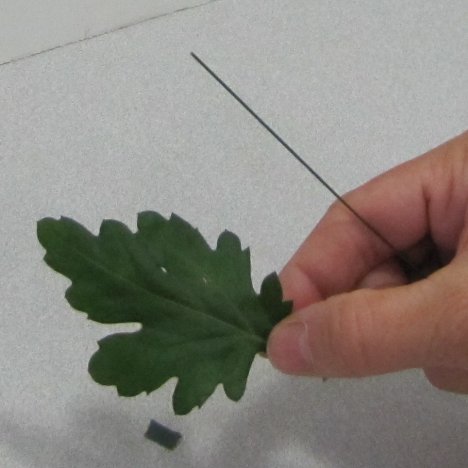
Using another 26 gauge green florist wire, pierce the leaf in a stitch pattern, making sure that you position the wire above the veins of the leaf.
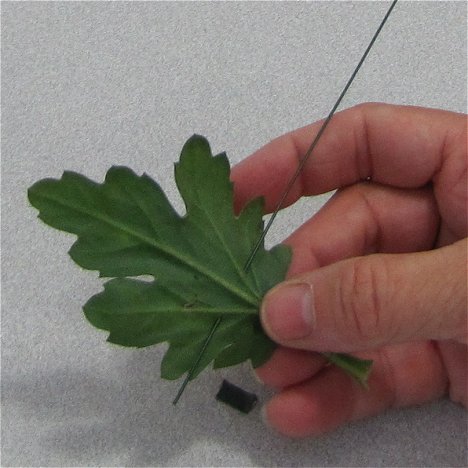
Gently bend the end of the wire down at an angle that makes it parallel to the leaf stem. Take care not to tear the leaf itself while bending the wire.