white daisy wedding bouquet
I like adding a touch of glamour by inserting shortened pearl headed pins into daisy centers. Be sure to do this safely by using eye protection or buying Pixie Pins that are already a shorter length.
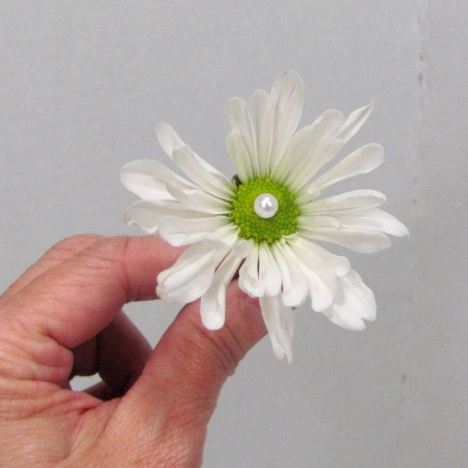
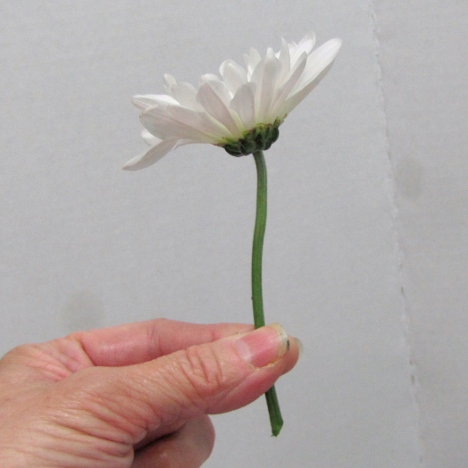
You need to cut your daisy heads apart, leaving plenty of stem for inserting into the foam.

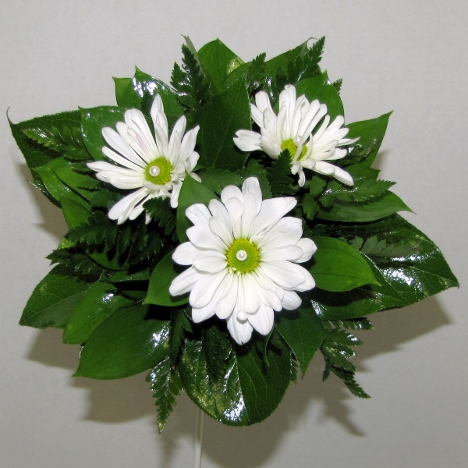
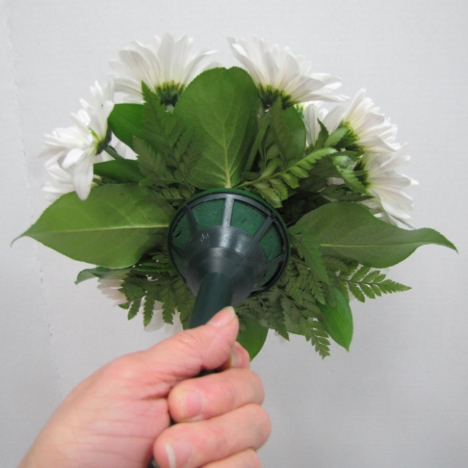
I tuck the first bloom into the center of our newly greened bouquet.
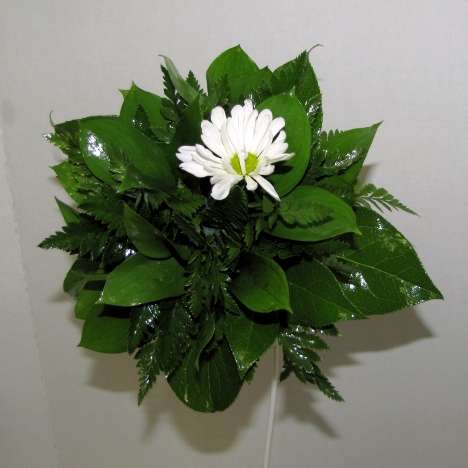
I'm going to space my daisies apart in the beginning. I'll go back later, adding in more daisies, changing the depth a little to add interest to the bouquet design.
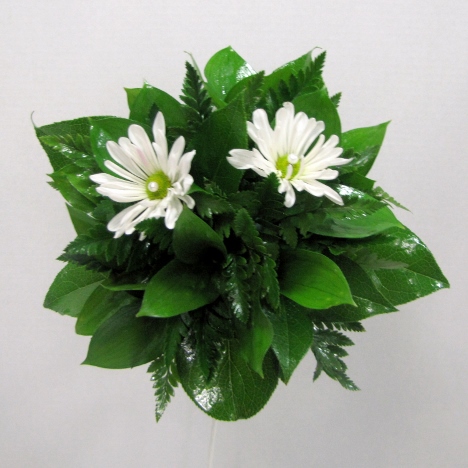
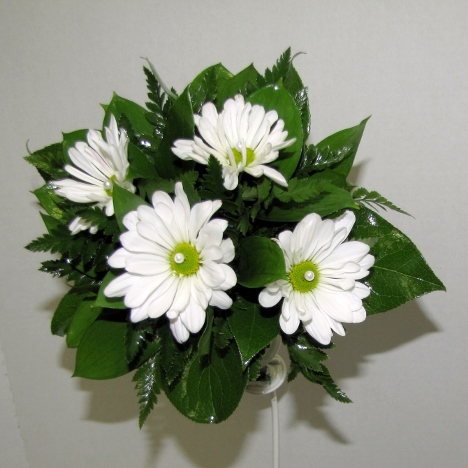
Continue to fill in with the daisies. The daisy face should begin to tilt outwards as you get closer to the outer rim of the bouquet.
Longer daisy stems are going to be needed as the flowers move towards the outer part of the bouquet design.
Again, begin to face the daisies outward as they move toward the outer rim.
Fill in the daisies, leaving a little space between the flower heads.
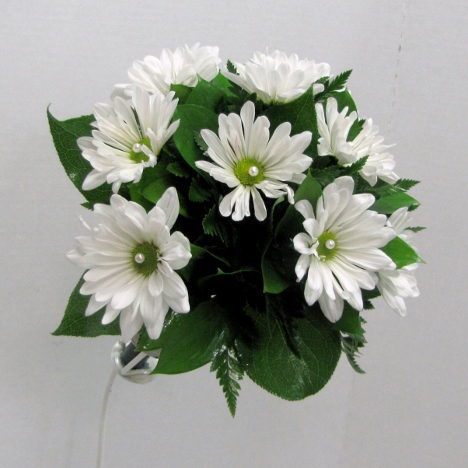
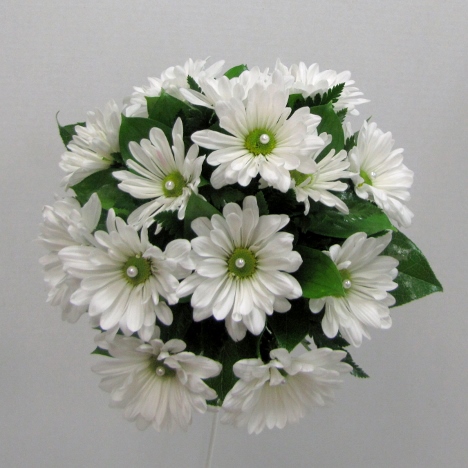
Fill in the gaps, creating a gentle "dome" effect when viewed from the side.
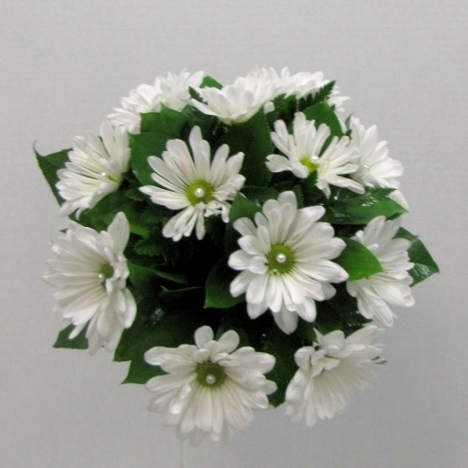
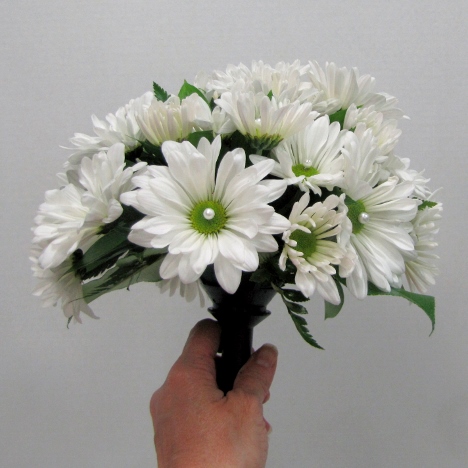
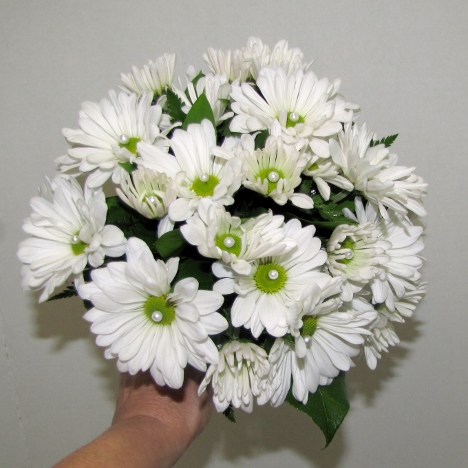
Your bouquet quickly fills in, with the pearl centers adding a lovely jeweled touch.
From the side, you see how the flowers have a "half ball" shape rather than a flattened shape (which could happen if you cut the stems too short or insert too deep into the foam).
Here's how the bouquet looks from a full frontal view. You can see I left some space between the flower heads, allowing your interesting greens to be a visual part of the design.
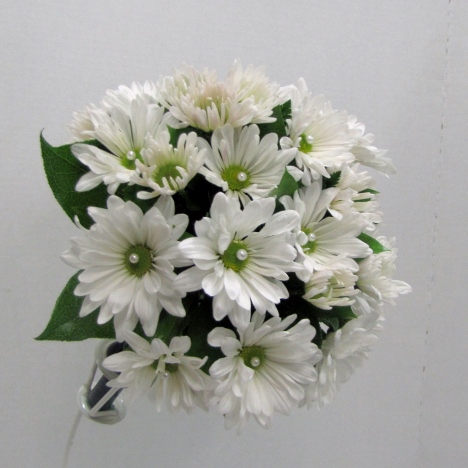
I'm now going to add the stems to the bouquet, concealing the handle stem.
I want to conceal the mechanics of this bouquet that you can see from the back.
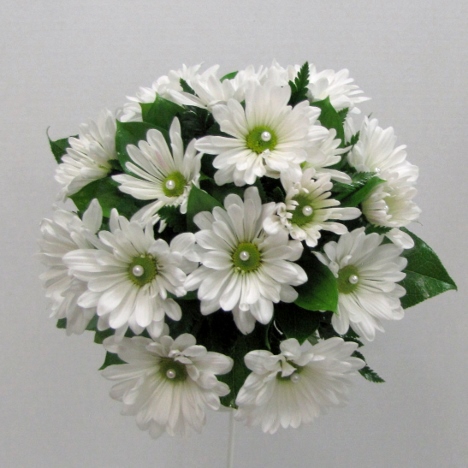
Here's my finished flower design, ready to adding the stems for a pretty hand tied look.
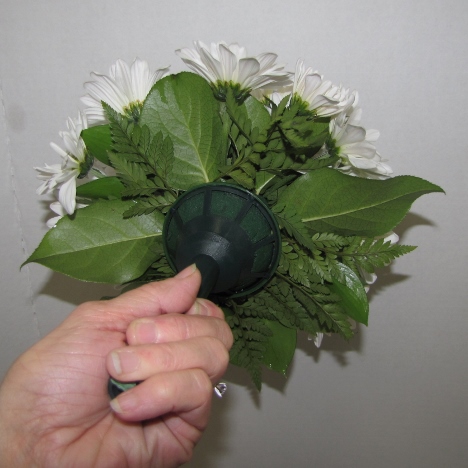
A side view before we attach the flower stems to the holder.