daisy wedding bouquet
Learn how to make your own daisy bridal bouquet. This tutorial shows how to do a "mock hand tie" - it mimics the real thing but has a constant water source to keep your bouquet "fresh as a daisy" all throughout your wedding day!
You need the following supplies:
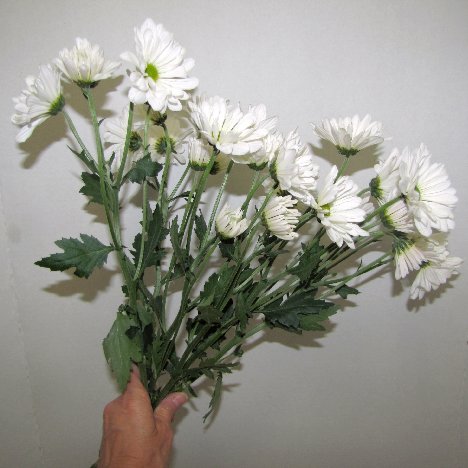
- 8 - 10 stems of white chrysanthemum daisies
- 2 - 3 stems salal leaf tips
- 2 stems leather leaf fern
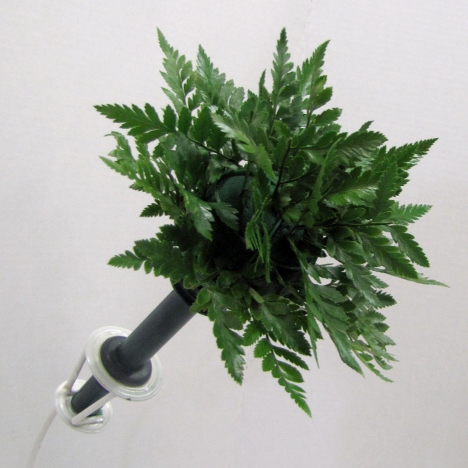
- 1 straight handle Belle bouquet holder
- 1 -2 stems Israeli Ruscus
- Shortened standard pearl pins or Pixie Pins
- Floral Clay
- Floralock Stem Adhesive
- Green Stem Tape
- Finishing Touch flower Sealant
- Optional: Decorative Colored Wire

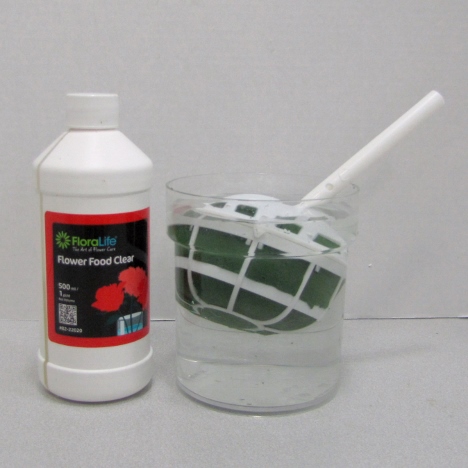
Begin by soaking your Belle bouquet holder in water treated with Crystal clear flower food. Always soak your holders in water that has been treated with professional flower food. Read the label and put in the right ratio of food to water. Using too much won't hurt your flowers, but it does waste product.
Allow the foam to "float soak" - which simply means you don't force it under the water line. You allow it to take up water naturally, which will assure that the foam is wet totally through and has no dry spots that can spell death for some of your flower stems.
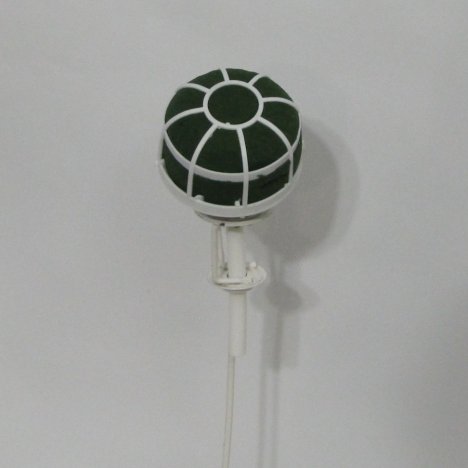
Secure your holder in a vase or narrow necked container that is weighted down and won't tip forward. A combination of wet foam and flower stems does get heavy. You don't want your bouquet to suddenly topple forward and break off flower stems in the middle of your design!
The first step to creating your own bridal bouquets begins with the proper treatment of your flowers. If you are buying bulk wedding flowers online, make sure you know the proper steps to hydrating your blooms and preparing them for design.
Seriously. This is what sets professional flower designers apart from amateurs. Professional florist products have come a long way from dumping some white soda in a bucket and hoping it nourishes your flowers and makes them last.
Today's brides put a lot of demands on their wedding flowers. They put them through long outdoor picture sessions, the wedding ceremony and use them as beautiful displays for their long wedding receptions. Treating those flowers correctly will allow them to hold up and look beautiful throughout the entire wedding day. This is especially important for DIY brides, since they don't have access to professional wedding coolers.
Don't worry. Properly treated, flowers will hold up several days through the designing process and the big day.
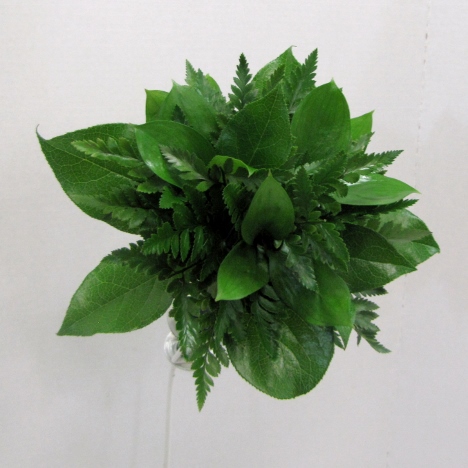
The beauty of a monochromatic (all one color) bouquets is the use of different varieties of greenery. This allows a lot of different textures and shades of color that add depth and interest to your bouquet design.
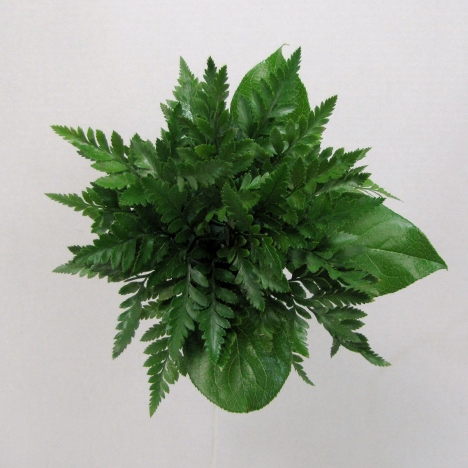
Leather leaf fern is a common greenery found in flower shops everywhere.
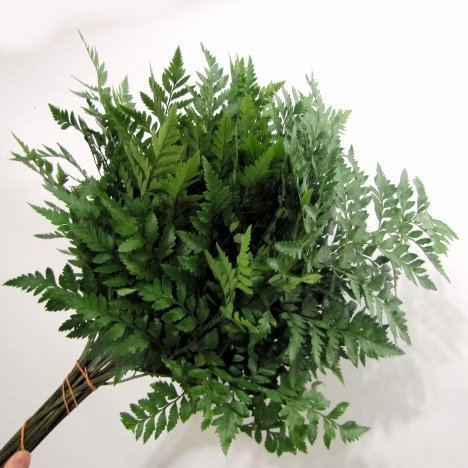
Leather leaf has lots of individual fronds and separates very easily for insertion into bouquet holders, making it so only two or three stems of fern is needed to quickly green in a bouquet.
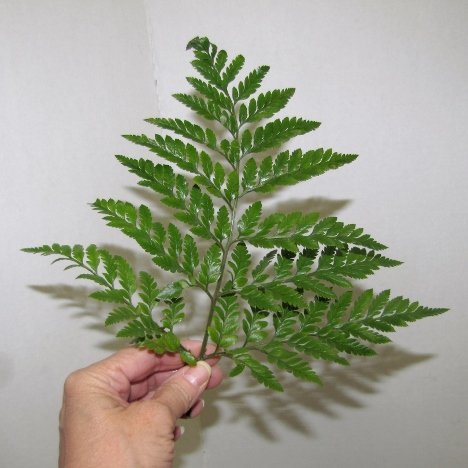
I like to cut the fronds of leather leaf off from the main stem with a floral knife. You can tear the leaves off, but I like the sharp clean tip left by a knife cut, which I think makes inserting into the florist foam easier.
You can quickly cut enough fronds to encircle the parimeter of the bouquet holder, which will establish the eventual size of your finished bouquet.
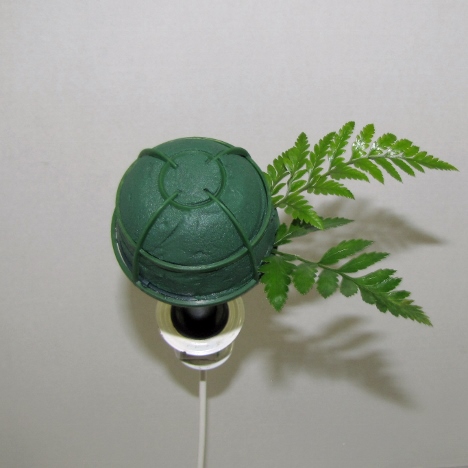
Flower heads usually extend a little beyond the greenery, unless you plan on the greenery being part of the design as a ringed collar around the edge.
Fill in, working your way around the foam. The leaves should be inserted at a 90 degree angle from the center of the bouquet.
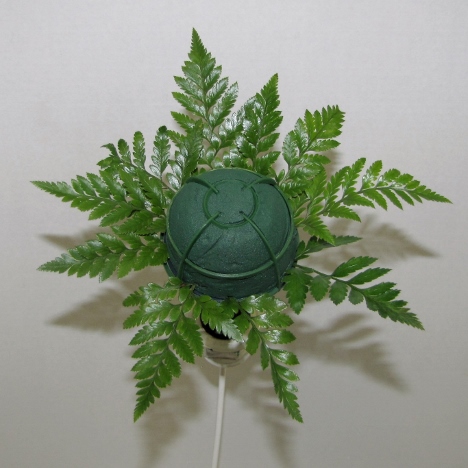
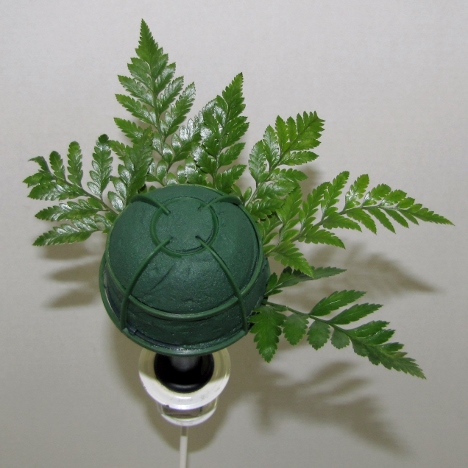
Fill in the center, pointing the leaf tips gradually angling forward, until the middle stems are sticking straight out at you.
This way the finishing leather greening looks dimensional and not flat, rounding out like a dome shape from the sides to the center.
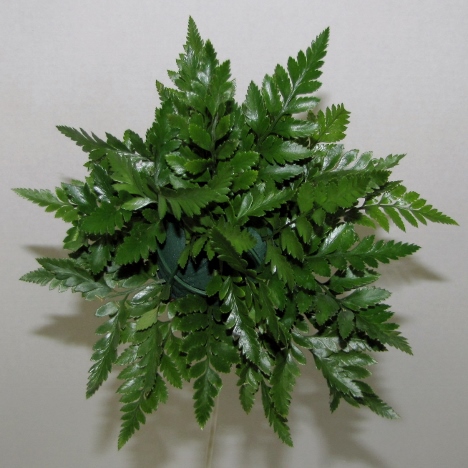
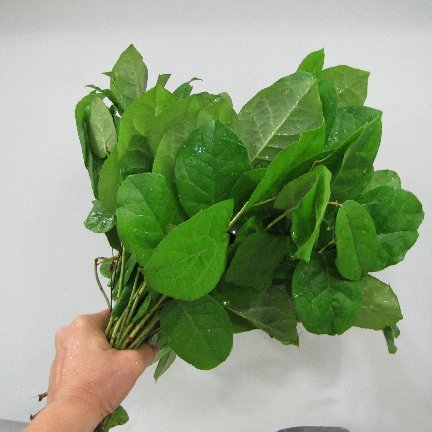
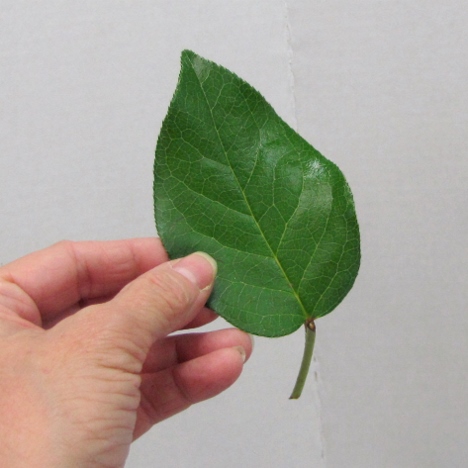
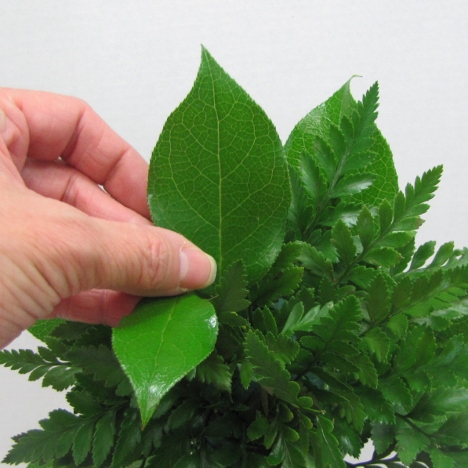
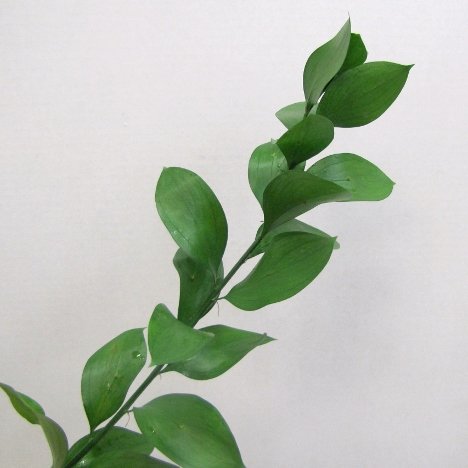
Salal leaves is a favorite greenery of mine! The beautiful broad leaves are perfect for corsage and boutonniere work, adding a lot of interest to the design.
The single leaves are a rounded, perfect shape with sturdy stems that insert well into florist foam.
I begin adding them as accents to the design that already has the leather leaf fern inserted
The single leaves are a rounded, perfect shape with sturdy stems that insert well into florist foam. A few leaves quickly add a lot of different color and texture to the greened bouquet.
Push the stems firmly into the foam, working it deep enough to hold securely.

I'm going to add a little more texture and design interest with another great greenery - Israeli Ruscus. It has a little more broad and rounded leaves than the Italian Ruscus I have used in so many other tutorials.
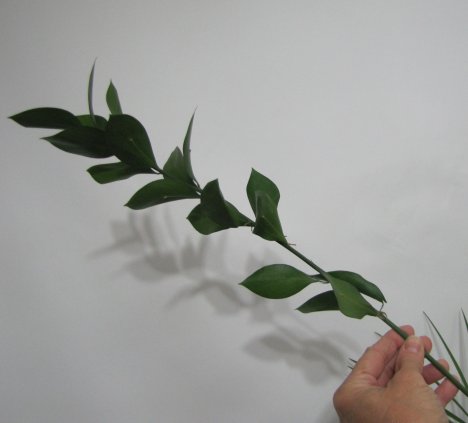
You can cut apart the stems in separate single or two leaf parts, which still leaves plenty of stem for insertion into the bouquet foam.
Tuck a few leaves here or there, adding in a different shape leaf that adds a lot to the overall design.
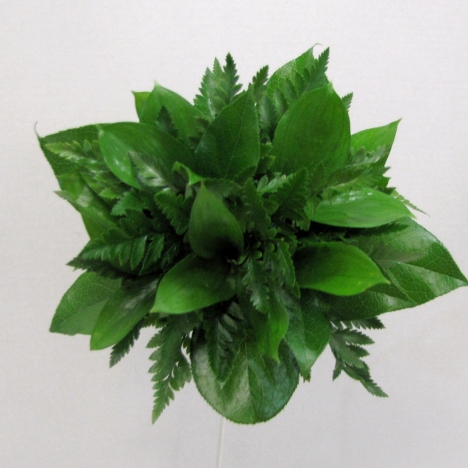
A view from the side should show most of the foam covered. Don't think the greens have to be crammed in, just filled enough to cover the foam but leaving enough room for the daisy stems that you are going to insert.
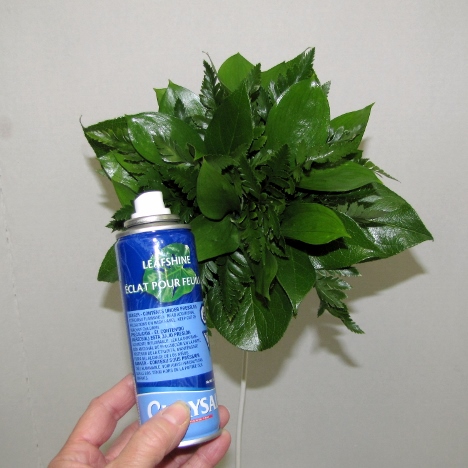
Before I add my fresh flowers, I like sealing my fresh wedding greenery with a plant polish, such as LeafShine.
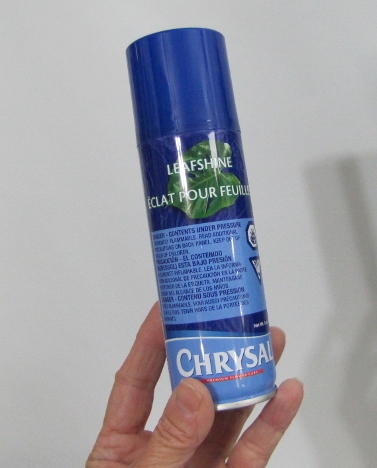
This product is designed to clean leaves, sealing them against moisture loss. It leaves a glossy finish that looks better that the flat finish leaves sometimes have, even with white splotchy residue left on the leaf after hard water mist dries.