white daisy bouquet
A white daisy bouquet has long been a favorite with brides for years. The simplicity of this bouquet mixes various types of greenery to add texture and interest to the overall design.
For this bouquet, you will need:
- 5 Daisy Stems
- 1 - 3 stems of Leather Leaf Fern
- 1 - 2 stems Israeli Ruscus
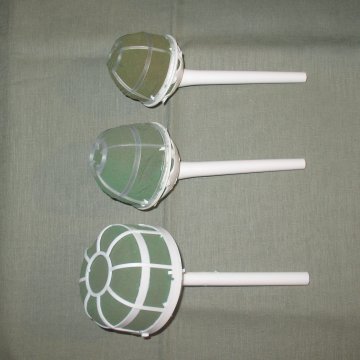
- 1 Grande or large bouquet holder
- Crystal Clear Flower Food
- 1 - 2 stems Salal Tips
- Leafshine
- Bouquet Jewels
- Finishing Touch Flower Sealant

Daisies are pretty hardy, but it is still wise to have your fresh cut flowers inserted into florist foam. This definitely gives them a longer life span.
If you wish the "hand tied" look, consider visiting my tutorials for creating a "mock hand tie" daisy bouquet. Use a straight handled holder instead of the normal slanted and save your cut stems to create the look.
Bouquet holders come in different sizes. Unless I'm making a small tussy mussy (suitable for young girls or flower girls), I tend to use the largest holder. Flowers drink a lot more water than you realize. The larger cage will hold more moisture and won't have to be re-watered as often.
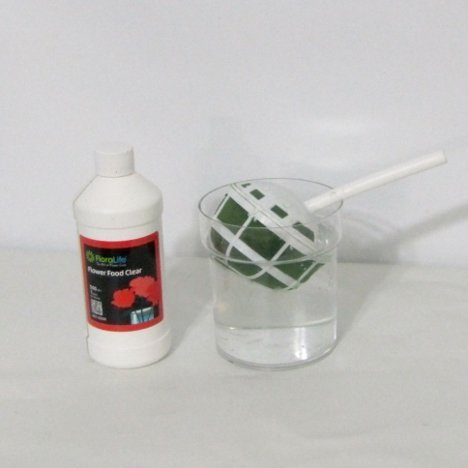
Be sure to mix the professional flower food according to the label directions in the water that the bridal bouquet holder is to soak in. It's important that the flowers are given nutrients up to the wedding day so they will look great.
Allow the holder to soak thoroughly before using. It takes less than a minute and will sink slowly into the water as the foam absorbs water.
Taking it out too soon may risk having dry pockets in the foam. If a flower stem rests in a dry pocket, the flower will die. Take your time and don't be impatient or try to force the foam under the water.
The bouquet holder will feel heavier as you take it out of the water.
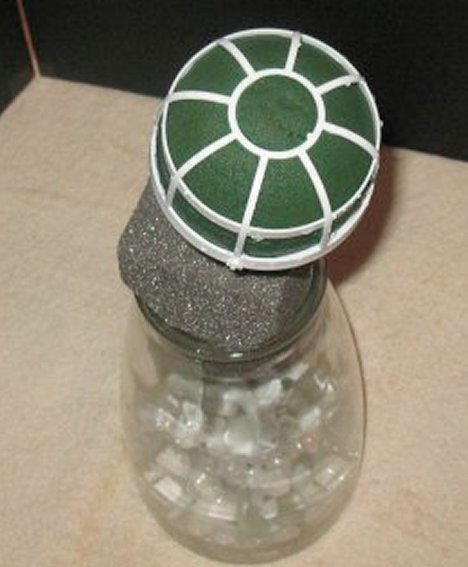
The holder must be secured firmly in an upright position. You can use a vase with a narrow neck. Fill it with marbles or rock so that it doesn't tip forward as your design gets heavier with flowers. (Trust me - flowers in wet foam are heavier than you think!)
I simple weighted a vase with marbles (rocks or other heavy material) and then wedged a block of dry foam into the vase neck. I then pushed the round handle of the holder through the dry foam as shown.
Leather leaf fern is a standard in every flower shop. It has a lot of laterals per stem and makes greening up flower design a breeze.
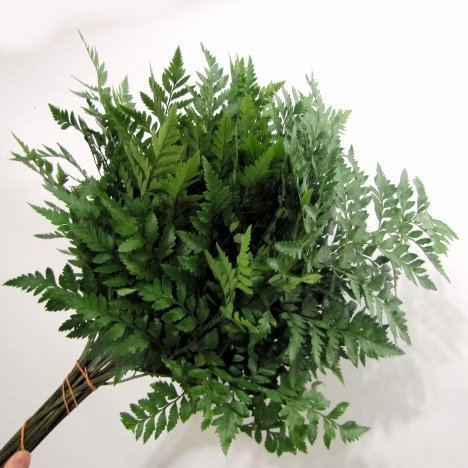
Don't be alarmed if there are a few broken stems or blemishes. Remember this is a live product, picked and packed from a large field. Simply break off any blemishes and discard.
So many nice laterals (individual fronds) coming off the main stem make it easy to green in quickly. Individual leather leaf stems have lots of fronds coming off the main stem. You can cut the fronds off into smaller sections for insertion into your wedding bouquet holder.
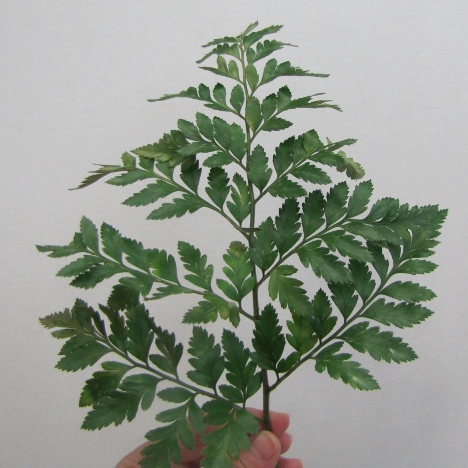
You can break off individual fronds - but I like cutting them with a sharp florist knife in order to have a clean cut stem that inserts easily into the foam. You can cut off one at a time and insert into the foam or cut them all at once and make a pile to insert into the bouquet holder.
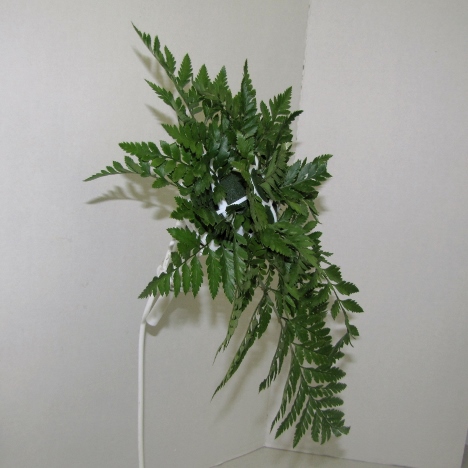
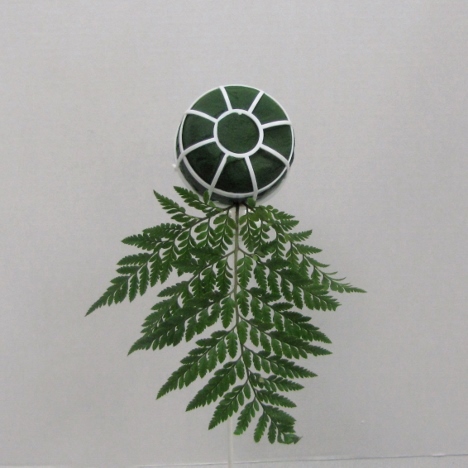
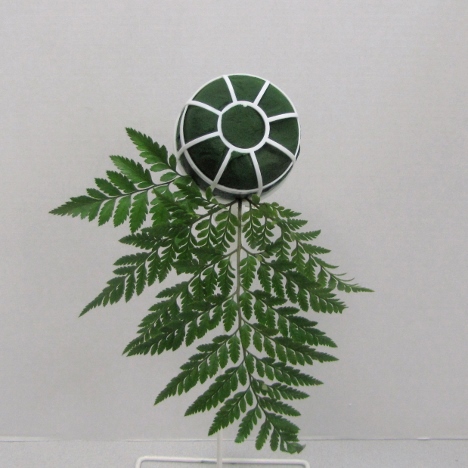
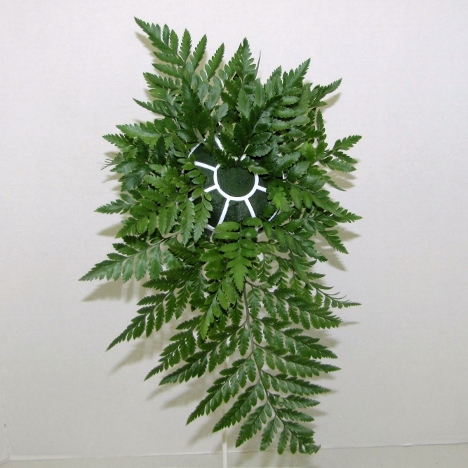
Since this is going to be a cascade, I insert an entire leather leaf stem into the bottom of the bouquet. Remember - the greenery is going to frame out the eventual width and length of your bouquet, so judge how big you want the final design to be.
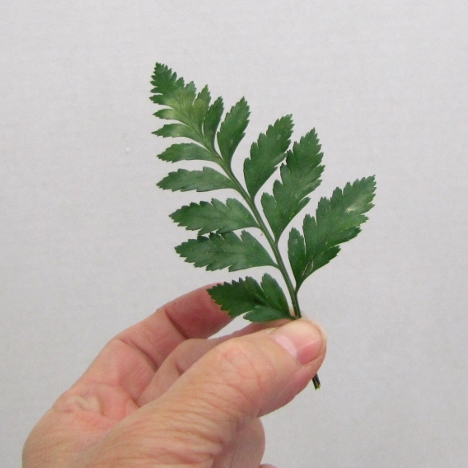
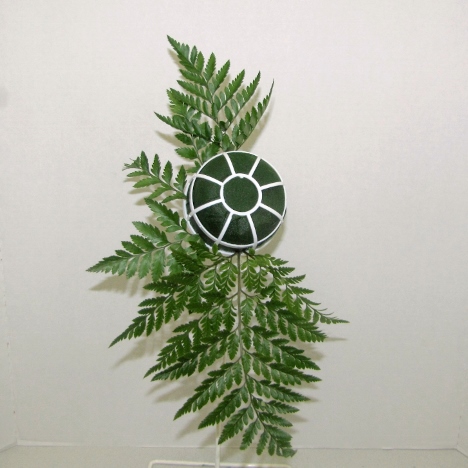
With the shorter cut fronds of leather, begin inserting leaves around the perimeter of the bouquet.
Continue around. You may want a slightly longer piece at the top of the holder to give a more elongated oval look to the finished bouquet.
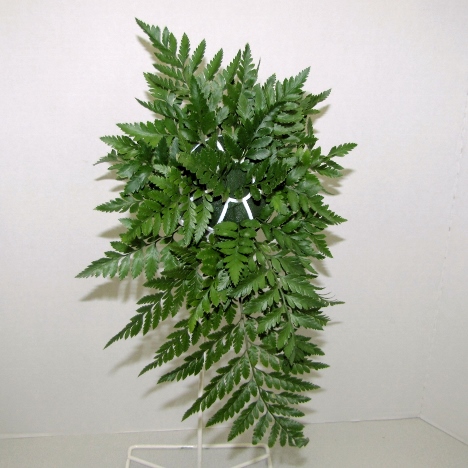
Once my outside frame of greens is complete, I begin filling in the center of the wedding bouquet.
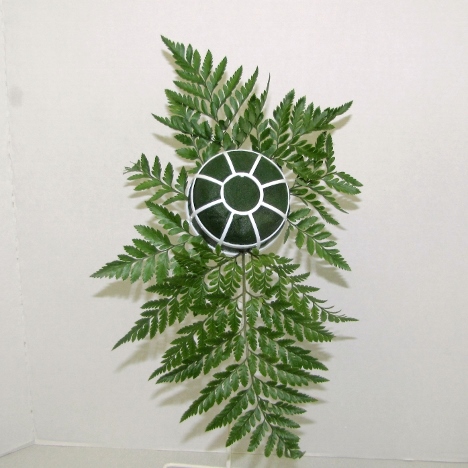
Begin tilting the additional fronds slightly inward as you fill in the bouquet holder. Once you reach the center, the green tips should be stuck straight in, pointing out at a 90 degree angle from the outer perimeter greens.
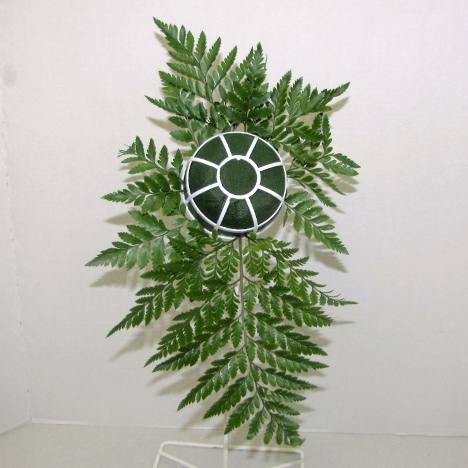
From a lateral view, you can see how the greens are taking on a dimensional look rather than a "flat" look. This is the proper way to green a bridal bouquet.

Begin making the center pieces shorter than the outer greens. Again, these center insertions should stick straight out of the middle.
Don't try to fill in the fern too tightly. You will want to cover up the mechanics, but you have two other varieties of leaves and then the flowers to insert.
Continue until the bouquet is greened in completely and has a nice oval shape from the side view.