Wedding Head Table
The wedding head table has been transported to the venue. The wedding day is here and I've brought my greened in flower pieces ready to decorate the head table. You can see that my hydrangeas (which looked rather flat and squashed when I first received them) have drank up a lot of water and popped open in full glory for the wedding day.
Don't forget to mist them well with Finishing Touch each day to keep the petals fully hydrated (whether in the fridge or out of the fridge!)
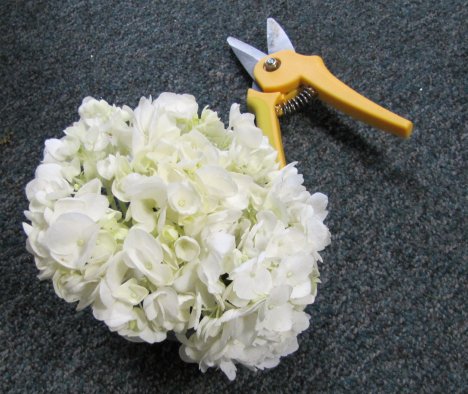
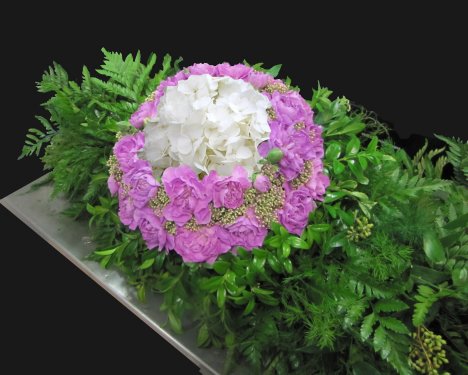
I'm ready to cut this hydrangea head apart into lovely little laterals that I'm going to tuck into the center of my round sphere.
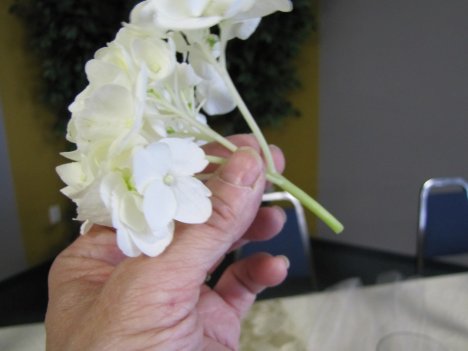
Work the stem in gently with your fingers close to the foam surface. Those stems are fragile and I don't want to break down the cell structure, making hard for the flower to drink up water on that stem.
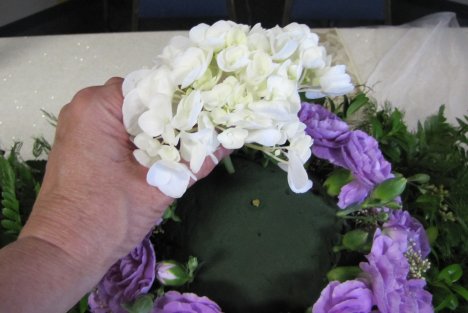
It only takes a couple of minutes to fill in the center of that lovely sphere that will sit right in front of the bride and groom.
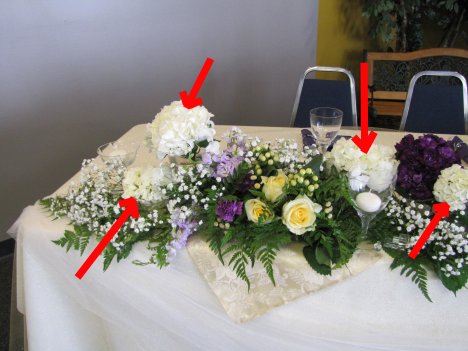
Here's what I want to caution you about flower coloring on your computer monitor. This is the SAME arrangement taken with the SAME camera. The difference? The top arrangement was taken at the church (florescent lighting) and the bottom was taken in my design studio (pure "sunlight" white bulbs).
This is why the same flower can look different colors DEPENDING ON THE LIGHTING.
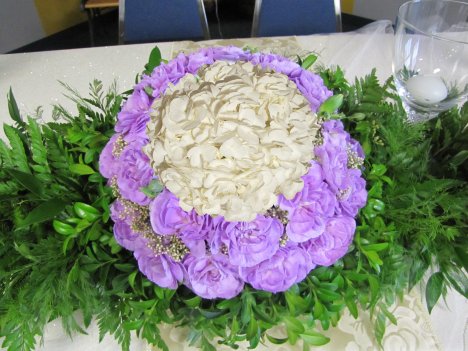
As I quickly moved down the table, I set some other smaller arrangements and then filled in between all the arrangements with leather leaf fern, baby's breath and hypericum berries. Hydrangeas I cut short and put in very shallow water cups (remember . . . they love and NEED water).


leave wedding head table and go to all flower tutorials
