wedding flowers bouquet
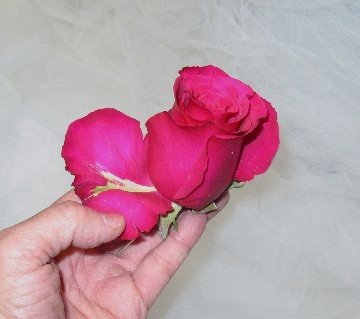
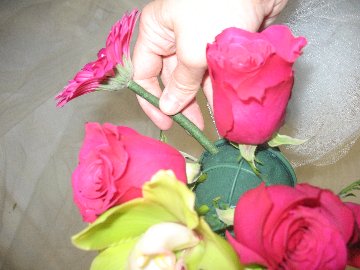
This wedding flowers bouquet is about to get really colorful by adding hot pink roses. I always remove the protective outer petals off the rose before inserting it into the bouquet holder. Always leave these petals on until you are ready to design, since they protect the inner petals from gouging and bruising.
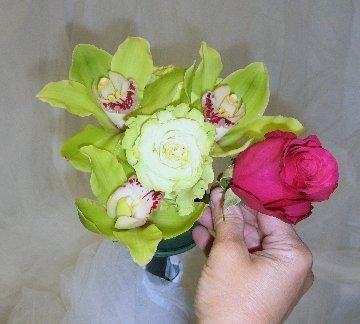
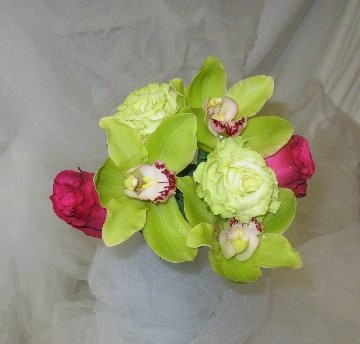
With above a 3" stem, insert the first pink rose clustered in tightly in a space next to the green rose and the cymbidium orchid.
It is not necessary to plunge the rose in completely - just until it has at least 1" buried in the foam.
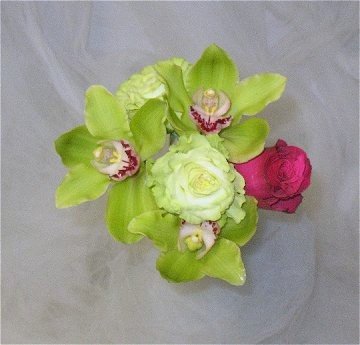
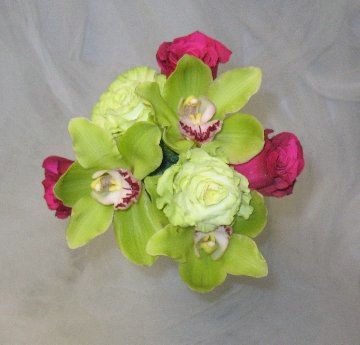
You can see how I continue rounding out the design, filling the shape of the bouquet from the center out. Begin to tilt the flowers with an outward angle, so from all sides the full top of the flower is viewed.
Now I add another hot pink rose on the opposite side for balance.
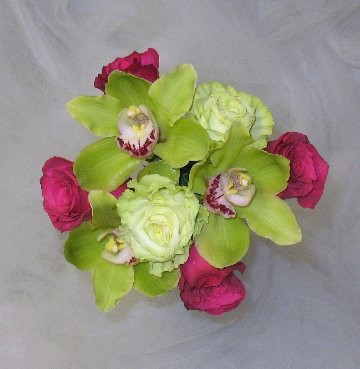
As more pink roses are added, you notice that the heads are beginning to tilt outward from the center flowers.
Placement doesn't have to be an exact science, as you want this to look balanced in color and texture, but not perfectly spaced and numbered!
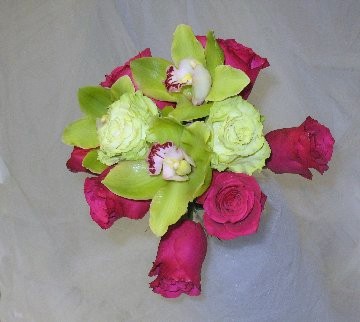
As I surround the bouquet in more pink roses, I begin to lengthen the stems a bit so the bouquet can grow larger in diameter, rather than creating a perfect round ball. From the side it will have a softly rounded dome shape, not a sharply defined ball shape.

With this shot from a side angle, you can see how the bouquet is growing slightly larger on the bottom rim.

This angled view shows how the bottom roses added begin to tilt downward more and more as the bouquet begins to fill out.
Gerber daisies have become very popular for inclusion in many of today's bridal bouquet designs. These flowers have large heads with perfect petals and come in an amazing array of colors, with more being bred all the time.
I always wire every Gerbera individually before placing into a bouquet, since the heads can be snapped off as the bouquet is handled frequently on a wedding day.
I begin by gently inserting a the tip of a 22 Gauge wire into the actual head of the flower - directly under where the head meets the stem.
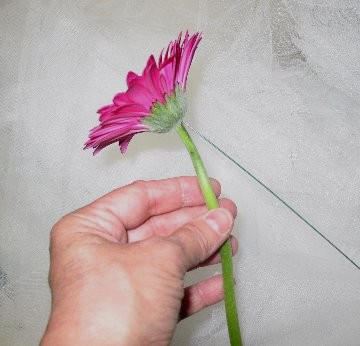
With the wire laid parallel to the stem, I wrap florist tape (stem wrap) around the wire and stem. (Don't confuse this tape with Waterproof Tape, which florists use to secure foam into containers.)
When stretched, the tape becomes sticky and will adhere easily to itself. Start at the top, pulling the tape gently around the stem, stretching and pulling downwards as you twirl the stem with your other hand.

Tape the Gerbera daisies completely to the bottom of their stems, but do not seal off the bottom, as you want the flowers to be able to draw up moisture to their head from the foam. Gerbers are VERY water loving and should not be without moisture for very long or they will wilt quickly.
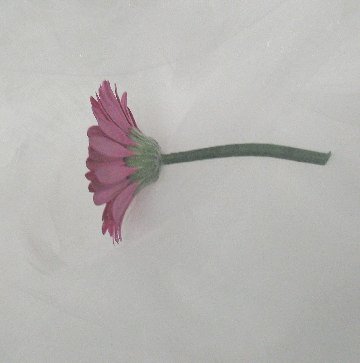
I generally use miniature gerberas for bouquet work, since their heads are about equal to a medium rose in size. Standard gerberas are very large, sometimes up to 4" or 5" across.
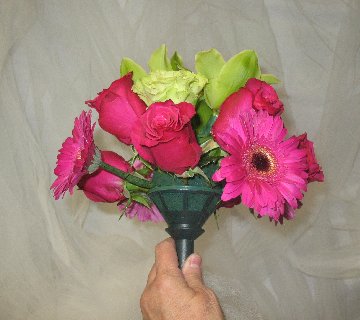
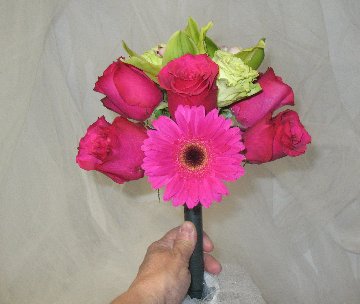
Here I insert the daisy into the side of the foam, with the full face of the bloom facing outwards to the side - not up and flat.
I place another daisy on the opposite side for balance.
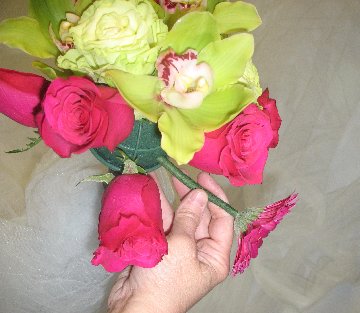
You can see from this side view how the daisy is facing outwards, fully visible from the side. If you point all your flowers upwards, your bouquet will have a very flat look, and not be that attractive as the bride carries it down the aisle. Remember - guests are seated and viewing everything from the side, so you want the bouquet to look good from all angles, not just the front!
Continue placing two more gerber daisies on the other sides, balancing the bouquet completely.