hand tied bouquets
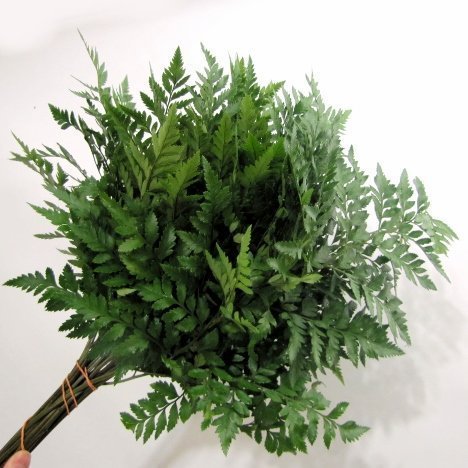
Traditional hand tied bridal bouquets look beautiful with different types of greenery intermixed. Professionals like to add interest and texture with lovely greens such as leather leaf fern.
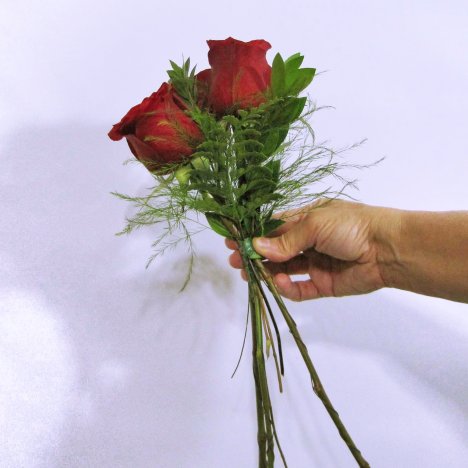
Cut off the individual lateral branches from the single stem and strip off the bottom part where you'll be taping it.
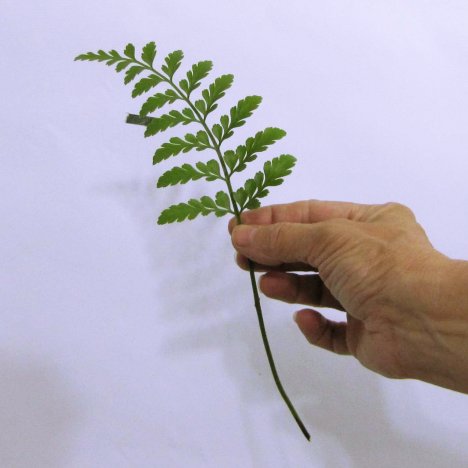
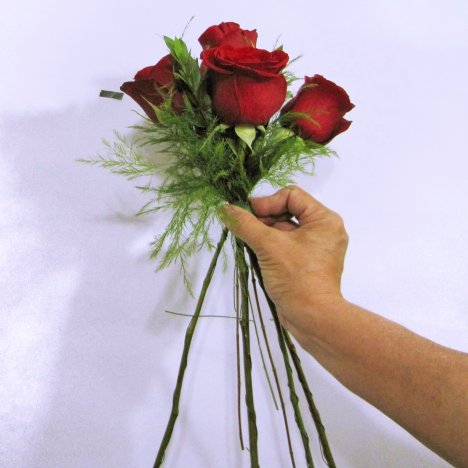
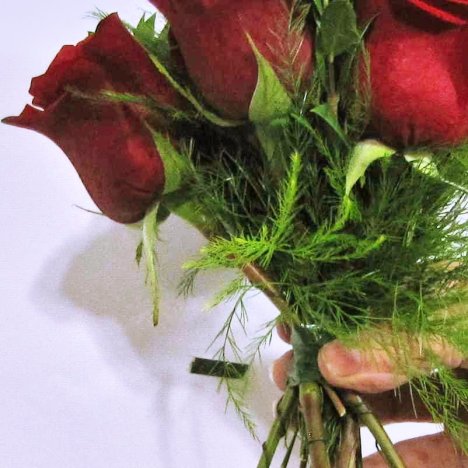
Use the natural curve of the leather leaf and place it in between two of the rose heads so the fern curves outward.
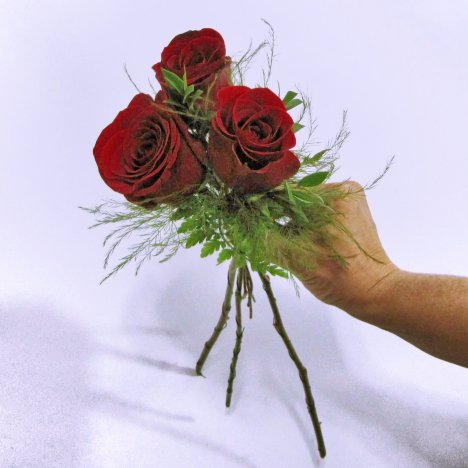
Tape into place with the Bind It tape.
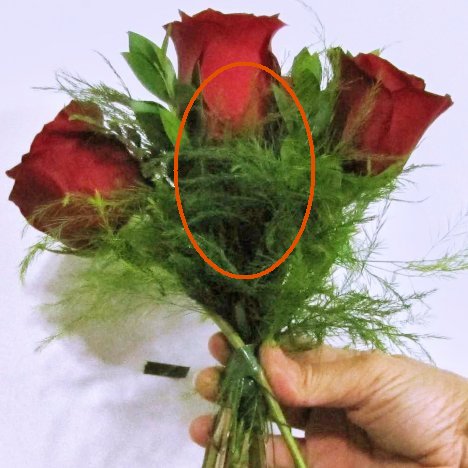
Greenery is going to begin to hide the "V" shaped pattern of this hand tied flowers. Continue adding to the bouquet in the same manner, however, always crossing additional flowers and greenery while you turn the bouquet.
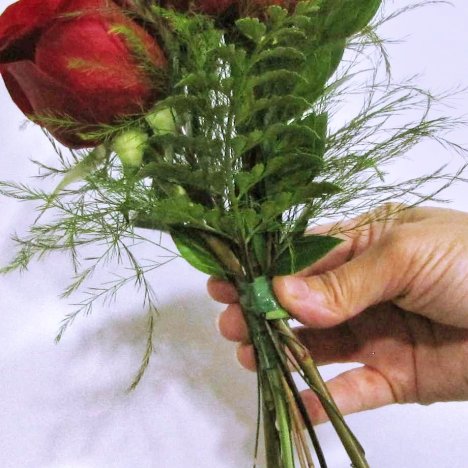
From now on, it becomes a pattern, rotating, crossing the rose, myrtle and tree fern, and taping into place.
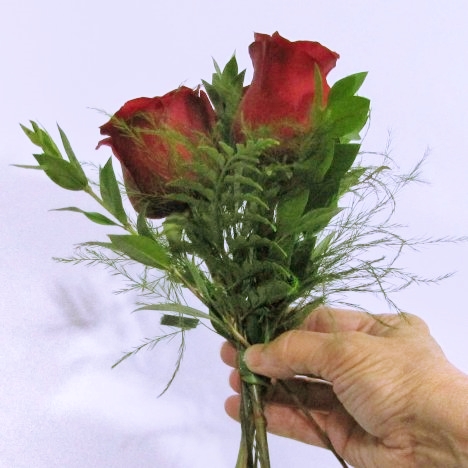
You'll see how the greens begin filing out the empty spaces, giving a glossy contrast to the dark red of the roses.
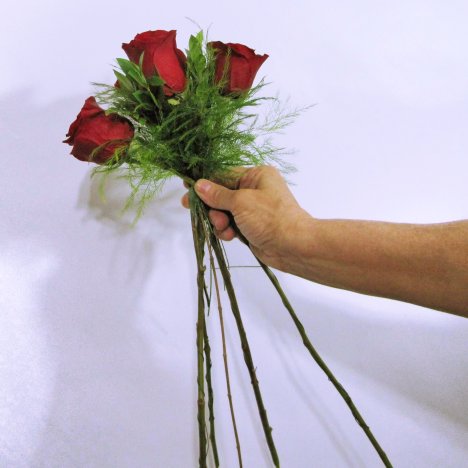
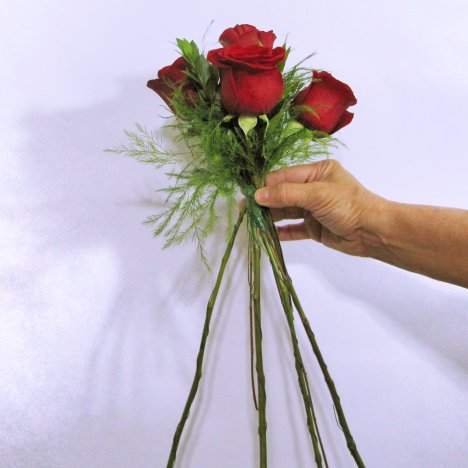
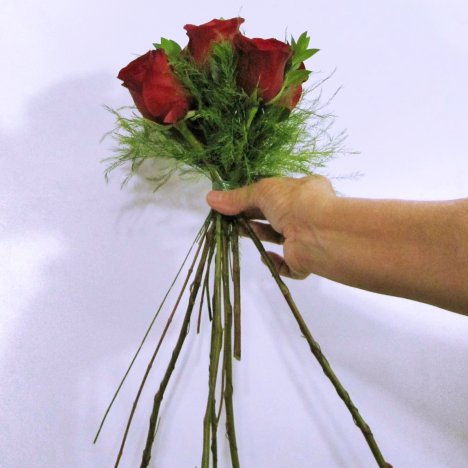
By now you'll begin to enjoy the freedom of only having to hold the bouquet between two fingers, rather than gripping tightly with one hand, attempting to hold all the flowers in place.
Hand tied bridal bouquets look gorgeous with greenery. Don't feel limited to just the greens shown. There are many common bulk greenery to choose from, including galax leaves, lemon leaf (salal) and more.
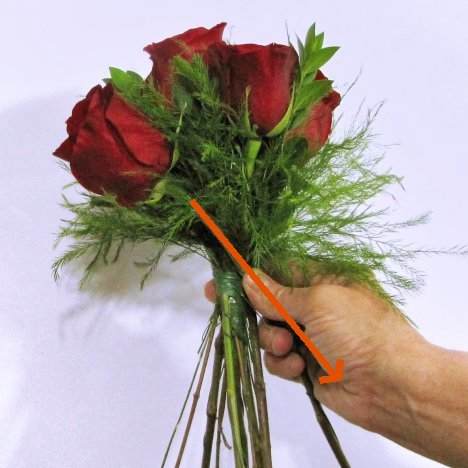
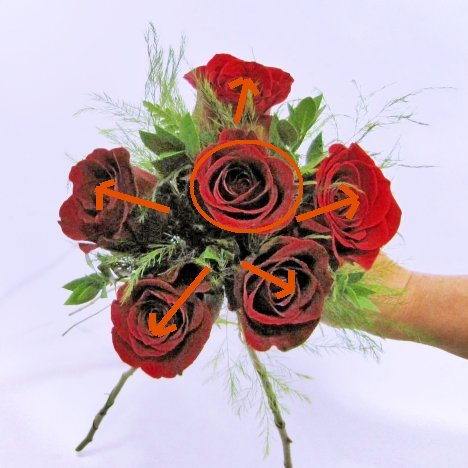
As you turn your bouquet around, always look for the next open "hole" to fill with your next rose (or other flowers.)
The technique for hand tied bouquets is the same, regardless of what flowers you use. If you are having a mix of flowers, lay them out on the table separated by variety.
This way you can work your way across the different kinds, mixing your flowers in an even pattern.
Roses are a sturdy flower, well suited for this type of hand bouquet. I generally recommend using short stem roses, since you are going to be cutting of a major portion of the stem anyway.
I'm now about a third of the way done, since I am planning to use 15 roses in this bouquet.
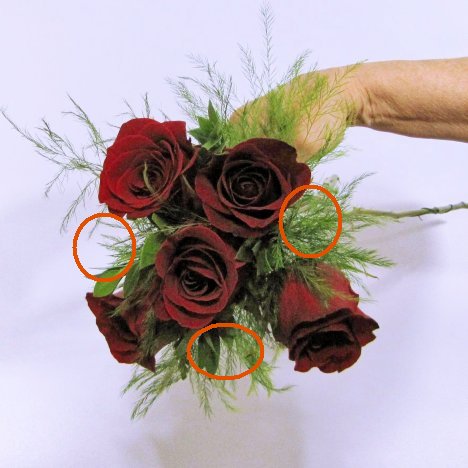
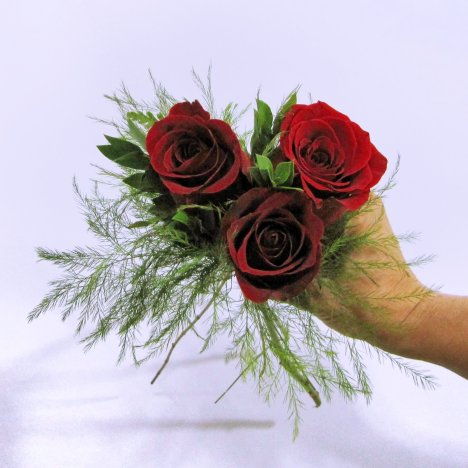
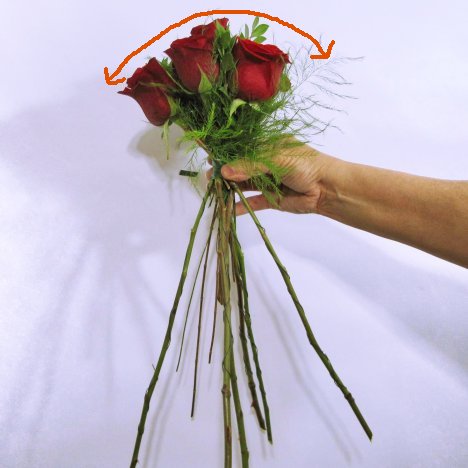
hen you make a hand tied bouquet, don't just view the flowers from the side.
Also look face down on the bouquet, making sure the flower heads are fanning out and beginning to face outwards on the outer perimeter of the clutch.
You should always see a pattern of the next open space that needs to be filled.
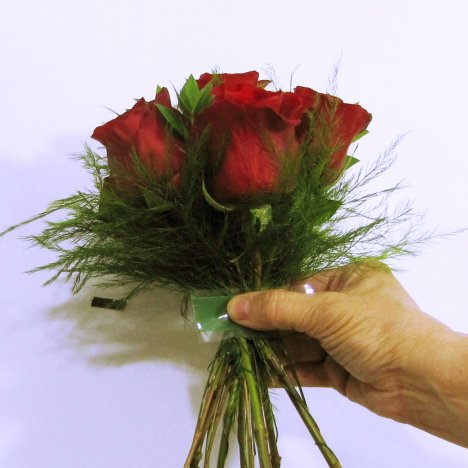
Lower the roses slightly as you fill out the bouquet, so the the arrangement begins to take on a dome shape with the center flower being the highest part of the bouquet.
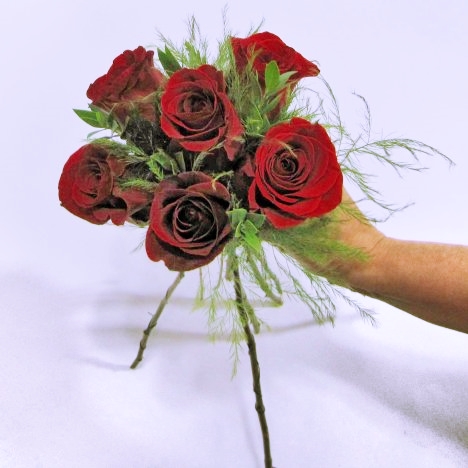
As you can see, the dome shape is really beginning to show now. Don't get over enthusiatic, however, or your arrangement will turn into a ball shape rather than a dome shape.
This is much easier to do by using a bouquet holder to achieve the hand tied look, but provide a source of water via the florist foam. The flowers can be placed exactly where you want them - but you can still achieve the look of a hand-tied bridal bouquet.
Here's a closeup of adding in the next rose into the open space between two roses already in the design.
Always leave the protective cellophane on the tape until after you've placed it against the bouquet stems. Trust me - peeling it off ahead of time can make it hard not to get it stuck to itself.


leave traditional hand tied bouquets and go to all flower tutorials
