stephanotis wedding bouquet
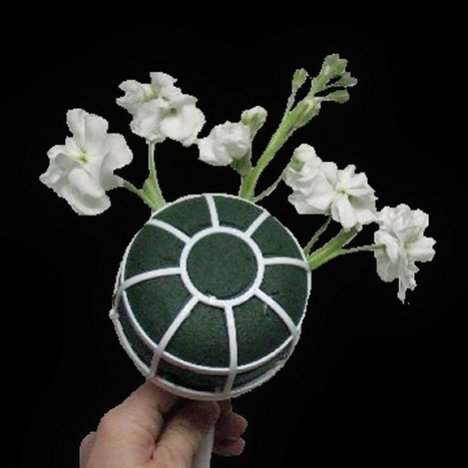
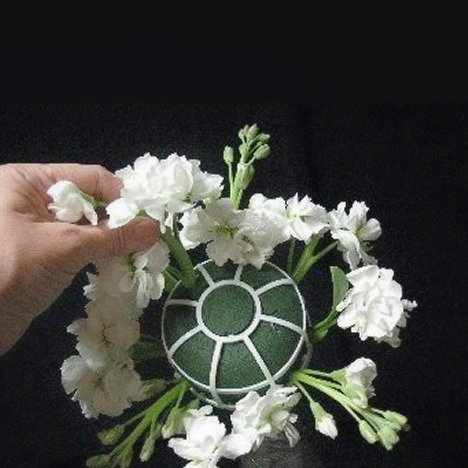
This stephanotis wedding bouquet starts with framing in the outer perimeter of the bouquet holder. This is going to determine the final size of the bridal bouquet, so the stem lengths are important. I generally keep a full length mirror near my work station so I can determine how large the bouquet is by holding it against me.
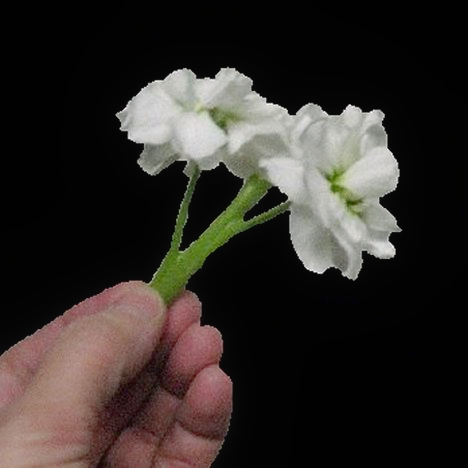
Don't discard the unopened buds at the top of the stock flower stem. This part of the stem can add a lot of interest in the overall design with a contrast of textures.
The stock can be cut into smaller stems. Don't worry about the cut edges of the top of each cut section. If you think they are too distracting, you can alway insert a pearl headed pin into the top of the cut.
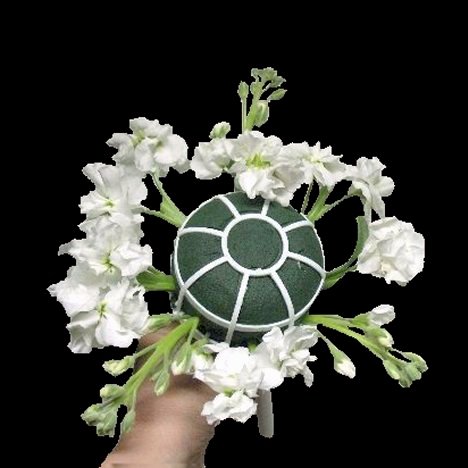
I want the center of the bouquet holder filled in completely with stock before we move on to the stephanotis stems.
Once completely filled in, the bouquet has a rather asymmetrical look rather than a "perfect" round shape.

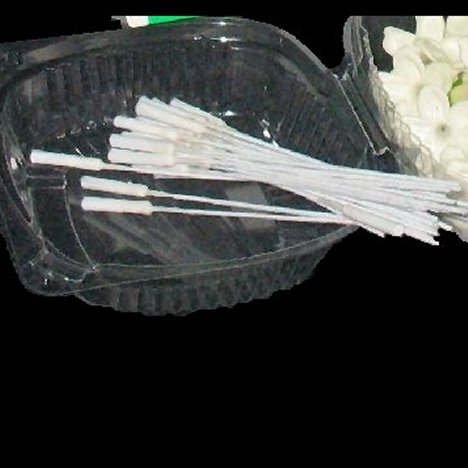
Stephanotis stems usually come in a box, with the bloom heads only.

You need to use stephanotis stems, which need to be soaked in water treated with flower food.
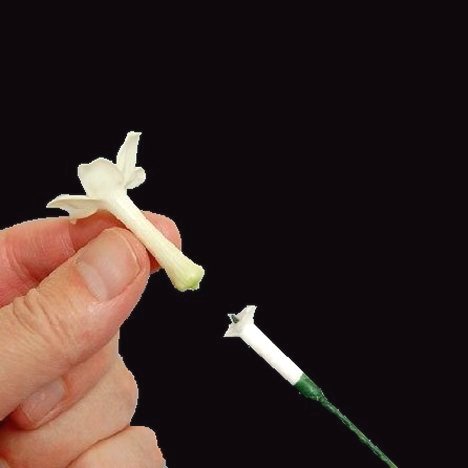
The green stem snaps off easily from the green stem.
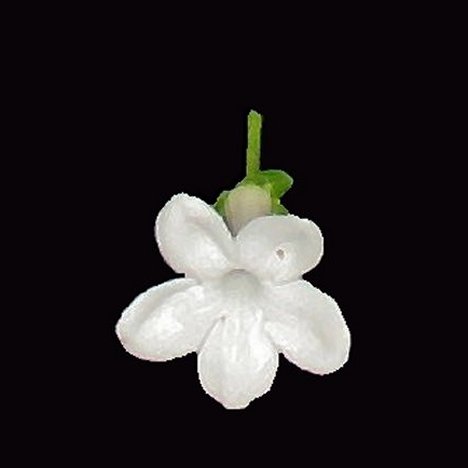
You hold the stephanotis bloom gently between your fingers, taking care not to squeeze too hard. Push the wet stephanotis stem up into the base of the flower head.
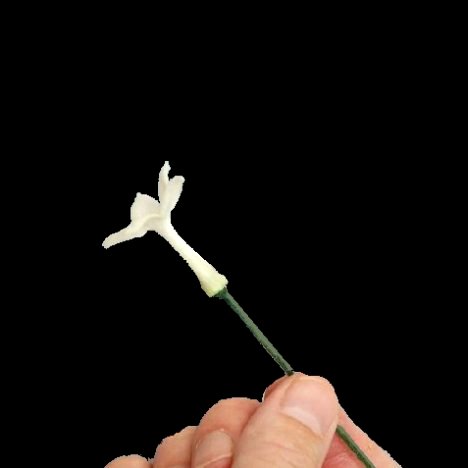
Once completely inserted, the moist stem will keep the flower head hydrated and create a wire stem already wrapped in florist tape and ready to insert into your bouquet.
I always do all the flower heads at once, placing them gently into a short juice vase or inserting the stems in a stiff styrofoam.


