red roses bouquet
You can design with a narrow necked vase, but you must weigh it down with rock or marbles and make sure it's not top heavy. You don't want your bouquet toppling over at this point, because it could damage some of your rose heads. These roses are inserted tightly next to each other.

On the opposite side, you can see the stems of most of the roses are about the same length.
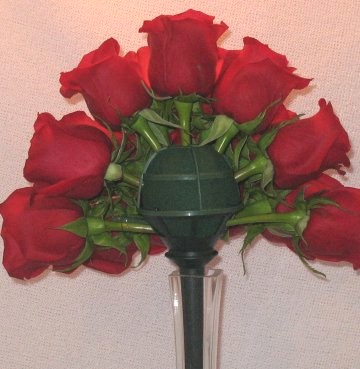
But the ones towards the bottom are a bit longer, which will create a bouquet style that looks like a round dome.

Once finished, the roses should all be touching, concealing all the mechanics. Therefore the bouquet holder and foam head should be completely hidden.
The next step is to use Floralock to ensure that all of the roses stay firmly in place in this gorgeous bouquet.

A very important step for this bouquet is using stem adhesive. There are a lot of stems in a single foam head. Floralock locks the stems into place and reduces the danger of any flowers falling out of your bridal bouquet design. Do not do this step until you are completely finished, as it would be difficult to insert any more stems after the glue sets.

The Floralock comes with a red straw that you can carefully insert the stem in between the flower heads and squirt in short bursts where the stems are inserted into the foam. Shake the can thoroughly to aerate the adhesive.

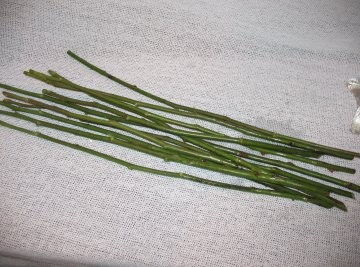
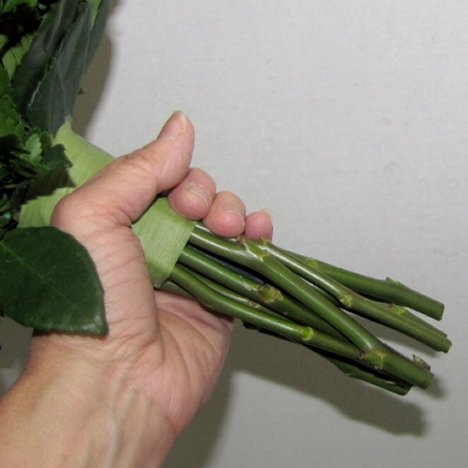
I kept my rose stems that were left after cutting the roses. Be sure to leave some of the leaves at the top of some of the stems, which will later help conceal the mechanics of the bouquet.
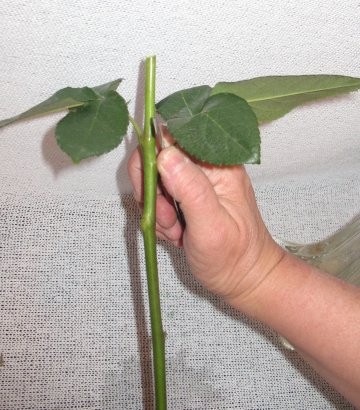
I use these stems to create a faux hand tied look. Be sure to clean all the thorns off before you begin to work with the bouquet handle.
A lot of professional florists use double sides tape for the next step. I don't have as good of success with this tape as I do using floral clay.

I like using green Cling - a florist clay that keeps it's stickiness - even when wet. (Note that I've used white clay for the demonstration, since it shows up better in the photographs.) You will want green so it blends in better with the color of the rose stems.
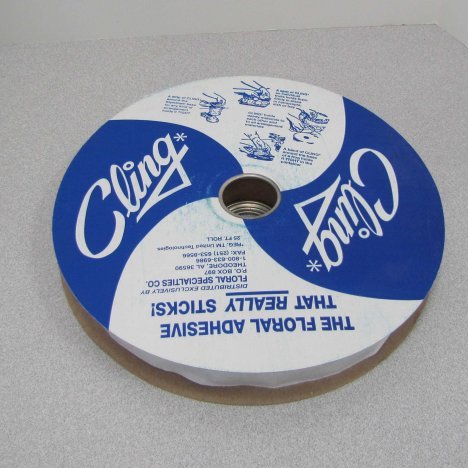
The clay is narrow and packaged on a spool on a waxy type of paper. You can easily tear off the lengths of clay you need.
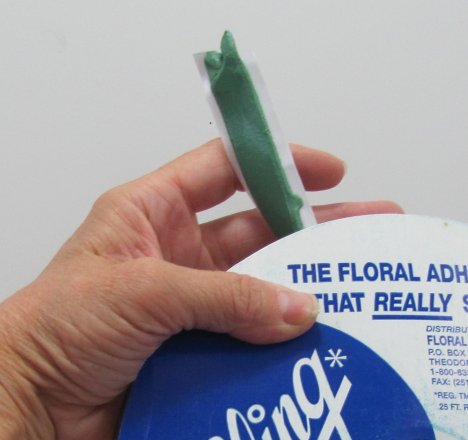
Lay the stems next to the bouquet handle and press it lightly against the floral clay.

Press each cleaned stem against the clay wound around the handle. The clay securely holds the stems in place. Place the stems as close together as you can, pressing them firmly into the clay so that they stick to the handle.

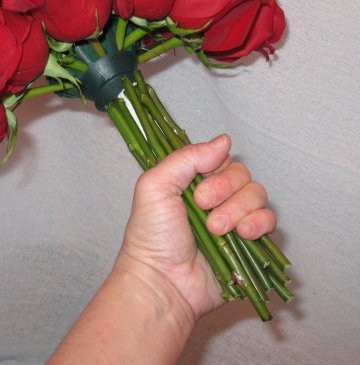
Continue adding stems until the clay (or double faced tape) is completely covered.
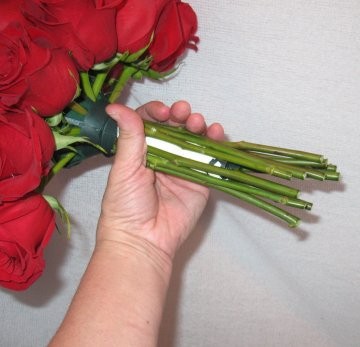
Press firmly with your hand so that the stems are embedded into the clay.
Now take your stems with the leaves still attached and lay against the handle. Secure with either floral tape or BindIt tape.


The leaves under the bouquet help conceal the bouquet holder and the green foam.
Wrap over the floral tape with your choice of ribbon, concealing the tape. Be sure to mist the flower heads thoroughly with Finishing Touch and allow to dry before refrigerating.

Be sure to re-wet the foam occasionally. The is an important point since the flowers are a living product. They will draw the water out of the foam quickly. It's important to keep the foam saturated with more water in the days before the wedding.