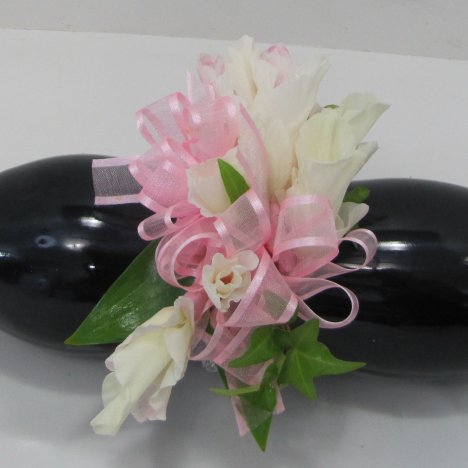
prom corsage
For this prom corsage, I want different sizes of flower heads to give more interest and variety. Here I take a smaller, tighter bud from the tip of the gladiolus.
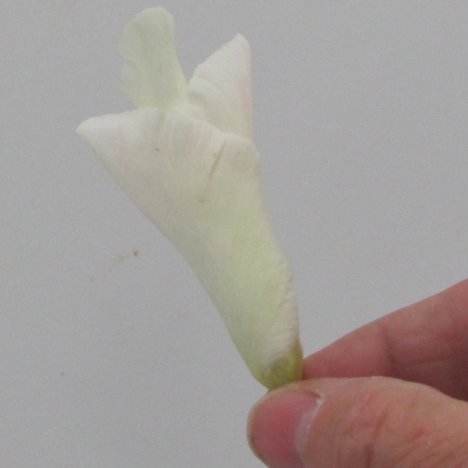
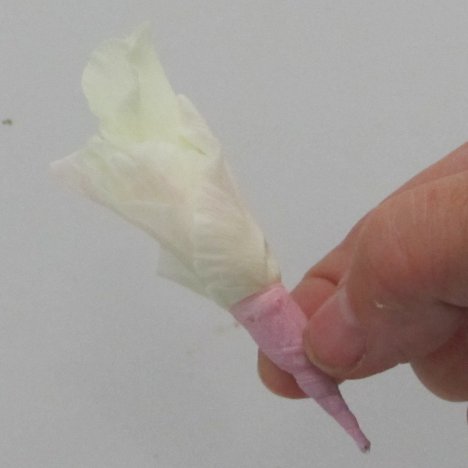
The bud is tight enough that I didn't need to wire. I wasn't worried that the petals would loosen, so I simply wrapped the florist tape around the end.
When I first learned how to make a corsage, it was the traditional wire and tape method. The floral adhesive, however, is much faster - especially if you have several to do such as for a wedding.
Once the basics are done (gluing the leaves and bow on), adding the flowers is pretty quick.
I applied adhesive to the end of the smaller bloom and tucked it in next to the larger bloom.
See how the floral adhesive coats the base and attaches the two flowers together.

Continuing adding in more flowers, keeping the ones on the sides shorter in length. Cluster them, but face the heads outward in a growing circular pattern around the center bow.
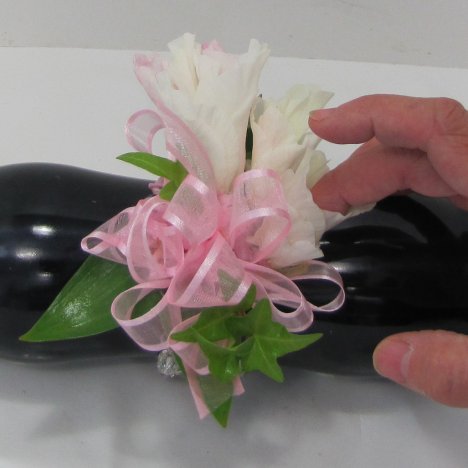
You can improvise on these corsage instructions if you wish to add different varieties of flowers.
It is wise, however, to start with the largest flower heads first and then cluster the smaller flowers around the focal flowers.
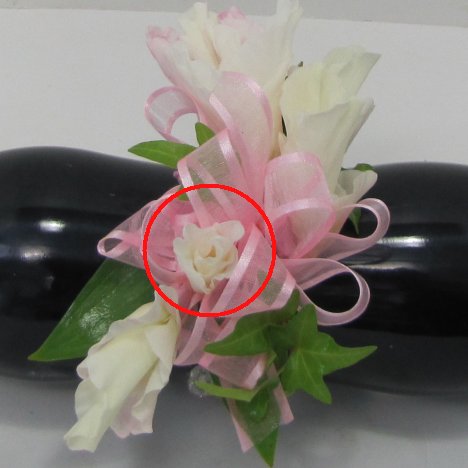
Add shorter heads facing straight up in the center of the bow.
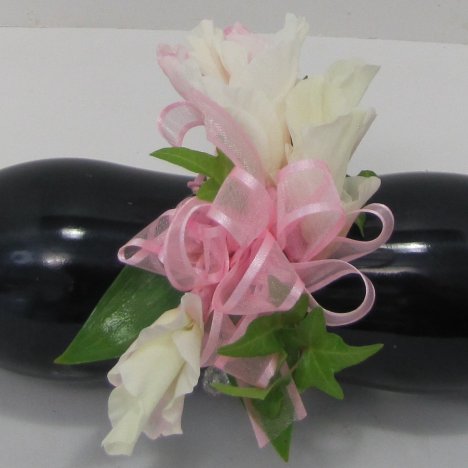
Continue to add flowers, being careful to pay attention to the side angles as well.
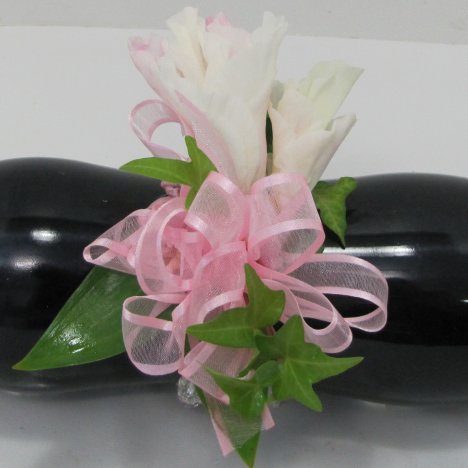
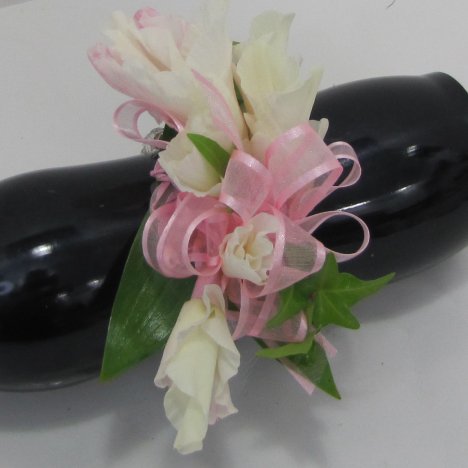
The corsage begins to take shape. See how the flowers on the end curve around the water bottle, simulating the curve around the wrist.
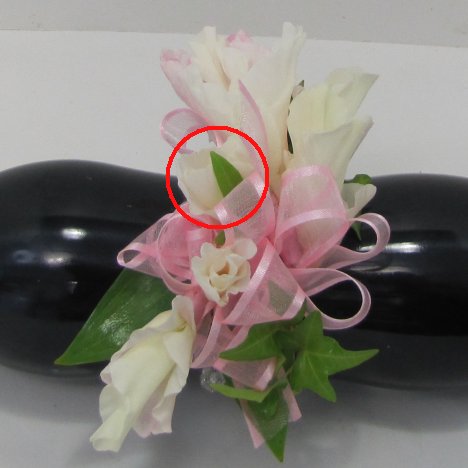
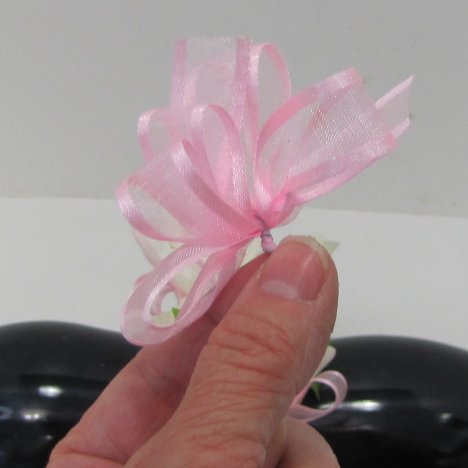
You can make a wrist corsage seem fuller by adding more mini bow loops. Don't make these as large as the initial bow. Leave enough of a wire stem on that you can dip it in the florist glue and tuck in between the flowers.
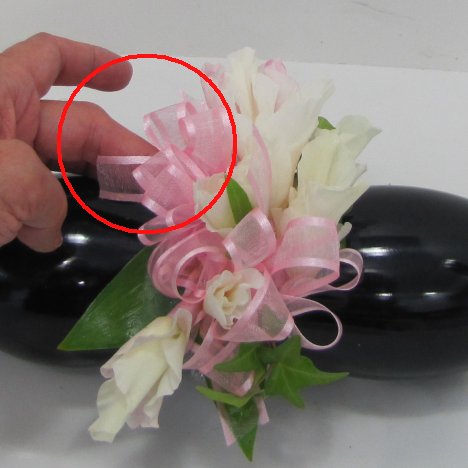
Fill in the empty "holes" with these extra bow loops, paying attention to the sides of the corsage.
See what a pretty effect it has. The tails can be clipped to a shorter length if needed after the glue has been given plenty of time to dry.
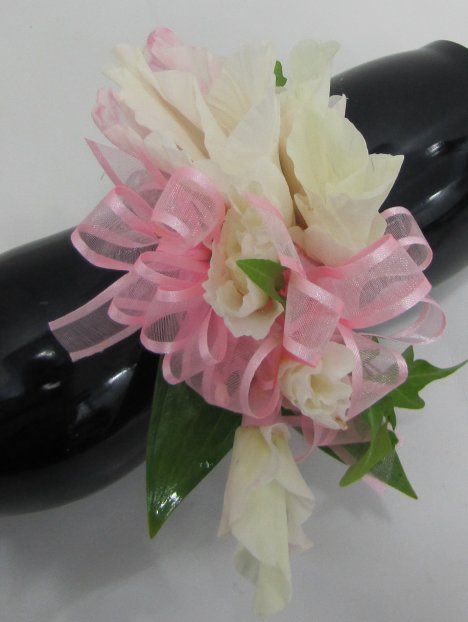
You can be finished at this point if you wish, but let me show you how adding a few more decorative accents can turn a pretty corsage into a WOW!! corsage.