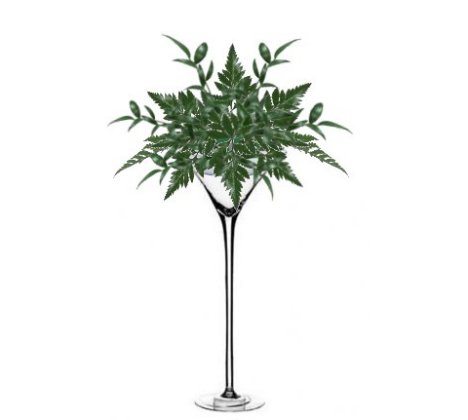
Martini vase centerpieces
Martini vase centerpieces has some basic steps to securing the Oasis Brick foam into the container. Since I am working with a clear vase, I am careful to conceal the green foam. Once these tall vases are placed on the wedding reception tables, I don't want to chance a guest having a view of my floral mechanics through the clear glass.

When I work with clear containers that need foam, I often use an inexpensive shallow vase to conceal the foam. These small utility containers are made of high impact plastic (therefore making them affordable an cheap to ship) and place my foam in these. They come in different sizes, so the determining factor on which one you use is dependent on how big the martini glass centerpieces will eventually be. (Note: Even the small dishes are too large for real martini glasses . . . I show in a different tutorial how to conceal the mechanics for those size glasses.)
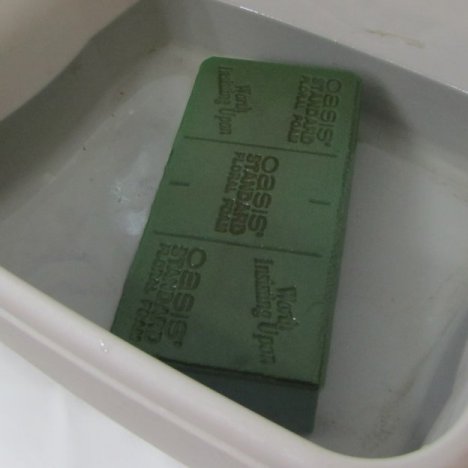
Float soak your foam in water that has been treated with a professional flower food like Crystal Clear.
Please don't forego the basic floral products like flower food, instant re-hydrators (Quick Dip) and Finishing Touch flower sealant. For the small cost, they are well worth using on your expensive fresh flowers. Since most DIY brides don't have the advantage of a professional florist cooler, these products are essential on keeping your flowers at their peak of freshness through your wedding day.
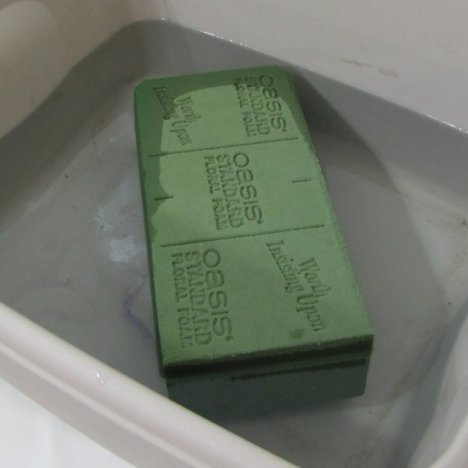
Allow the floral brick to sink gradually, without forcing it under the water level. They really do absorb water very quickly. Forcing them under the water can cause dry pockets inside the brick, which could mean a wilted flower for any unfortunately stem pushed into that dry area.
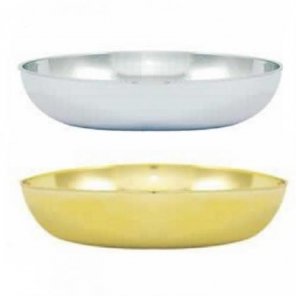
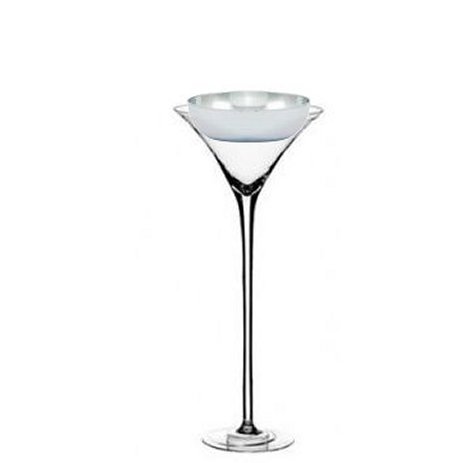
Place your appropriate size silver (or gold) dish down into the martini glass.
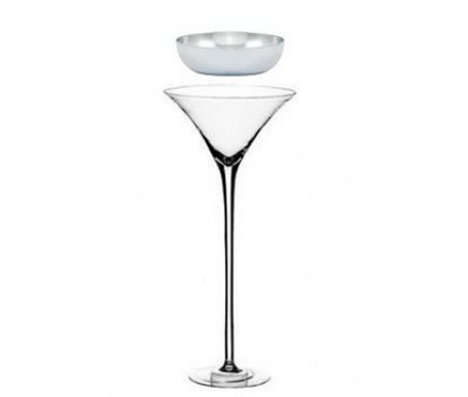
Don't worry if it doesn't go all the way to the bottom. It is fine to just rest on the top edge. Remember, the goal is to conceal the green foam, leaving the silver dish to reflect the light and let the martini vase centerpieces shine clear on the bottom .
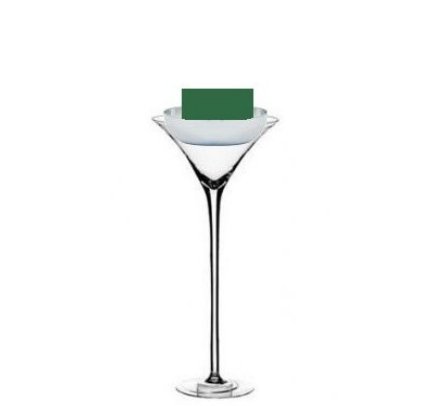
Now cut a large piece of foam from the brick. The bigger the foam, the more flowers you can support without having to replenish the water as often.
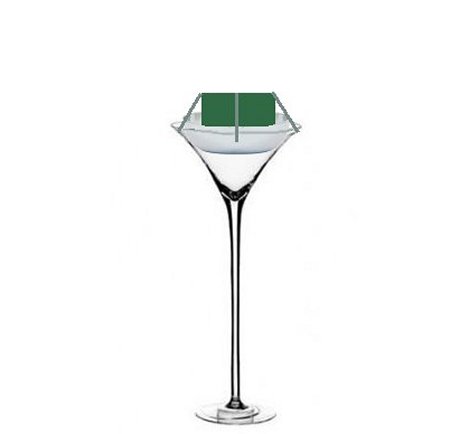
I usually use clear tape for clear glassware, but I want these to be securely taped into the martini vase. So I'm using narrow waterproof greening tape.

Tape across the top on both sides. Don't worry . . . if you drop your greenery down to cover the rim of your glass you should be able to conceal the waterproof tape. If you are using really tall vases, I suggest you do your greening and flowers separately in the silver dish, and then take that arrangement to the reception hall and then place them in the martini vase.
How to keep them from slipping or sliding? Use a few rolled balls of white floral clay around the inside rim of the martini vase. This is enough to secure the centerpieces to the vase without being too conspicuous.
Transporting tall vases can quickly turn into a nightmare. Always keep in mind how to manage transporting and you can avoid a disaster.
This is a full grower's bunch of leather leaf fern. It's a cheap greenery that is a staple in every flower shop. Fresh flowers and greenery should be shopped for carefully if ordering on the internet. Read how many stems come in a bunch, as my tutorials name the stems (not bunches) needed.
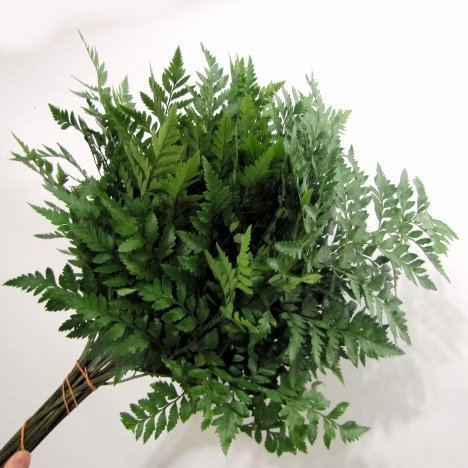
A single grower's bunch can go a long way. How many stems you need will depend on the size of the martini vase centerpieces and how long you extend the stems. Longer flower or greenery stems mean a bigger arrangement.
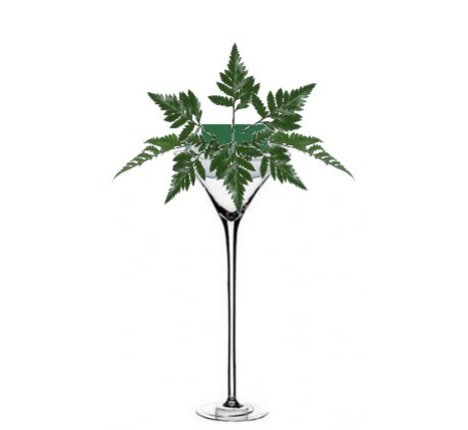
I begin greening in with leather on two sides as shown.
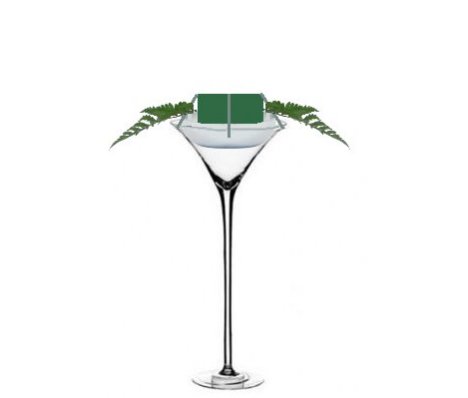
Begin to turn your vase around, inserting your first greens at a slightly upward angle so that the points of the leather leaf point down towards the table top. This is what helps conceal your tape and/or white florist clay.
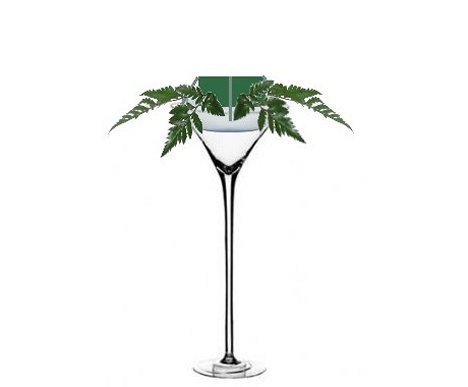
Keep filling with your greenery, and you will eventually start pointing your leather gradally straight out and eventually upwards.
Your leather leaf in the center should point straight up and in the midway the stems will be at a 45 degree angle as shown.
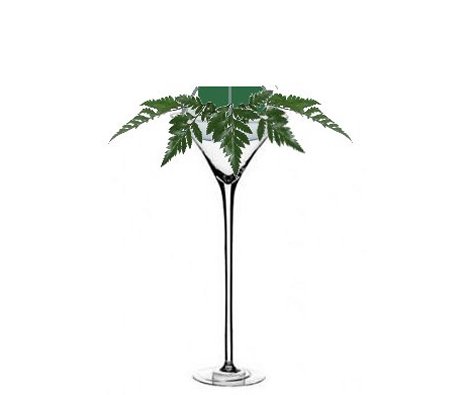
Keep turning your martini vase centerpieces, keeping the pieces balances so they are consistent on all sides.
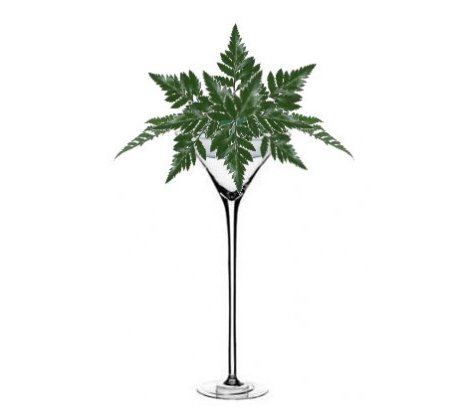
I love the long laterals of Italian ruscus. It really doesn't matter what bulk greenery you use, but mix it up so that your centerpieces have contrast and interest.

I cut a stem of the Italian ruscus shorter and insert it at random between the leather leaf already in these martini vase centerpieces.