making a wedding boutonniere
Making a wedding boutonniere may differ from one flower designer to another. I like to cut the main part of the stem short and create a wired, thinner stem. Other designers like using the actual rose stem. I leave the stem only if I'm making a simplistic look or want the natural stem to be a part of the flower design.
Adding additional flowers and leaves can build up a clumsy, thick stem quickly. I like to keep my stems thin and professional looking.
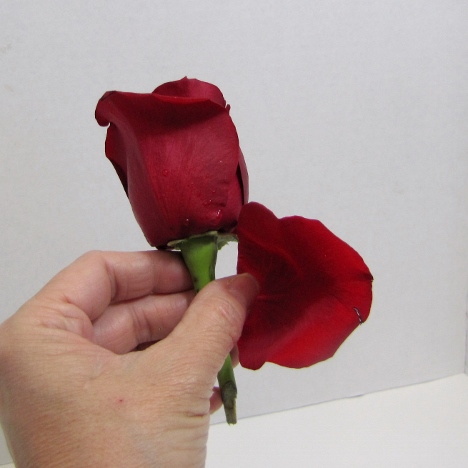
Bulk roses are packed with their guard petals still attached. These are the outer petals that sometimes look gouged or bruised. These protect the inner petals of the rose.
Remove any blemished outer petals when you begin to design. Leave them on the roses until then to protect them from thorn tears and bruising from contact with other flowers in the bucket.
Your rose should be blemish free and the bulb should feel firm to the touch for a boutonniere that will last the longest.
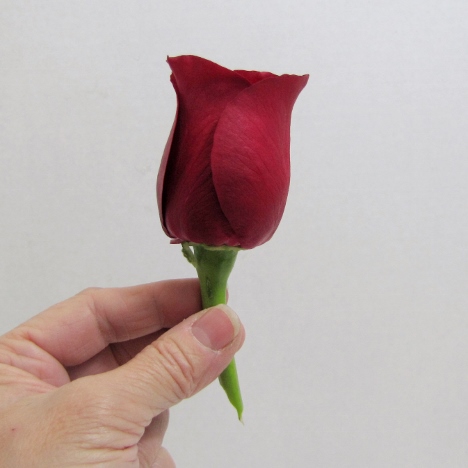
I removed the triangle shaped leaves coming down from the catalyst of the rose. Leave them on it you like the look and want it as part of the boutonniere design.
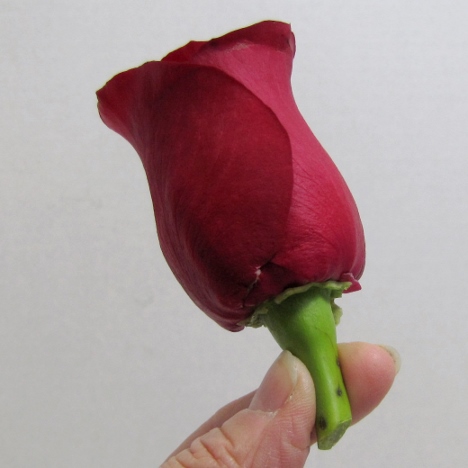
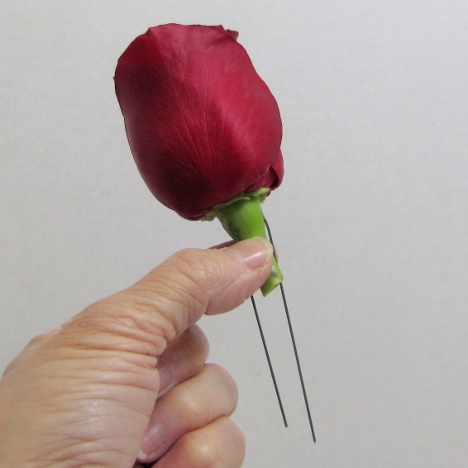
Piece the bulb of the flower across with florist wire and bend down, forming a wire stem.
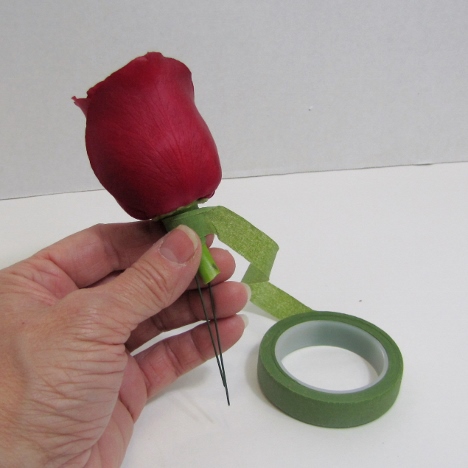
Starting high, directly under the flower petals, tape with floral tape. Pull gently on the tape, stretching it around the base of the rose. This will cause the tape to adhere to itself.
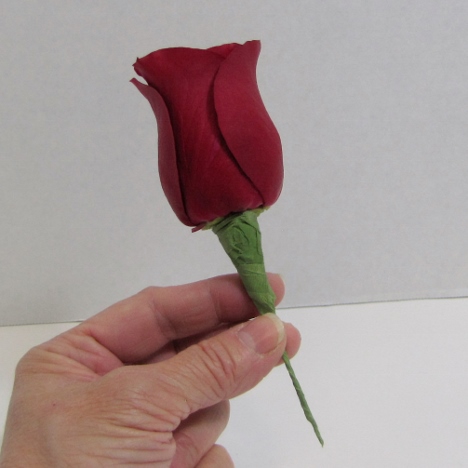
Tape completely down the entire wire stems and tear off at the bottom. Always be sure that your mechanics are completely covered unless they are a deliberate part of the design.
Anyone can make a boutonniere, but it is the attention to details and interesting elements that show the mark of a professional designer.
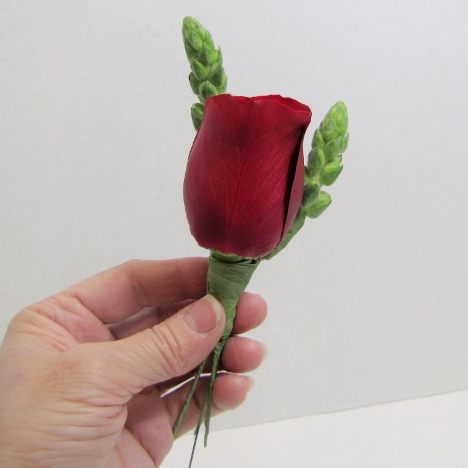
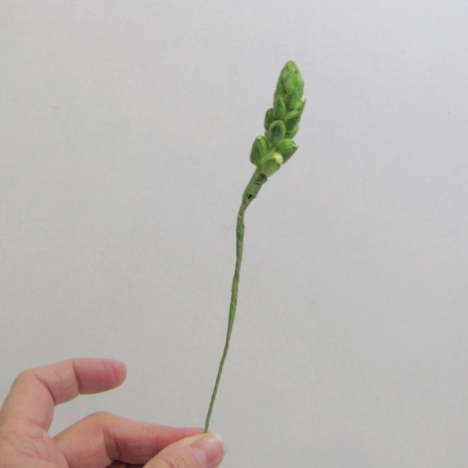
Once you have wired the snapdragon tips, you can bend them to fit snugly against the rose head.
I have gently bent the stem because I do not want it sticking off backwards in an awkward angle.
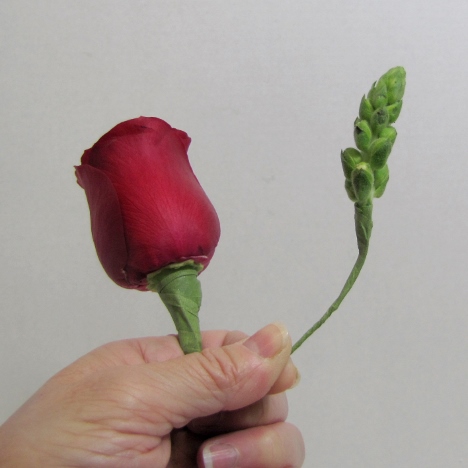
I place the first snapdragon tip higher than the head of the rose and tape into place.
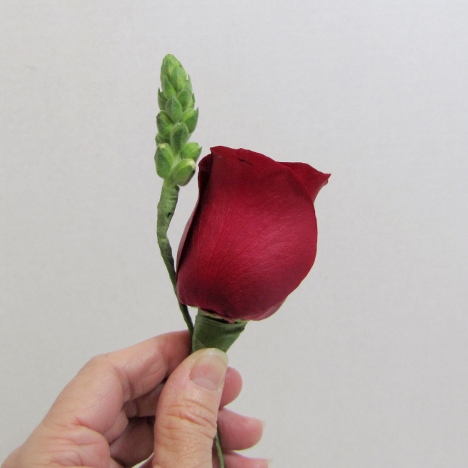
I then bend a second snapdragon head into the shape I want.

I fit it to the right side of the rose head, dropping it down lower than the first snapdragon tip. Tape this one into place as well.