make a wedding boutonniere
To make a wedding boutonniere, you will need the following:
- 1 standard rose (your choice of color)
- 2 Snapdragon tips and 2 snapdragon florets
- 3-4 Variegated Pittosporum Leaves
- 1 Galax Leaf
- Floral Tape
- Florist Wire
- 4 Pearl Corsage Pins
- Finishing Touch Flower Sealant or Crowning Glory
- Leafshine

Want to make an interesting boutonniere? Go a step beyond a single rose. Mix in some other elements such as different flowers, greenery and more.
Snapdragons are not what a DIY bride normally thinks of when it comes to making boutonnieres. But this flower has beautiful florets and comes in a lot of different colors.
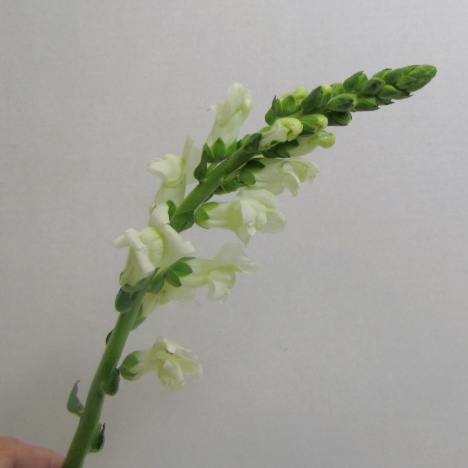
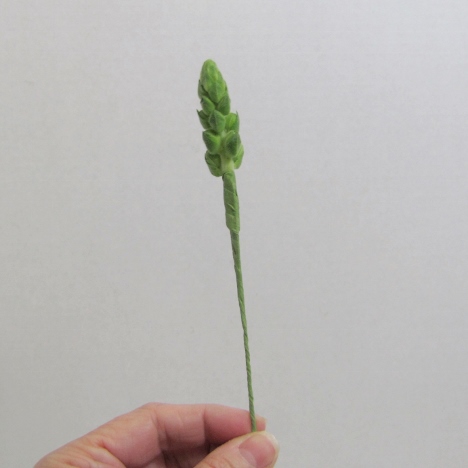
Professional florists like to incorporate a more unique look by using more than just flowers. The tip of a snapdragon is a cluster of unmatured buds - perfect as a wired accent for a wedding boutoniere!
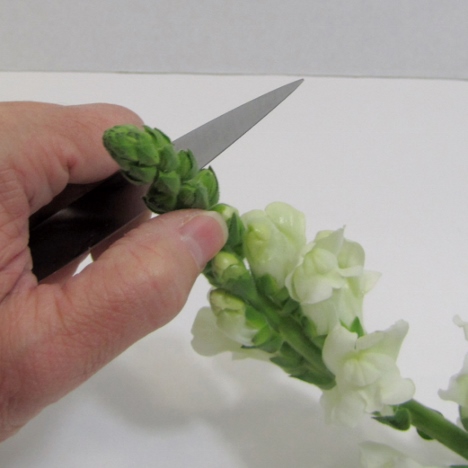
After making a clean cut with a floral knife, I insert a 24 gauge wire through the base.
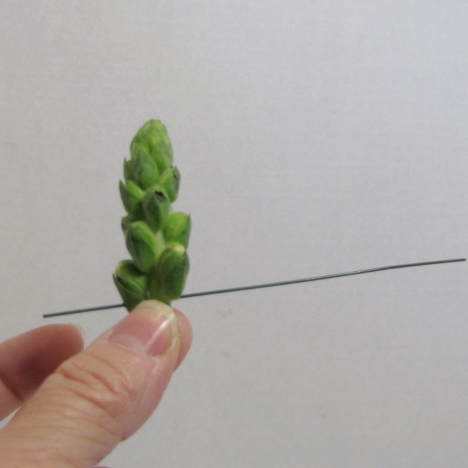
I finish by bending the wire down and taping with green florist tape.
I generally wire and tape all the elements of my corsages and boutonnieres before moving on to the assembly step. This moves things along quicker, especially if you have a large quantity of them to do.
When you make a boutonniere, basic wiring techniques can be used for many different flowers. Wiring the snapdragon florets is the same as we did for the tip.
I usually mist my fingertips with Finishing Touch to prevent the oils from my fingers clinging to the flower heads and causing premature browning.
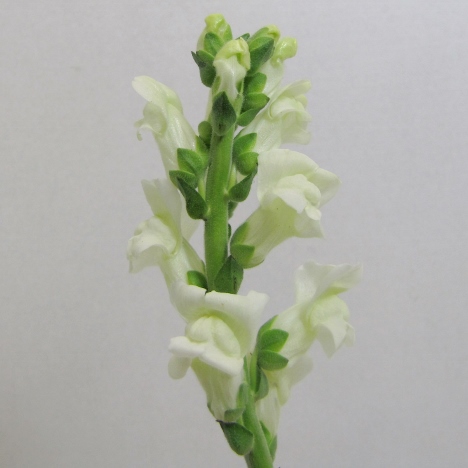
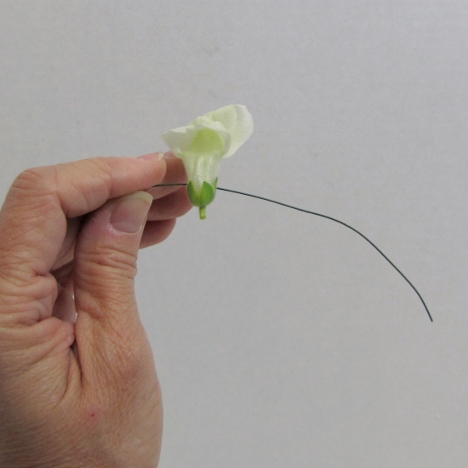
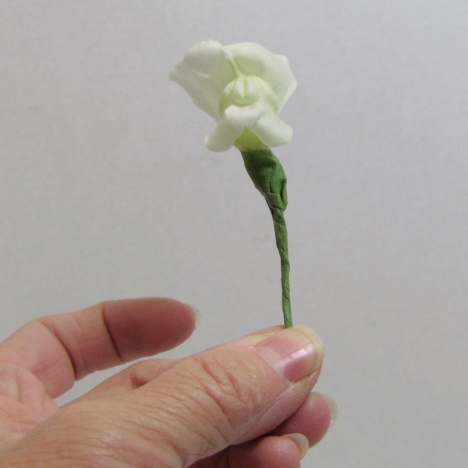
Pluck the floret gently from the main stem, keeping the entire bloom intact with the green stem attached.
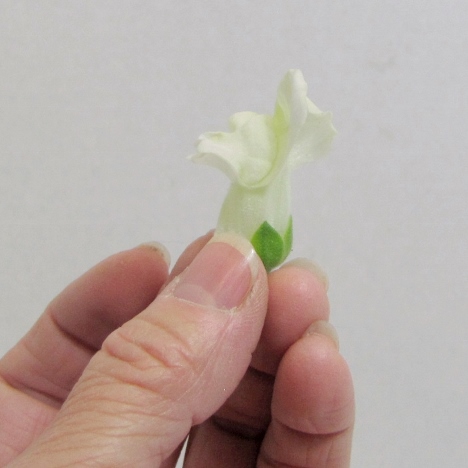
Gently push a thin florist wire through the base of the flower. Florist wire gauges are the different thickness of the wire. The higher the number, the thinner the gauge. Number 18 is thick and heavy (usually the thickest available from floral supply). It is used for heavy jobs and support.
Wiring flowers usually requires a wire thick enough for easy manipulation, yet thin enough that it doesn't break the flower heads apart. I like using 26 gauge.
For fragile heads that do not have their own stems, I use two pieces of wire crossed at a 90 deg angle to each other.
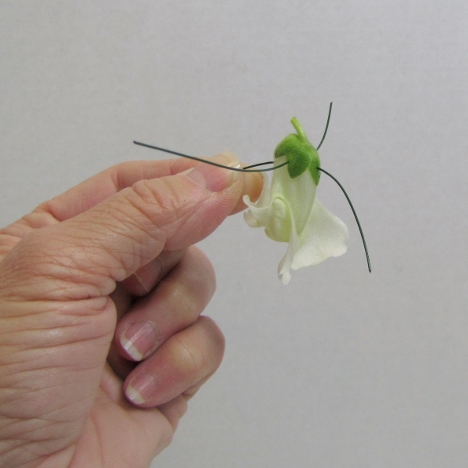
Gently bend the wires down to create a stem.
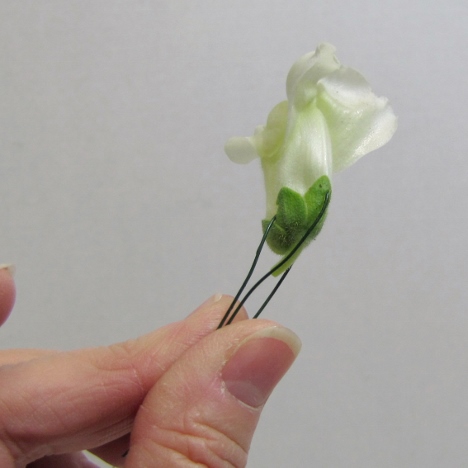
Starting up on the bulb of the flower, wrap around once gently, then a little tighter to adhere the tape to itself.
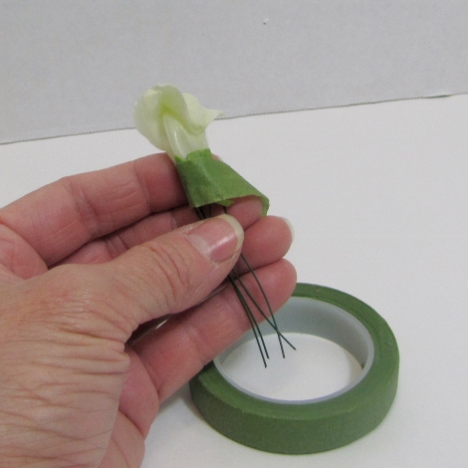
You now have an individually wired floret perfect sized for adding to corsages and boutonnieres.
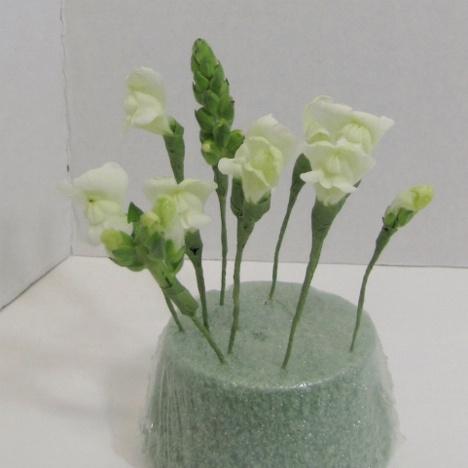
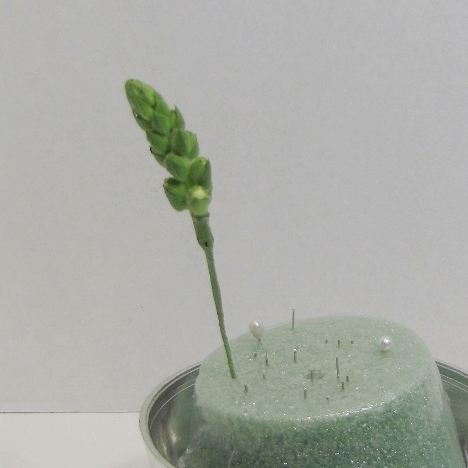
I continued to make up several of these wired blooms, getting ready to make all my boutonnieres at the same time.
Mist with Finishing Touch as you are accumulating your wired flowers and stand them up in a foam base so they don't get bruised.