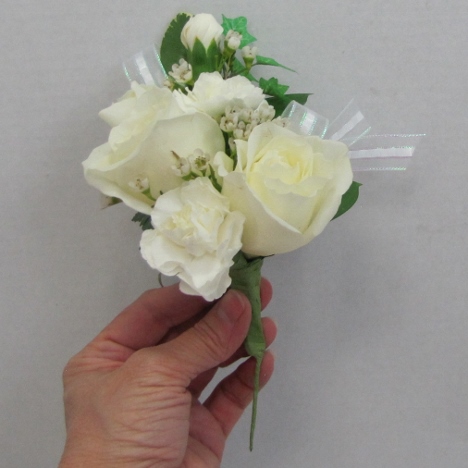
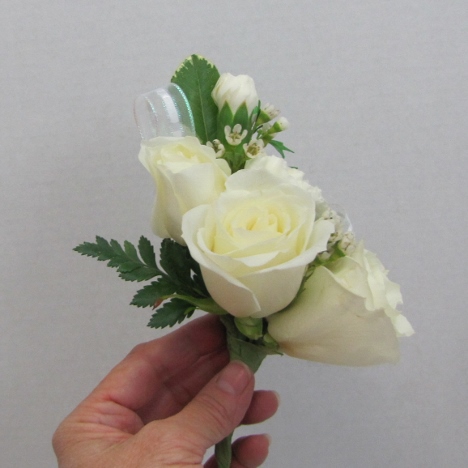
how to make corsages
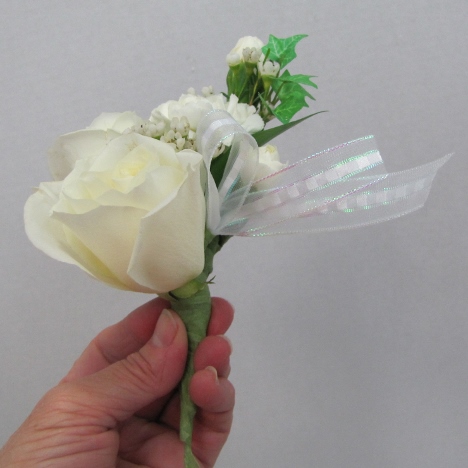
To make corsages look well balanced, I will tuck in another ribbon loop next to the rose.

If you look closely you'll see I tucked the ribbon stem into the opening between the last rose and the flowers above it and pulled in down and out on the left side.
The ribbon loop then tucks into place and flares out from the right side.
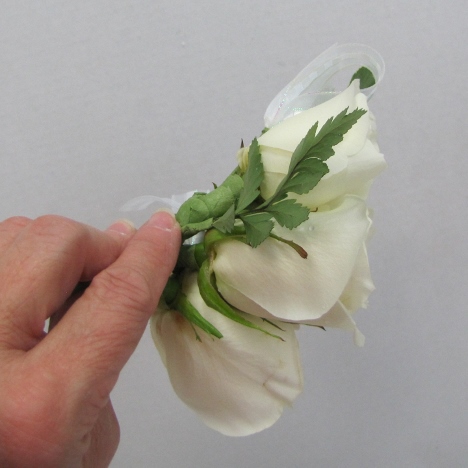
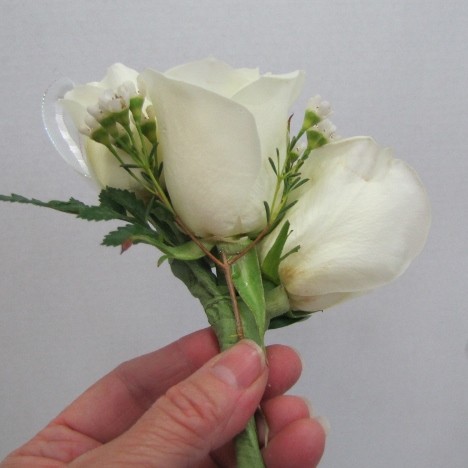
Now let's add some different interest with the leather leaf fern.

The darker green color contrasts nicely with the monochromatic corsage. (That simply means all the flowers are the same color).

Place the leather leaf behind the rose head and tape into place.
Here's a view from the left side of the corsage.
I'm going to take advantage of the opening in this sprig of wax flower to fit it around a rose head.

Always learn to work with your flower and leaf shapes and curves, using those natural bends to the best advantage.
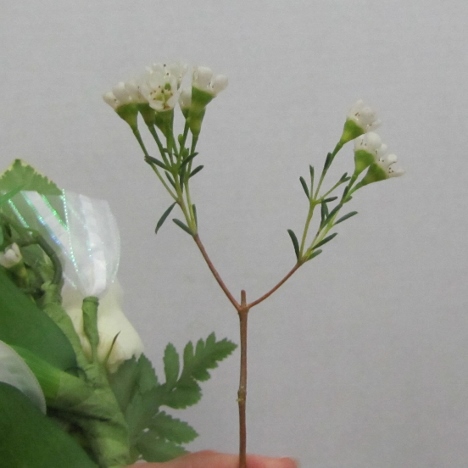
To me that piece of wax flower belonged right here, snuggled up under the rose in the center.
Tape it into place.
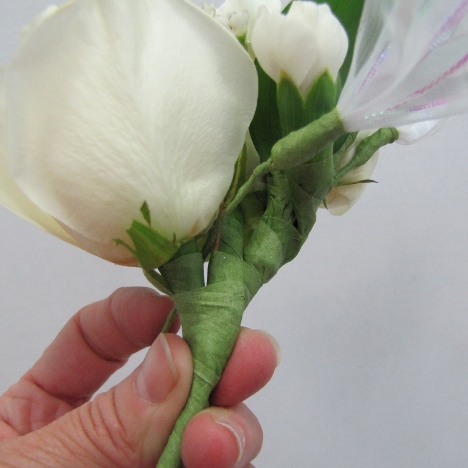
Wiring your flowers allows you the freedom of bending the carnation completely over.
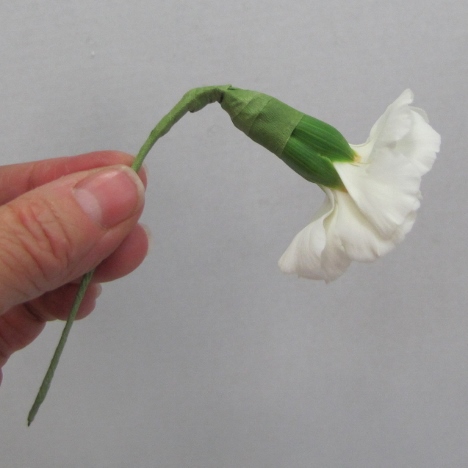
I need to do this in order to fit it in the right place to the left the the center rose.
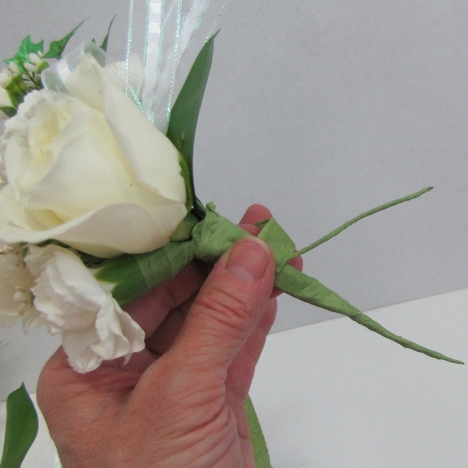
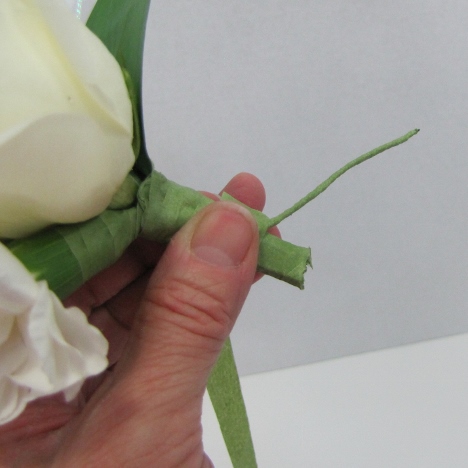
Again, I'm cutting off the larger stem in favor the the smaller slender stem from this last carnation.
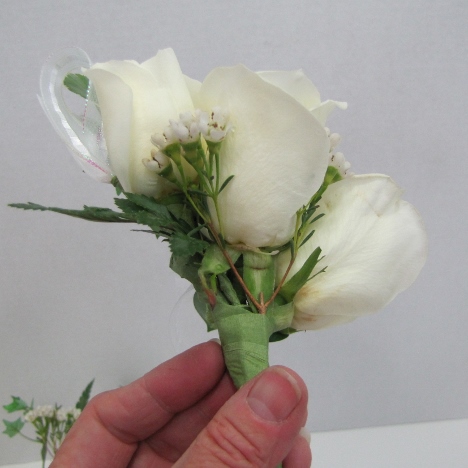
Flowering the corsage is nearly done. Now all remains is to add in some more greenery and ribbon to finish off the bottom.