How to Make a Bridal Bouquet
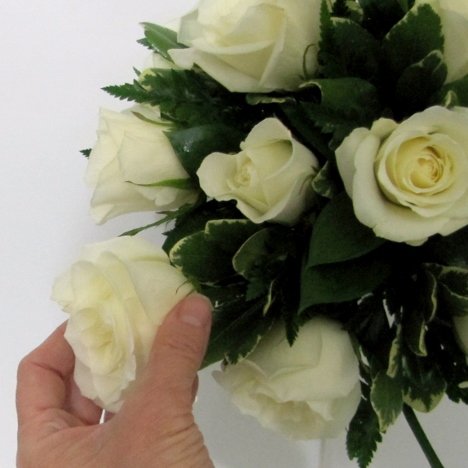
Be careful as inserting the last rose or two can be a bit crowded with the stems hitting one another in the foam. Insert slowly so you don't knock the other stems out of place in the bouquet.
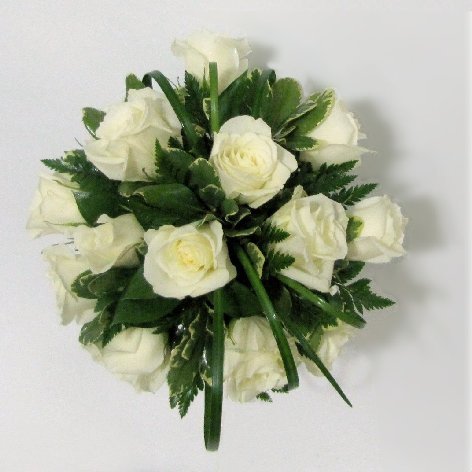
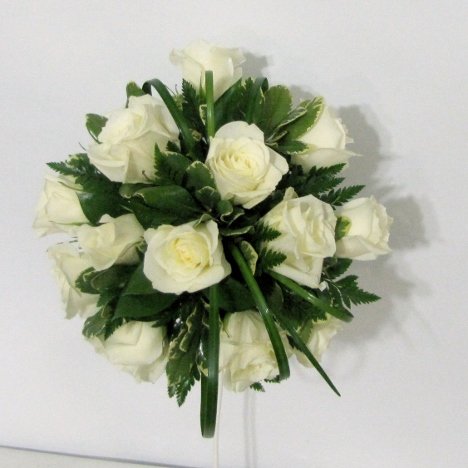
The final look is a sweet traditional - but anything but boring with the interesting foliage and grass loops.
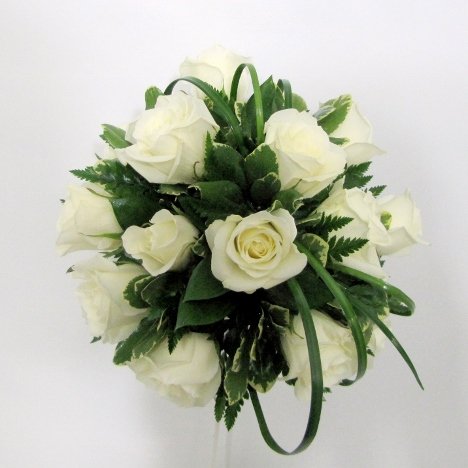
From a different angle, you can see even the grass loops don't have to be perfectly sized or placed. Part of the charm of the bouquet is looking like a garden nosegay with a casual flair.
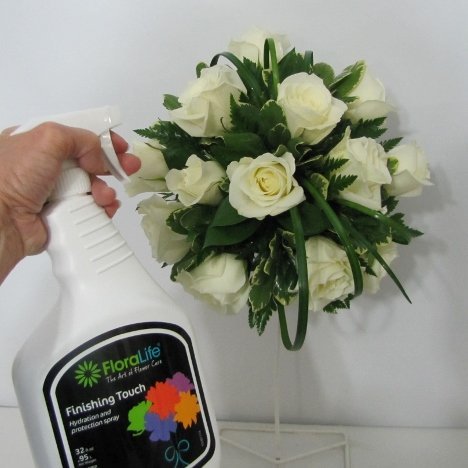
I always finishing every bridal bouquet with a good misting of a flower sealant such as Finishing Touch. This seals the petals, slows transparency and simply makes the bouquet last longer once removed from the cooler.
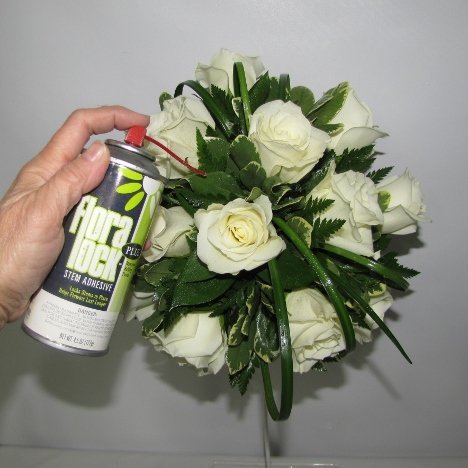
Another "must have" product for all my bouquets is Floralock Stem Adhesive. This can of liquid adhesive is throughly shaken then the glue is sprayed through a long nozzle deep into the bouquet next to where the stems are inserted into the foam.
Giving short bursts, don't overdo or glue will be dripping out of your bouquet. One can is plenty for numerous bouquets. This is ensures that the stems are locked into place and don't (oh, dear) fall out as the bride is going down the aisle.
Brides and bridesmaids are very fun loving now days - acting silly and shaking their bouquets during photo shoots or while dancing down the aisle. Floralock is essential!!
You can see that this simple bouquet is very fast to make - but looks stunning in photos because the greenery actually gives some contrast of a white bouquet against a white gown.
Look for matching tutorials for a white rose cascade, white rose corsage and rose boutonnieres!