how to make long centerpieces
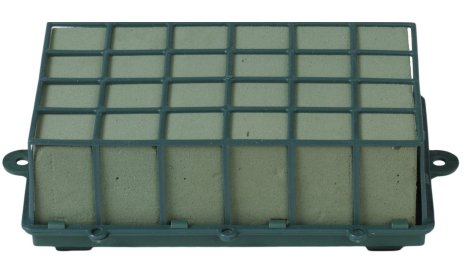
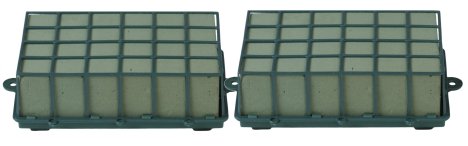
Long table centerpieces can actually be made in a standard one-brick Oasis tray.
Placed end to end, you can create one long continuous line of flowers. Just be sure not to taper the flowers as you would in a traditional "long and low", but leave rather as a straight cut that can be butted up against the next centerpiece as shown. These trays have pointed grid on the bottom to grip the florist foam tightly and keep it in place. These centerpieces are not connected, however, and wouldn't work for cascades over the table edges as discussed above.
Floracages come in two different sizes and come pre-filled with Oasis Max-Life Foam.
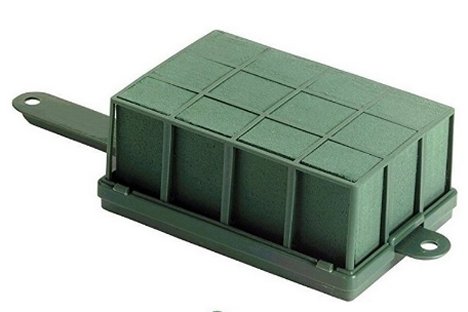
These sturdy cages have predrilled holes on both ends and can be linked together. The handles would create an opening between each cage that you could put votive candles, pillar candles and other novelty items on the table, in between each flower arrangement.

The Floracraft Floral Cage Arranger (with the wet foam) comes in a variety of sizes. Order the size you need and mix up the sizes if needed to fit your table length.
There are tabs on both ends to make it handy to connect the cages if needed with chenille stems.
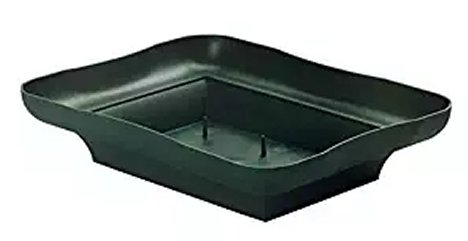
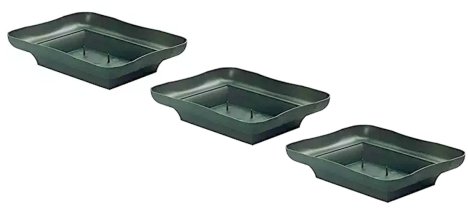
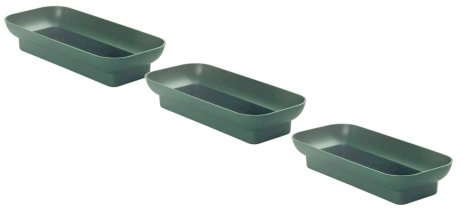
These containers are known as Double Bowls. They are a very economical "no show" container that is sturdy and holds up well. They also come with a spiked bottom for gripping a brick of foam.
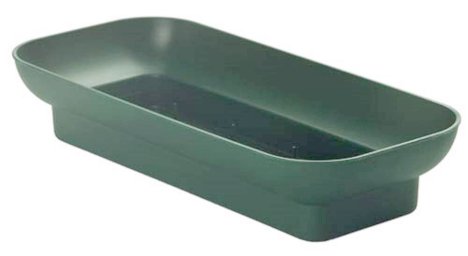
They can easily be set end to end, each holding one full brick of standard Oasis Florist Foam.
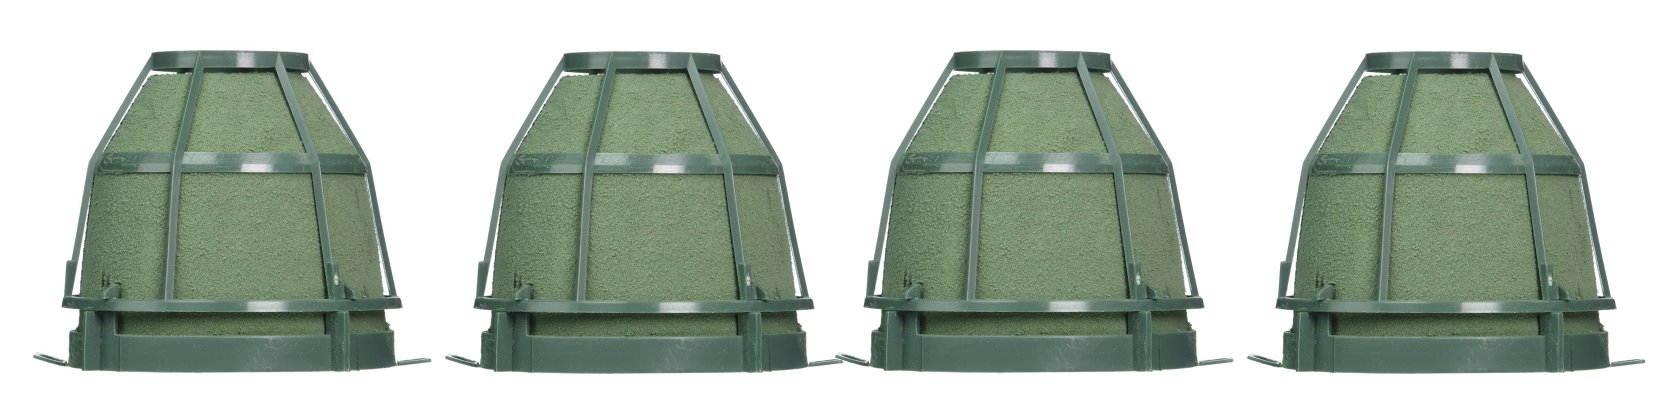
If your arrangements need to be kept narrow and flexible, consider using Grande or Standard Iglu Cages. They come with the added bonus of a center on the top fitted to hold any taper candle without the need of a taper candle pick. With the handy tabs on both side, these are easily connected with chenille stems to link and create almost any size to fit any table length.
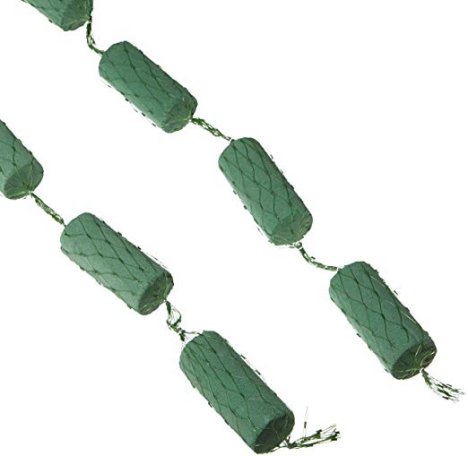
I've seen demonstrations that used the Oasis Cylinder Garland down a table length, but with the introduction of the flat garland, I would hesitate to recommend these unless you really did want the garland look. I suggest placing flat styrofoam trays under the wet foam to protect your table tops. You really don't want wet spots seeping out from under your garland.
This, however, is heavily recommended if you want all around fresh flower garlands, as they provide the necessary water source to keep flowers fresh.
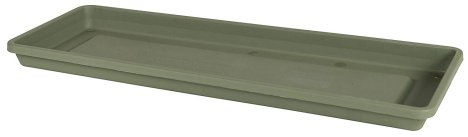
The last on my recommended list is long garden trays. Although these are really designed for planter use, the ones without predrilled holes work very well for holding the wet florist foam. They come in lengths of 18" up to 30" and regular bricks of foam can be fitted to length. You need to use waterproof tape to secure them into the tray. The bottoms are flat, so you need to use waterproof tape to secure the foam to the tray.
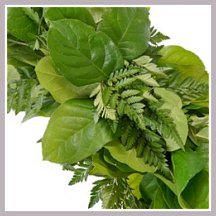
The last is to use a fresh greenery garland. There is a large selection of greenery combos you can buy. You can tuck fresh flowers in between the greens, but if you plan on using flowers that wilt easily (such as the water thirsty hydrangeas, peonies or Gerbera daisies), you must be sure to tuck them into a green water tube to keep the blooms fresh.