how to make corsages
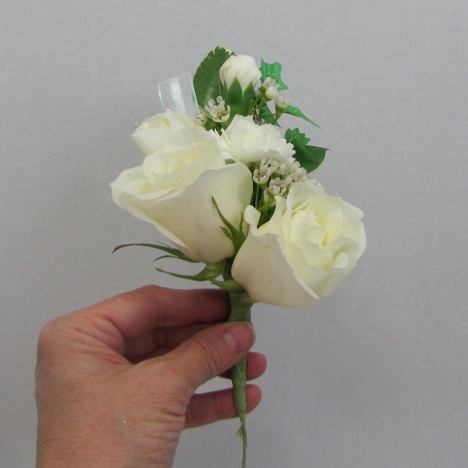
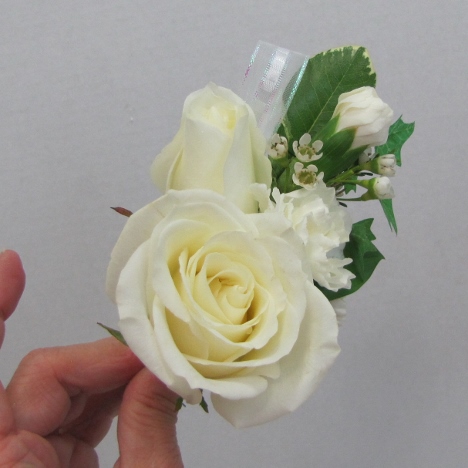
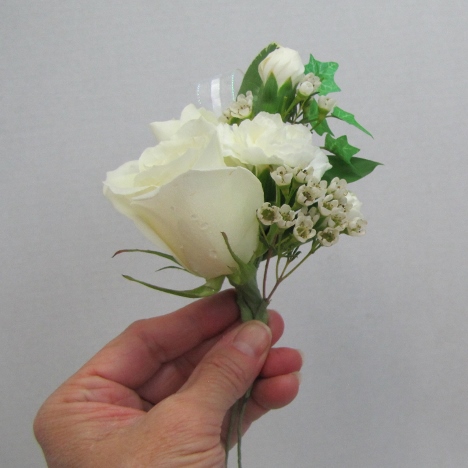
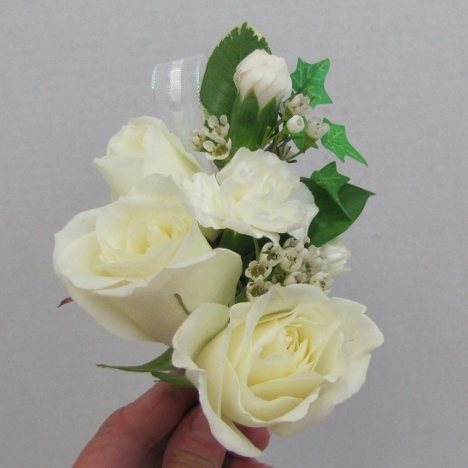
Here is the corsage assembled so far. Nice point at the top, with the secondary flowers complimenting the focal rose.
I don't want this corsage to grow too large, so I'm going to add another carnation bud rather than an open faced flower.
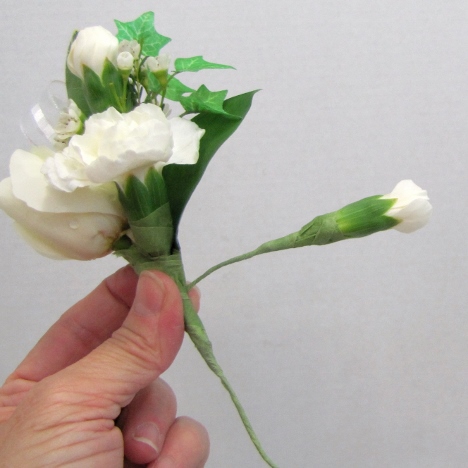
See how this one is at a direct 90 degree angle to the corsage (like an "L" shape). This is where the wired stems come in so handy because they can be easily bent into shape before taping into place.
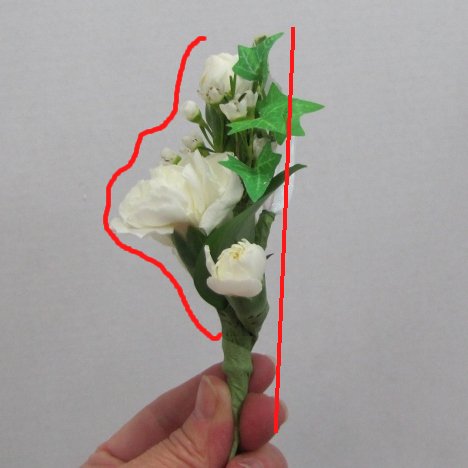
Here's a side view of the face of the corsage. The top side is very dimensional - while the back of the corsage remains fairly flat.
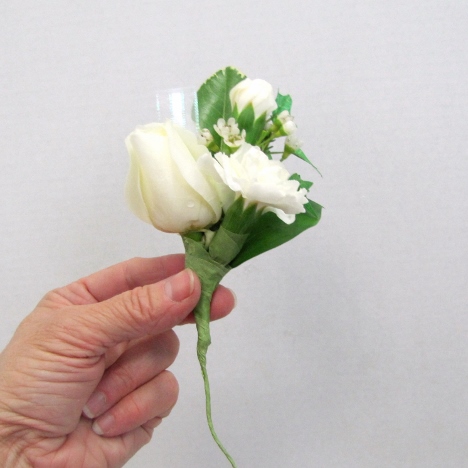
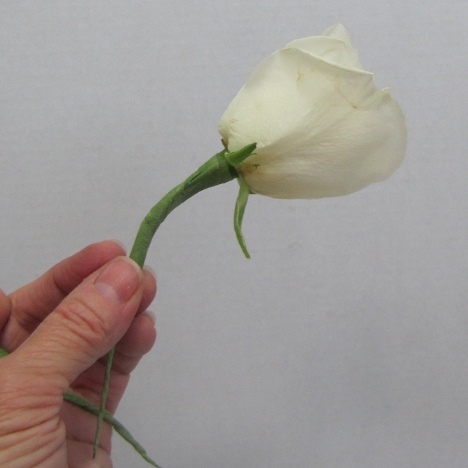
Now I'm adding another focal flower (a rose). If you wish, open the rose a little wider by gently blowing on the face of the rose. Don't touch the delicate petals with you fingers, as the oil from your skin may cause premature browning.
This rose is going to be placed under the last carnation head and pretty much in the center of the corsage.
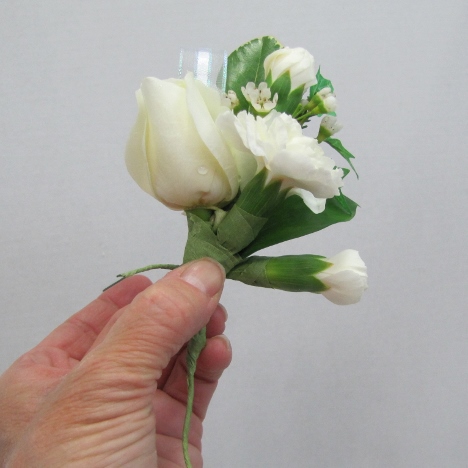
See how the rose head is under the carnation, not concealing it.
I'm also going to tuck in a small sprig of wax flower before taping the rose into place.
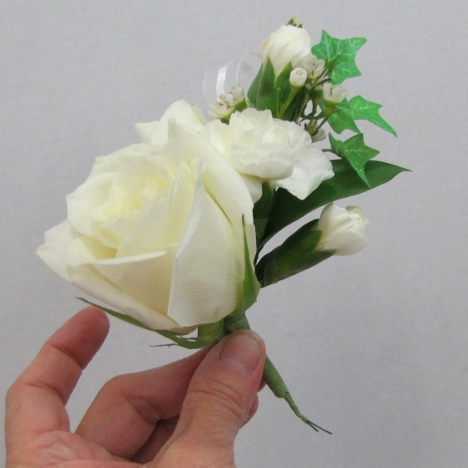
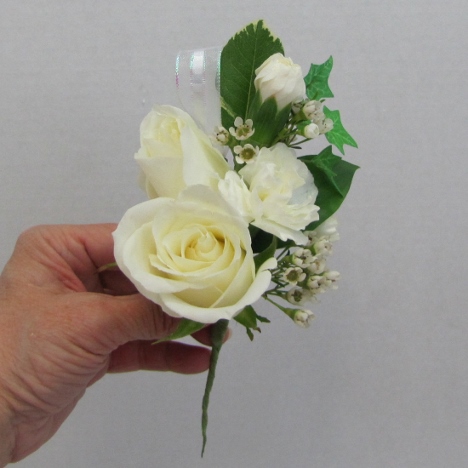
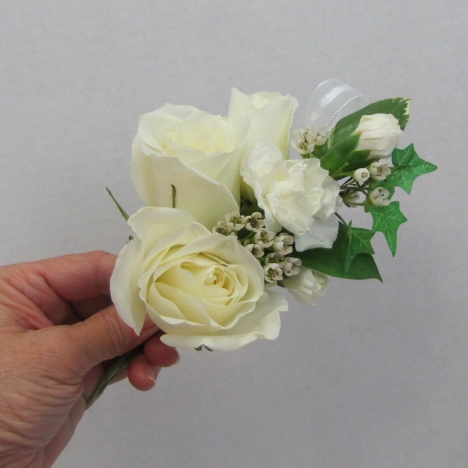
Here's a view from the top of the corsage for the flower placement. This rose is centered in the middle of all the other flowers.
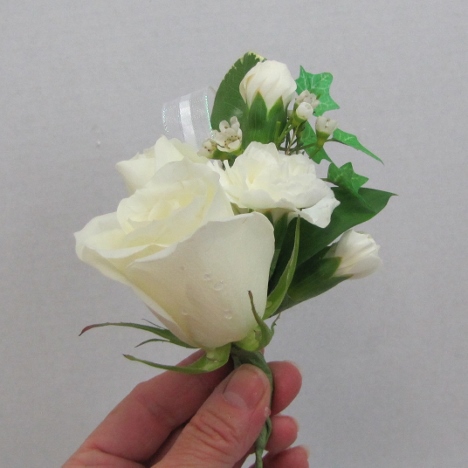
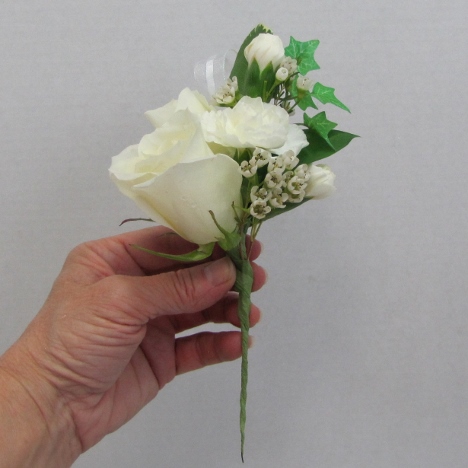
Another lateral view from the side after the rose is taped and secured to the existing corsage.
As I get to the bottom of this corsage, I'm going to bend the flowers and greens in a downward slant.
This rose is bent forward and placed on the right side, right below that last sprig of wax flower.
Always keep a critical eye on your design, keeping balance on both sides of the corsage.
See how bending the rose forward keeps the face of the flower in the right position.