Hand Tied Bridal Bouquets
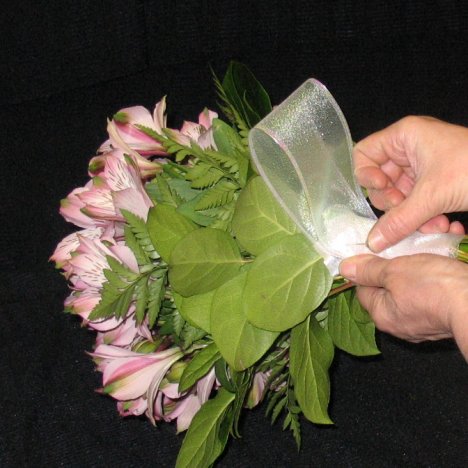
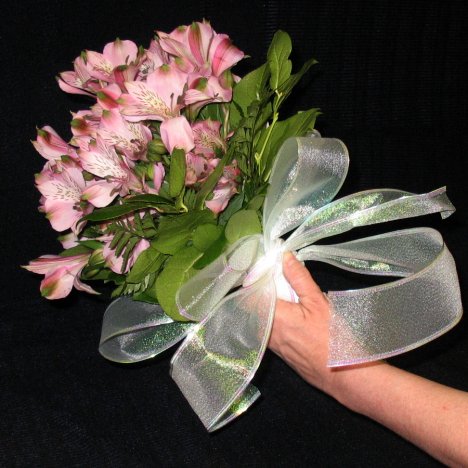
I want bow loops framing the bottom of the bouquet. If you don't use a bow, add more greenery FACING OUTWARDS for a more polished look to your bouquet from the underside.
It's easier to work with wider ribbon if you choose a wired or stiff satin ribbon. I'm adding loops, because if I make a bow and tape it to the underside, it will be all on one side.
Use pearl headed corsage pins to secure the loop in place. Make sure the sharp end of the pins is buried deep into a flower stem so it cannot poke the bride's hand later.
Once my sheer, wired ribbon is in place, I tied it off with (cheaper) satin ribbon. You can tie it off with the sheer ribbon, but I wanted to be sure my one bolt of sheer covered all the attendants bouquets as well.

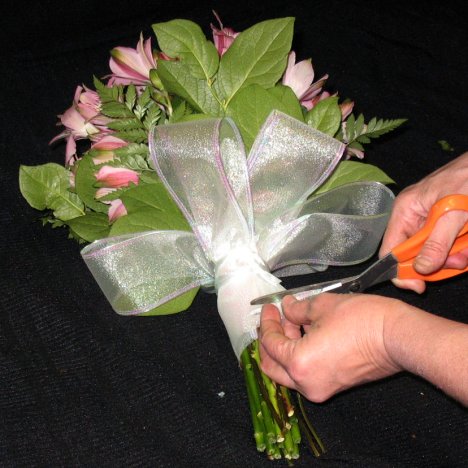
Tie with a secure crossed knot twice to be sure the loops don't slip out of place. Snip off the tied ends of ribbon.
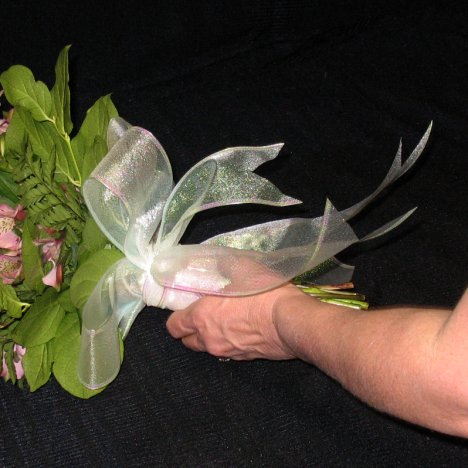
I then "ribbon wrapped" the hand part of the bouquet stem with the sheer ribbon that matches the loops pulling the cut end under the last wrap and pulling it taut.
I then cut another long length of ribbon and tied it close under the loops. This is going to be extra tails coming off the "bow"
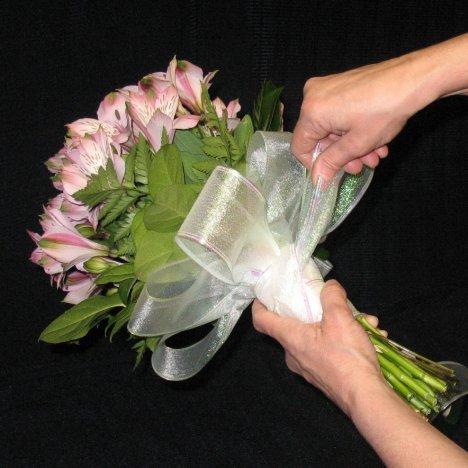
Tie as many extra pieces as you desire, turning the bouquet as you go.

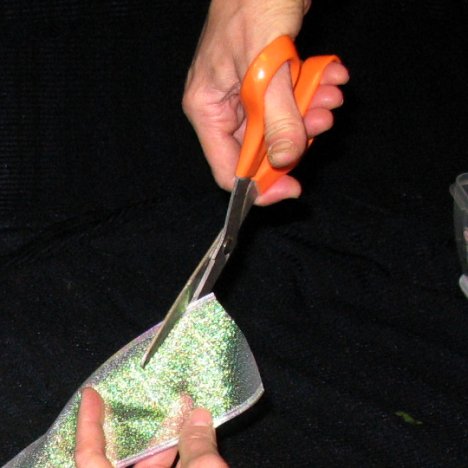
Snip the dangling tails with either a clean diagonal cut or into a "V" cut.
You should now have loops surrounding the underside of the greenery and tails that are finished with no fraying.