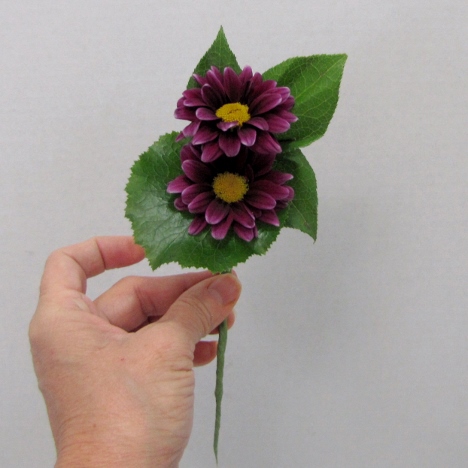
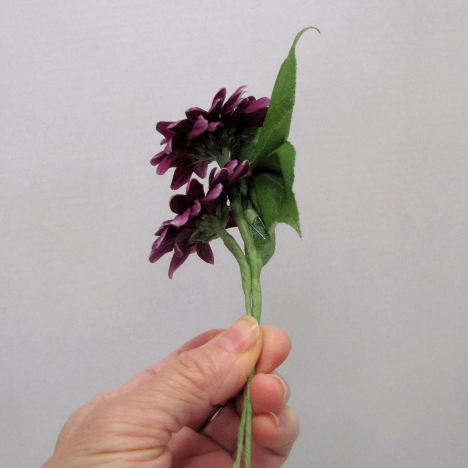
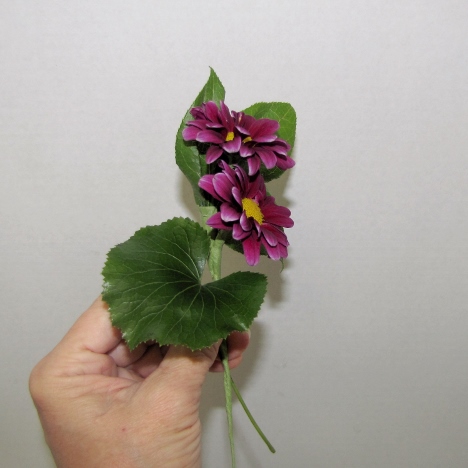
grooms flower
This groom's flower will have two blooms. Complete the wiring process by taping down the wire stem with green floral tape.
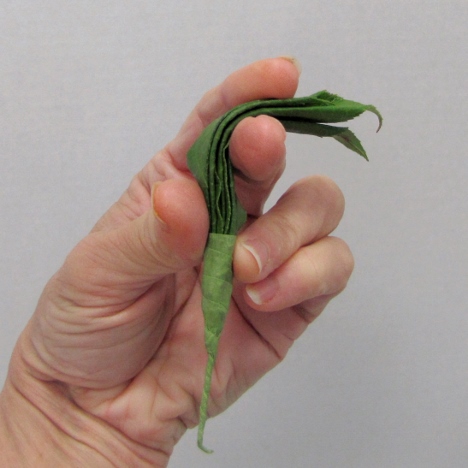
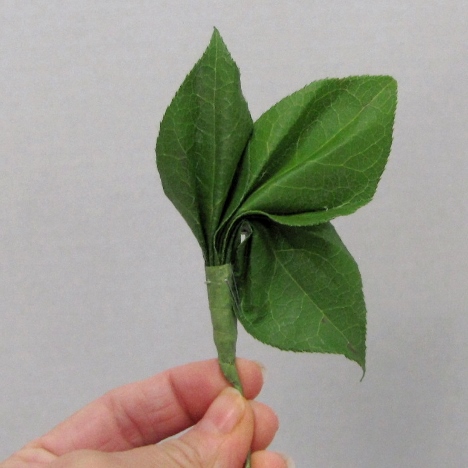
I want these leaves to fan to the right of the boutonniere, so I bent them over my fingers to build in the curve.
Use your trusty stapler again to secure the edge of the bottom pleated leave to the taped boutonniere stem.
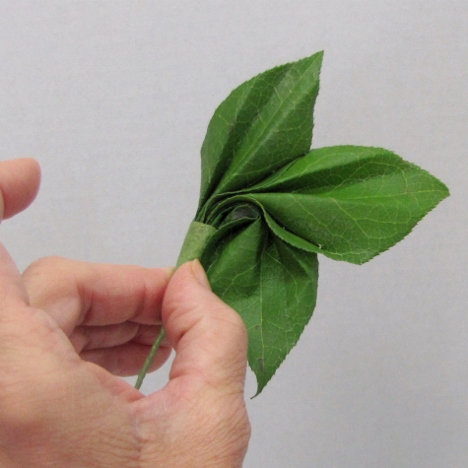
Now you'll see a pleasing pleated pattern for backing this daisy boutonniere. Because the leaves are stapled together, they will stay in place.
I bend the flower head slightly forward and place the pleated trio of leaves behind the flower head.
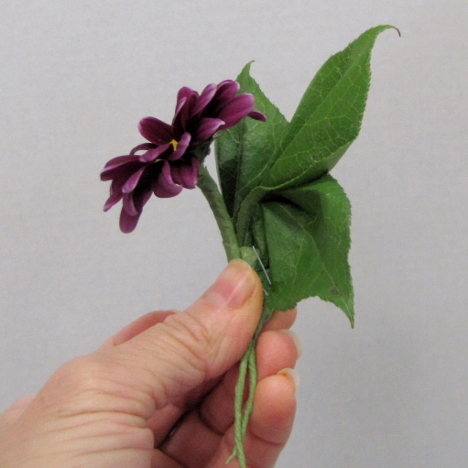
Tape the two parts together down the green stem.
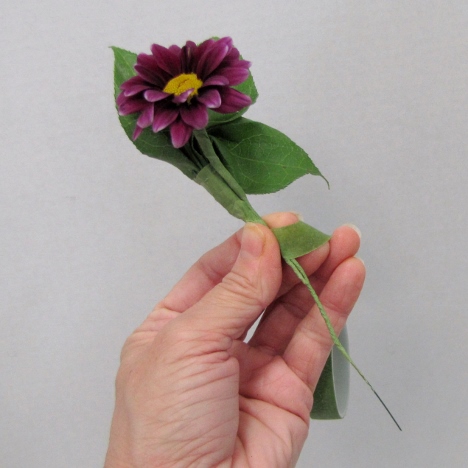
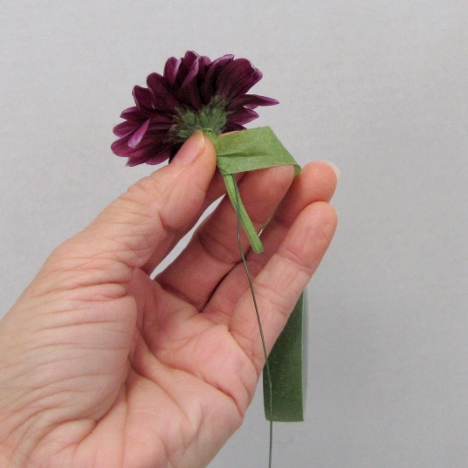
Now I'm taking the second wired daisy to add to this boutonniere.
I bend it forward, taking care not to be too aggressive and snapping the flower head off the stem. Place the daisy head underneath the first flower head.
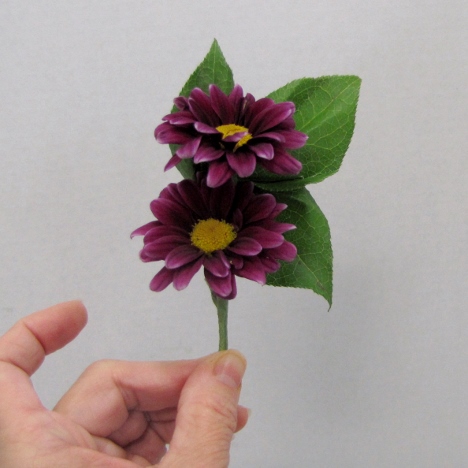
You can see how I have deliberately let more of the leaves show since they are really part of the design element.
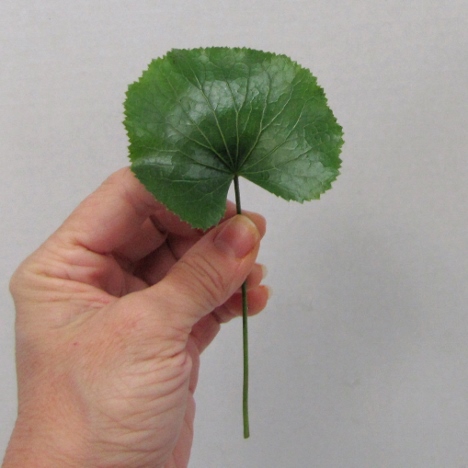
Galax leaves are a favorite of mine. This perfect rounded leaf has a glossy finish (don't forget the Leafshine!) and a notch in the center that is perfect for fitting around a flower head.
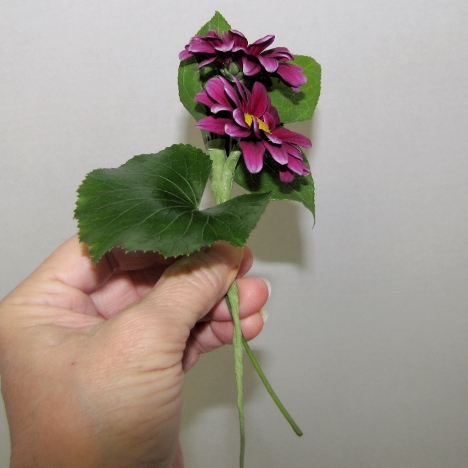
I tucked the left on the left side of the boutonniere under the bottom daisy head.
Fit the notched center around the boutonniere stem.
See how perfectly the galax leaf frames and enhances the flower petals.
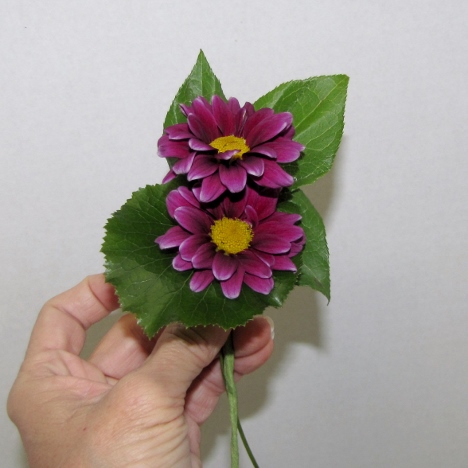
Tape into place with stretch floral tape, keeping the stem nice, tight and smooth.