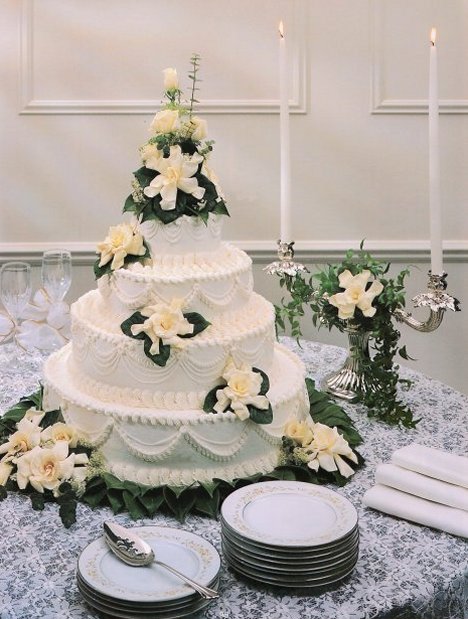
Gardenia wedding cake
A gardenia wedding cake has an old fashioned elegance of times gone by. Gardenias have a lovely fragrance that lingers. They have to be treated gently during storage by wetting a napkin and covering the petals while in refrigeration.
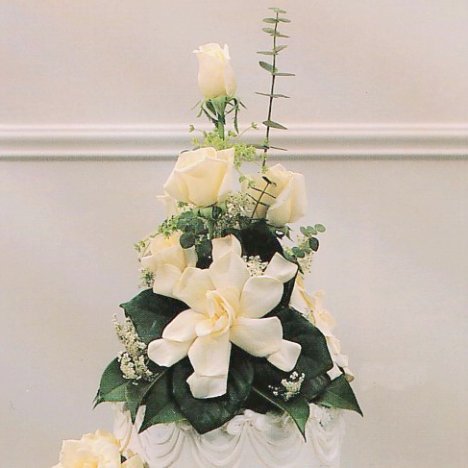
For the cake topper you'll need the following:
- 1 Clear Plastic Disposable Plat (for the topper to rest on)
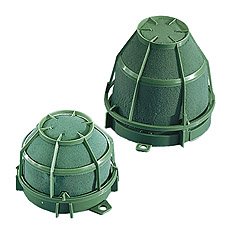
- 1 Small Iglu
- Green Stem Wrap
- 26 Gauge Florist Wire
- 2 Gardenias
- 4 White Standard roses
- 1 Stem Queen Anne's Lace or Baby's Breath
- 1 Stem Salal Leaves
- 1 Stem Blue Eucalyptus
- Finishing Touch or Crowning Glory Flower Sealant
- Wax Paper Circles
All the flowers should be sprayed with a flower sealant and allowed to dry. If you need help on designing the topper, check out this easy video by Oasis. The wax paper should rest between the flowers and where the flowers rest on the cake. Cut in small circles and then cut and "X" in the center. Slide the circles on the toothpick and insert onto the cake.
Iglus come in two different sizes, regular and Grande. What size you need depends on how many flowers are in the design. Gardenias have no stems, so the wire stems are slender enough to only need the regular Iglu.
I do have a step by step tutorial on how to green up an Oasis Iglu. These handy little cages filled with florist foam can be used in so many different ways.
Once the Iglu is greened in, it's simply a matter of flowering in with the roses and gardenias.
The rest of the cake will need the following flowers and supplies:
- 4 Gardenias
- 4 White Standard roses
- 1 stem Queen Anne's lace or Baby's Breath
- 3 stems Salal Leaves
- Wooden Double End Pointed Toothpicks
- Regular Office Stapler
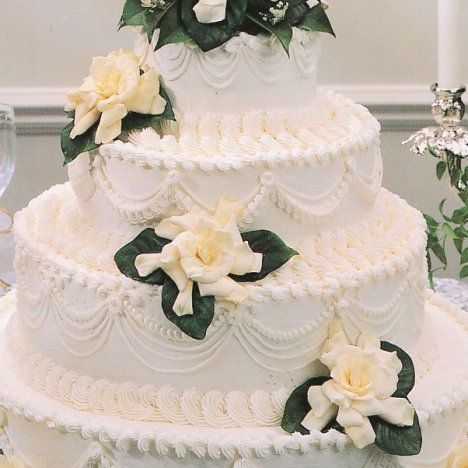
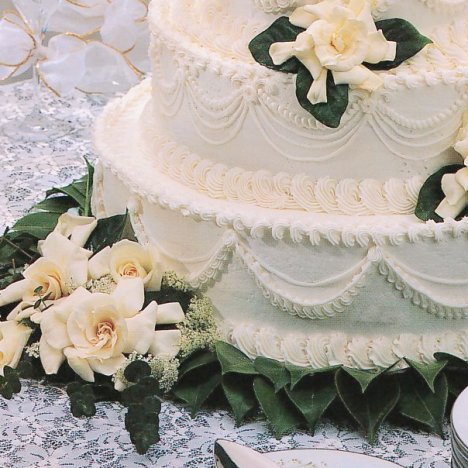
Single gardenia blossoms are pinned with toothpicks to the three layers of the cake. Loose flowers and foliage are placed at and around the base of the cake.
Trim the salal leaves straight across the bottom of leaf to give a finished look when placing around the edge of the cake. Place two rows of them around the bottom. Stapling the two leaves help keep them in place.
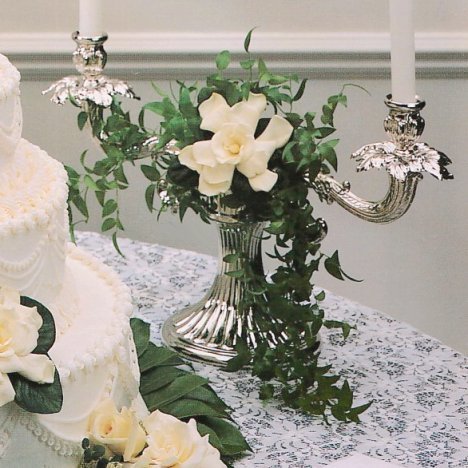
A matching candelabra features Italian Ruscus and a single gardenia on an Oasis mini deco.