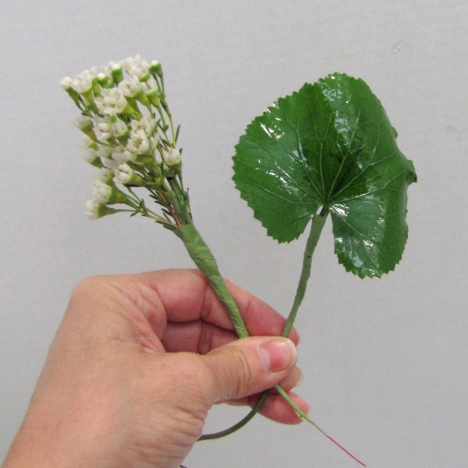
diy wax flower boutonniere
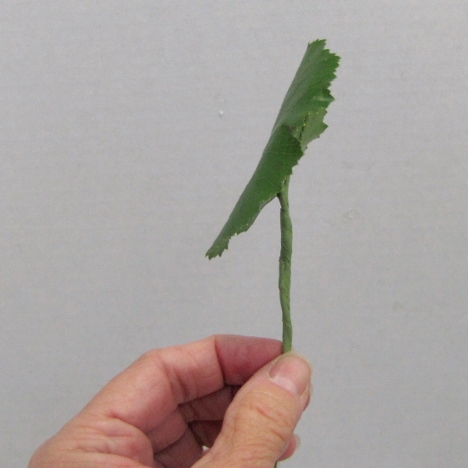
This DIY wax flower boutonniere has a few secrets on controlling the flowers and leaves. Tape now the natural stem of the leaf with corsage tape, attaching the wire to the back of the galax.

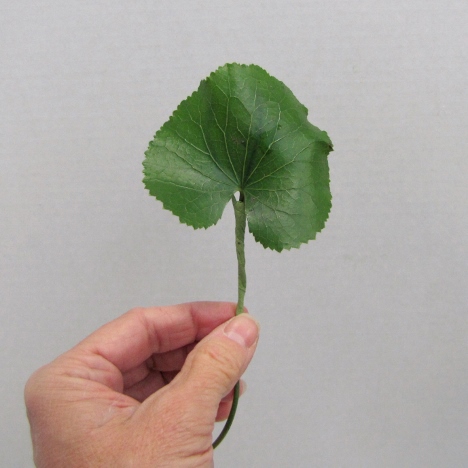
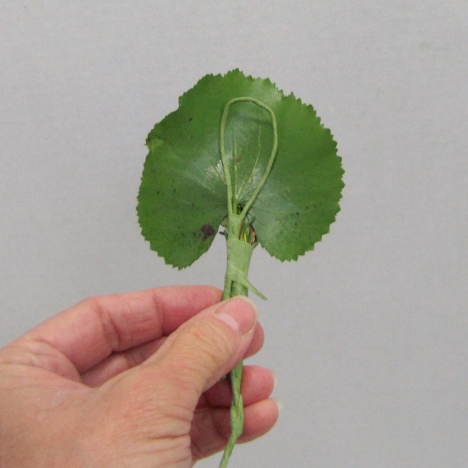
When done, you'll have a neat leaf that really shows off it's remarkable shape and will back your boutonniere beautifully.
Here's a side view of the wired galax.
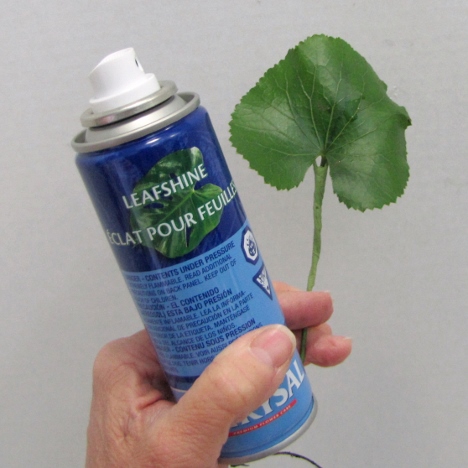
I do use a leaf polish on all my fresh greens. It seals the leaf and slows down evaporation of moisture from the leaves, making it last longer.
It also gives a clean, glossy look that takes away any white residue left from evaporation of hard water.
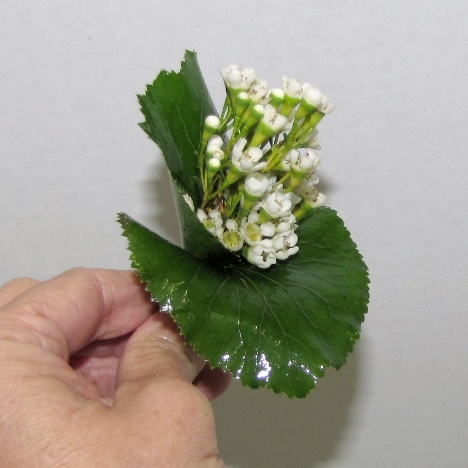
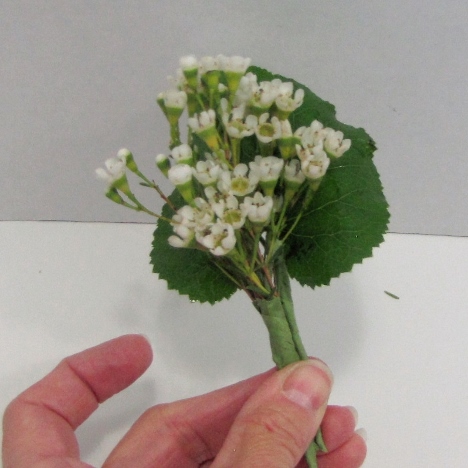
Now you have both your wax flower sprigs and your galax leaves taped and supported. It's time to assemble your boutonniere.
Place the sprig of wax flower on top of the supported leaf.
Again, the back wire is holding the galax leaf straight up. Otherwise it would fold and curl backwards away from the flower head.
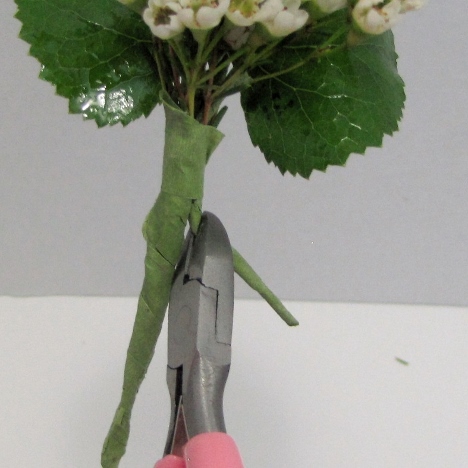
I like to keep the bulkiness of the stem down, so I snipped off the extra wire of the leaf instead of taping it all.
Now the second galax leaf goes in the front and I WANT that downward curve so that the flowers aren't hidden. You do not have to tape a support wire to this galax leaf.
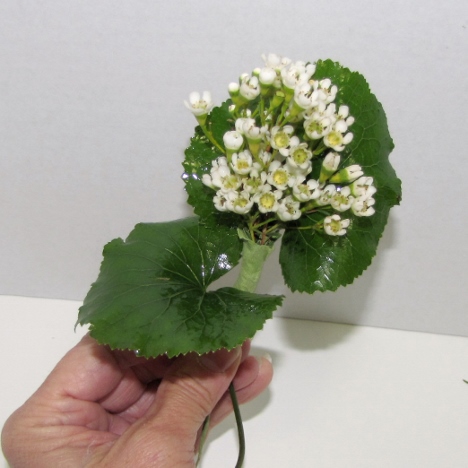
Just tuck the leaf in close to the wax flower, snuggling it close under the flower heads.